Article summary
Since joining Atomic, I’ve worked on quite a few web projects, where rapid prototypes are common and quite easy to produce. Unfortunately, not all domains we deal in have such luxuries.
My latest project is a lightweight embedded linux device with a GUI and physical buttons. In such a stack, it can be hard to get rapid feedback cycles on your UI and UX. To try and alleviate this problem, I came up with a method for scripting interaction with rapid prototypes using a display attached to a Raspberry Pi.
The Display
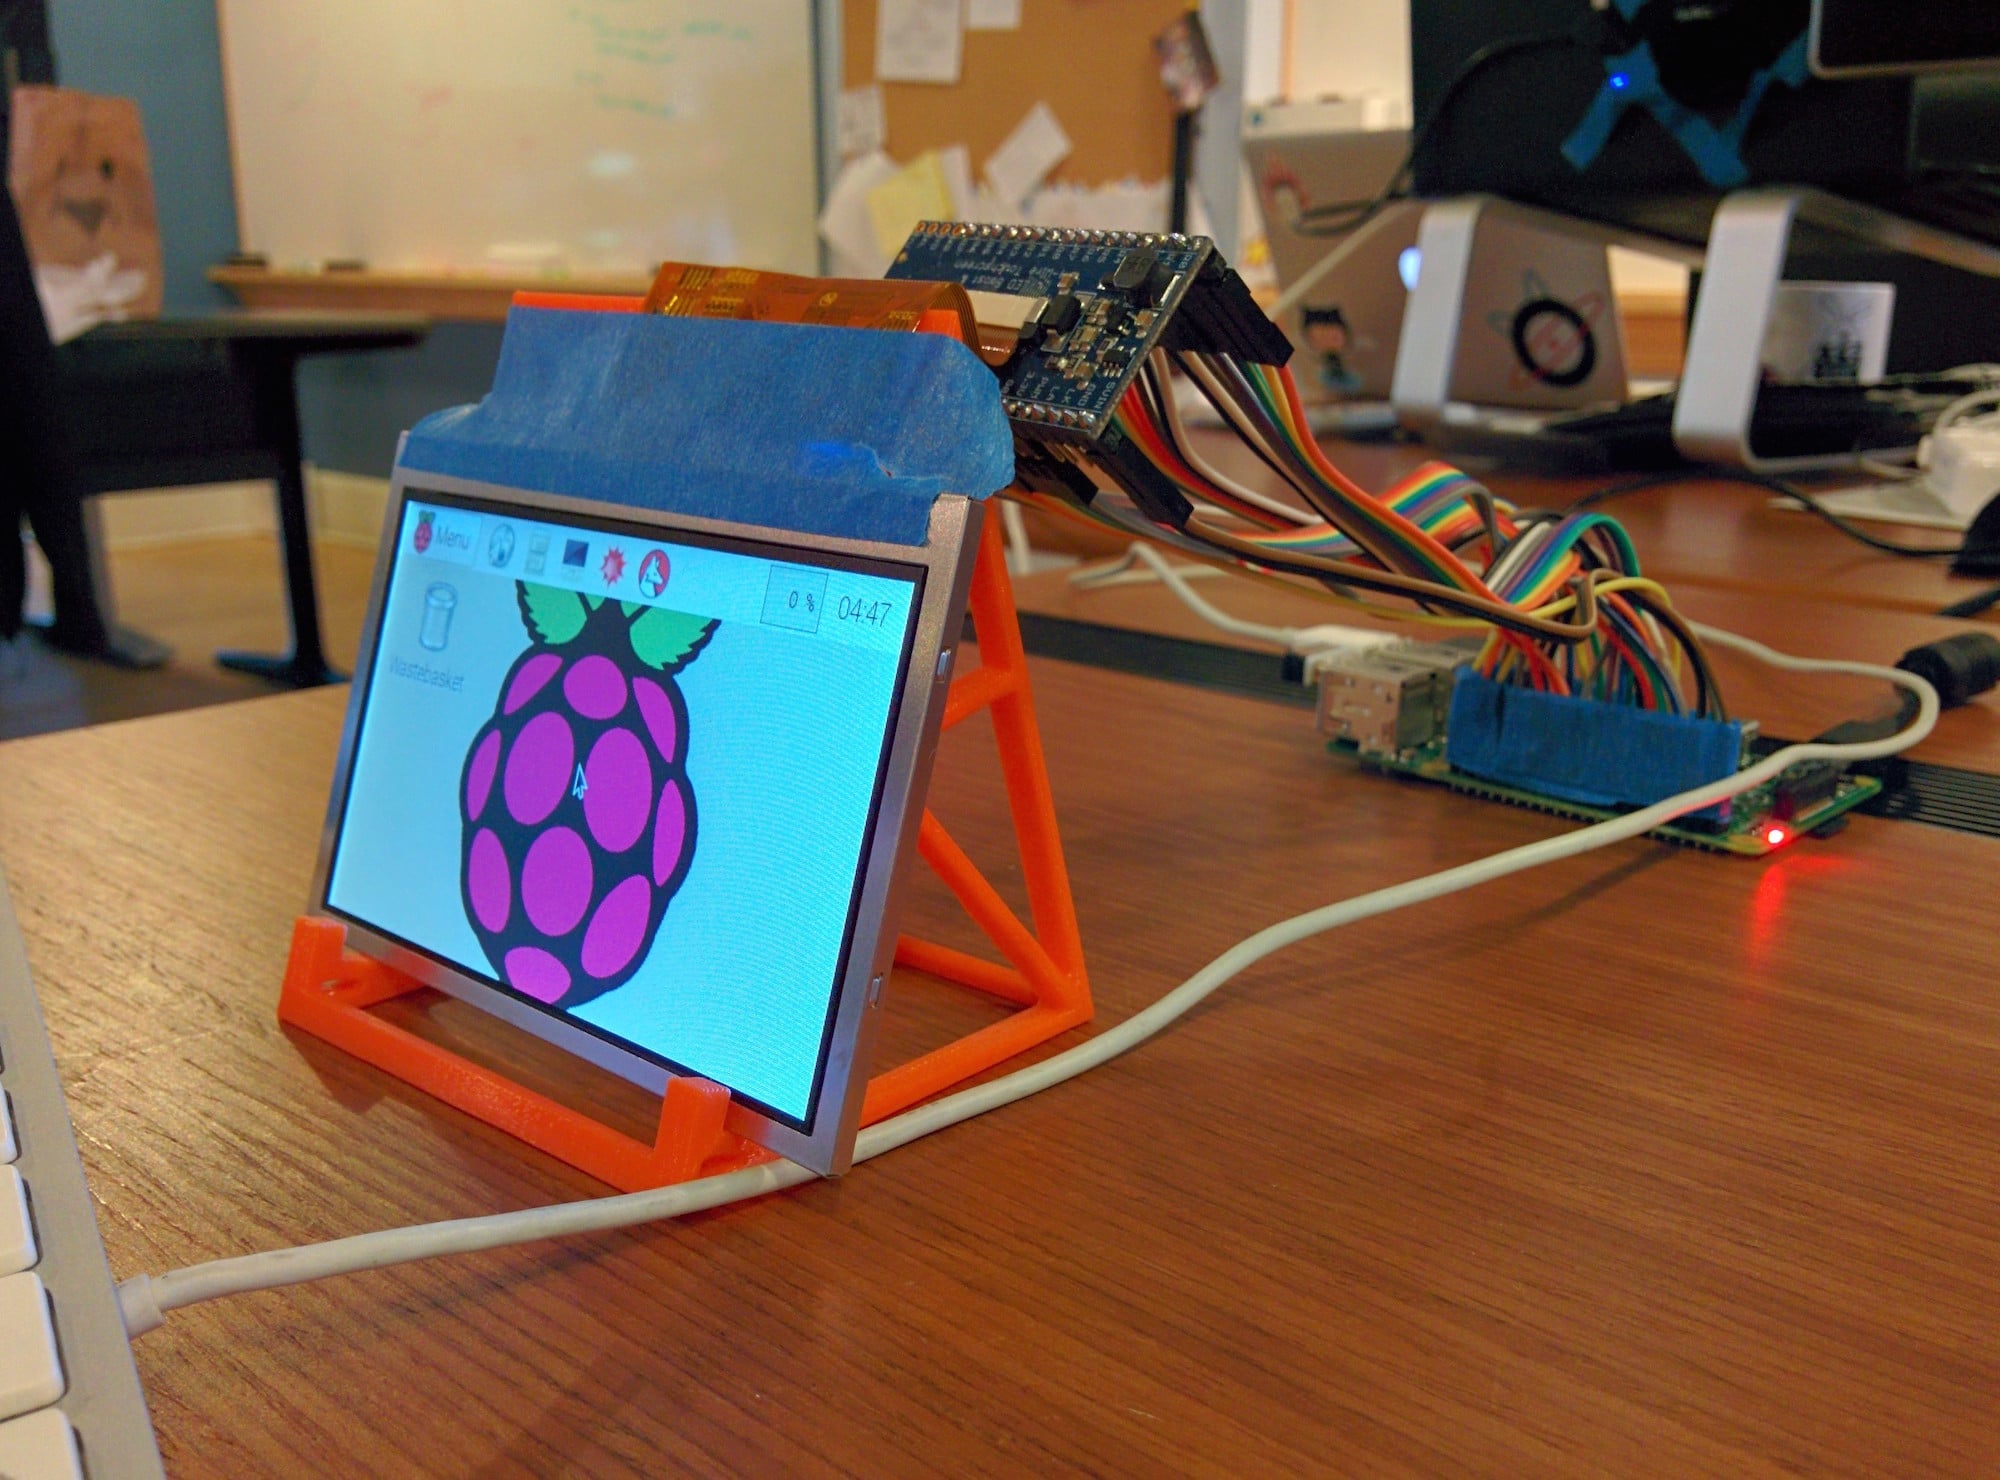
The initial seed for my idea came when I read an article (no longer online) about a little-known feature the Raspberry Pi. It has a (not particularly well-documented) 24-bit RGB interface for dumb LCDs! This allows you to hook up very cheap LCDs directly to the Raspberry Pi without expensive HDMI boards.
After wiring up my Pi, setting my device trees and config.txt as detailed in the aforementioned article, and fiddling with an HDMI modeline generation spreadsheet*, I was successfully able to drive both 480×272 and 800×480 external displays.
Remote Control
The next piece of the puzzle was to find a simple way of remotely controlling what was displayed on the displays. Some googling brought me to a project that utilized a tool called Fim and netcat to display images directly to the Pi’s framebuffer.
I combined some ideas and code from pi-slideshow with some input parsing code in Ruby, a wee bit of application state, and a TOML configuration file, and suddenly had a really conveniently scriptable tree-based image viewer which would suit our prototyping purposes perfectly.
Pulling it Together
You can see all the code in this gist. (Yes, it’s horrible and uses global vars. Prototype! Don’t do this in production code, I beg you.)
To use, first edit the config.toml file to match the various screens of your application. Next, install fim on your target of choice and run server.sh to fire up fim with netcat. (Do this as root at your own risk.) Finally, edit the input_manager.rb code to point at your fim server, give it a run, and you should be on your way.
Using this setup, we’ve been able to quickly and easily test out various UI workflows to validate them, and make rapid changes to get more feedback. In the process, we’ve found several UI gotchas that would otherwise not have been caught until much later in the development process.
*Unfortunately, I’ve been completely unable to find the original source for this spreadsheet. Give me a shout if it was yours, and I’ll gladly credit you!