Article summary
I’ve been watching React Native for a while. The idea of using a React (and Redux) approach to developing cross-platform-ish native apps is really appealing. Since I have no React Native experience, I wanted to understand how much work is required to get started.
In this post, I’ll walk through my experience with:
- Setting up and configuring a React Native development environment that targets both iOS and Android.
- Writing a simple, unpolished app with cross-platform tabbed navigation that loads some data from the cloud. I chose to l/xoad trending gifs from Giphy, because who doesn’t love gifs?
Note that I went into this having some experience with both React and native mobile development. However, I had never set up or used React Native prior to this experiment.
Environment Setup
Ignoring React Native’s complexity as a development platform, I have also heard that it’s a huge pain to set it up and get running. I was happy to find that my experience was the exact opposite. I was able to get the Hello World app up and running on both iOS and Android in less than an hour.
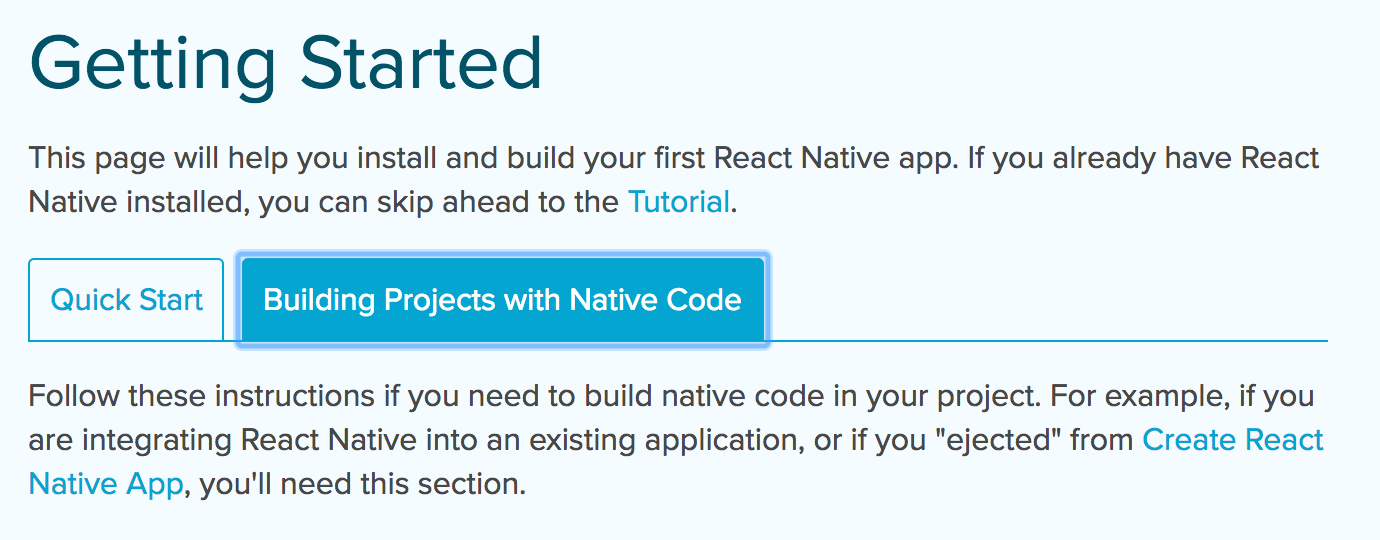
To set up my development environment, I followed the instructions in the React Native docs.
One approach to set up a project uses create-react-native-app. I opted against it because of the caveats described in the docs. Instead, I followed the Building Projects with Native Code instructions.
The instructions require you to choose a development platform and a target OS. I’m using macOS, but I wanted to set up something that could target both iOS and Android.

Since you have to choose one, I chose iOS first, then went back and set up the Android environment afterwards.
iOS setup
I already had Xcode, Node, and Watchman installed, but I still needed to install the react-native-cli.
Once that was done, I created a project directory and initialized a new React Native project into it.
mkdir MyProjectDirectory
cd ./MyProjectDirectory
react-native init DemoProject
Running this results in the following output:
To run your app on iOS:
   cd /Users/matt/repo/blog_posts/react-native/DemoProject
   react-native run-ios
   or -
   Open ios/DemoProject.xcodeproj in Xcode
   Hit the Run button
To run your app on Android:
   cd /Users/matt/repo/blog_posts/react-native/DemoProject
   Have an Android emulator running (quickest way to get started), or a device connected
   react-native run-android
That was pretty simple. After cding into the DemoProject directory and running the following,
react-native run-ios
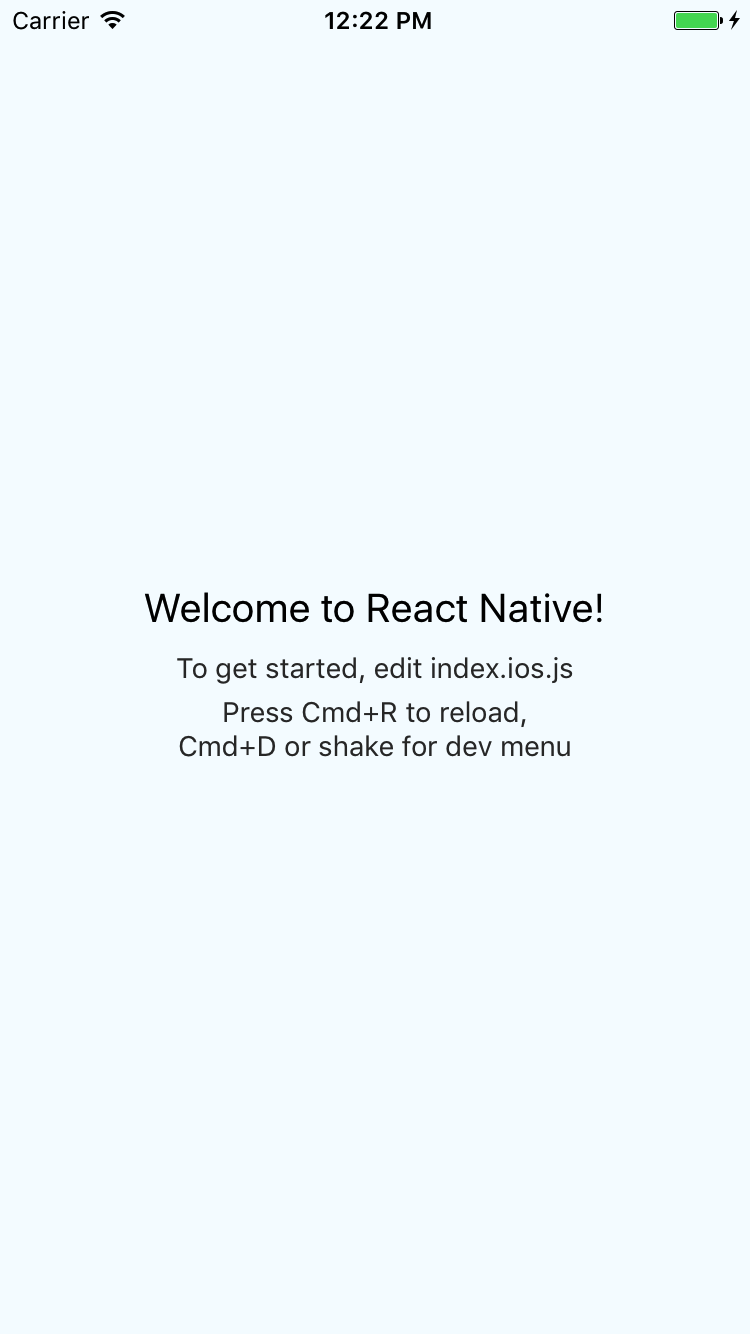
a terminal window launched, and the Hello World app started up in the iOS simulator. That was it! Everything was up and running in about 10 minutes.
iOS hurdles
The iOS setup was simple, though I did run into two smaller issues that were easy to fix.
The initial terminal window that launched alongside the iOS simulator looked like this:
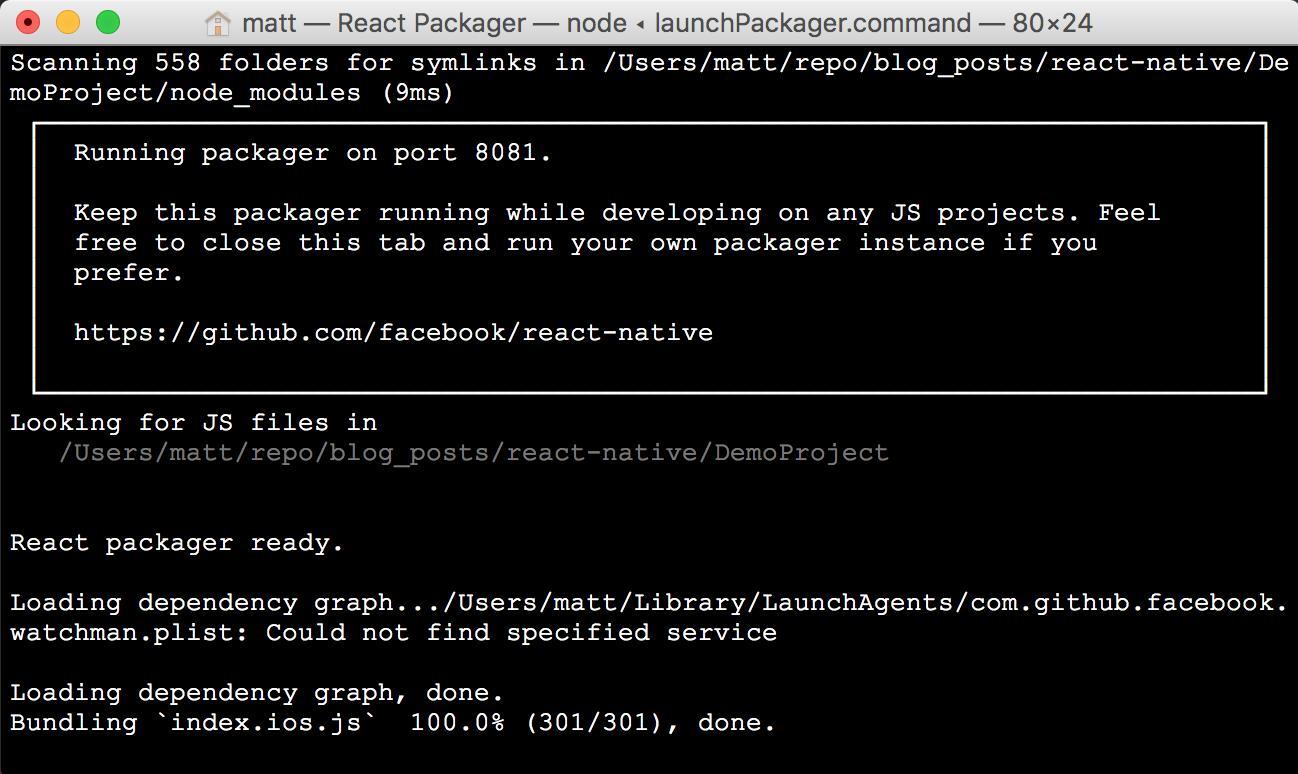
Note the message:
Loading dependency graph.../Users/matt/Library/LaunchAgents/com.github.facebook.watchman.plist: Could not find specified service
That didn’t look good. I had a hunch that my version of Watchman was possibly out of date, so I reinstalled it via:
brew uninstall watchman
brew install --HEAD watchman
That fixed the issue.
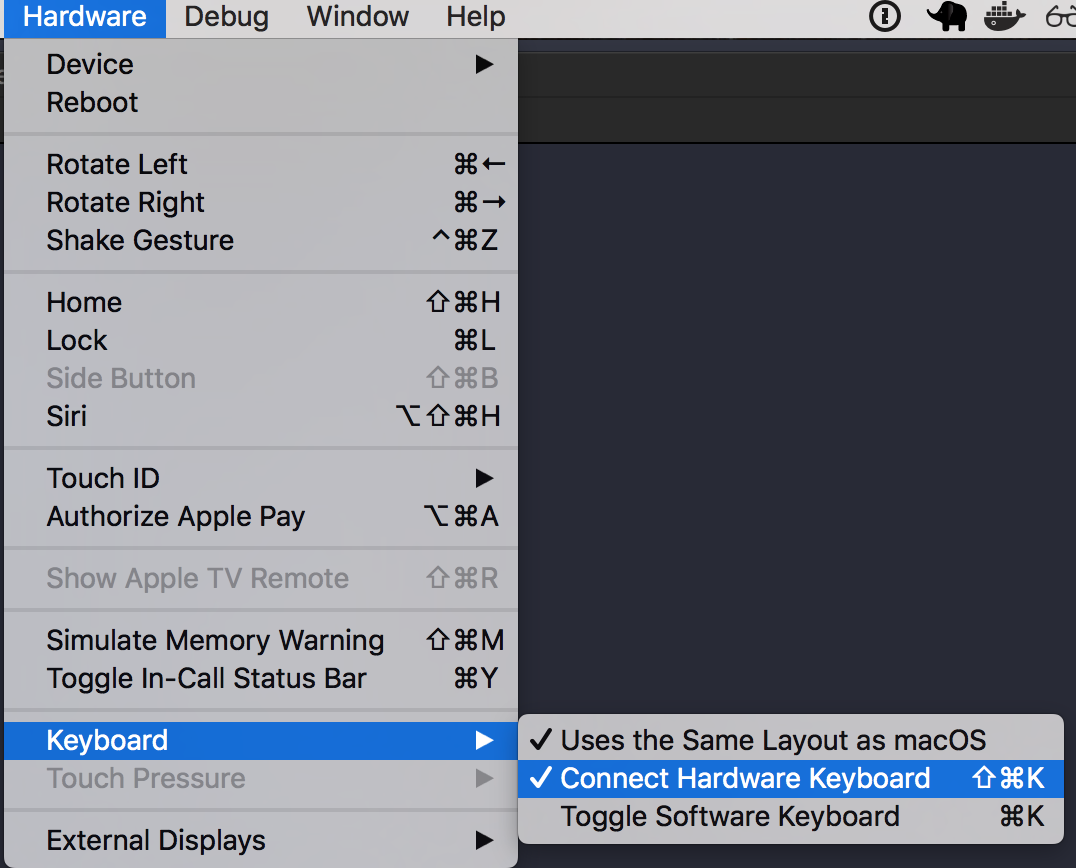
The other issue I ran into was not being able to Cmd R to hot-reload changes in the iOS simulator. Having done a fair amout of iOS development in the past, I was able to identify the root cause as a disabled simulator hardware keyboard. You can enable it via:
Other iOS thoughts
I was a little disappointed to find the Objective-C iOS project under the hood. In the /ios directory, you find the standard header .h and implementation .m files. I suppose this shouldn’t be surprising, but after working on some Swift projects, it felt like going backwards a bit.
Android Setup
Having less Android development experience, I was excited to set up the Android environment. I have heard many folks say that React Native for Android is much less mature and stable than the iOS side.
I switched the target OS in the docs from iOS to Android and installed all of the Android dependencies. This included the Java Development Kit, Android Studio, and the proper Android dependencies within Android Studio. This step took about 20 minutes, but most of that was waiting on downloads to complete.
After everything was installed, it was time to try to launch the Hello World app on the Android emulator. Since I’d already created my project in the iOS step, I tried to run:
react-native run-android
It failed with:
FAILURE: Build failed with an exception.

What went wrong:
Execution failed for task ':app:installDebug'.
com.android.builder.testing.api.DeviceException: No connected devices!
After re-reading the docs, I realized the problem was I wasn’t running an Android virtual device. On iOS, it auto-launched the iOS simulator, but apparently on Android, you need to start the device first.
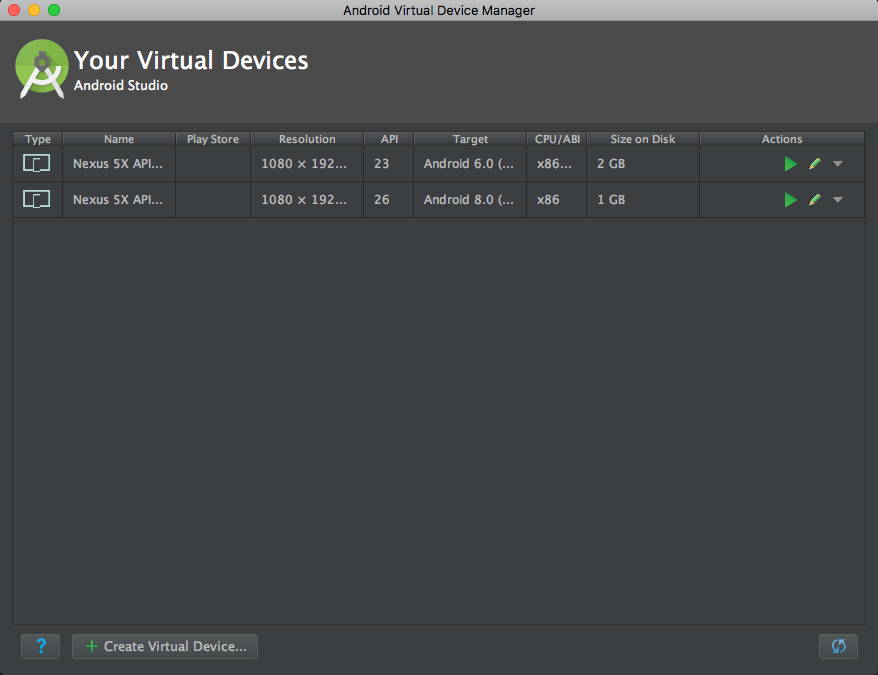
I opened the Android Studio Virtual Device Manager and created a new device targeting Android 6 (Marshmallow) as the docs described, though I later learned that I could have just used the existing default AVD that was targeting Android 8.
You can start an AVD by pressing the green triangle in the manager window.
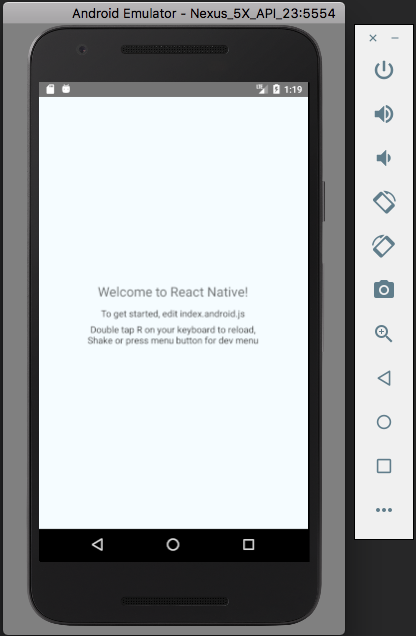
The device will boot up. After booting, I re-ran:
react-native run-android
and the Hello World app launched correctly.
Android hurdles
Even though I had little prior experience with Android, the project setup was pretty painless. I did run into one issue that was self-inflicted. The instructions tell you to add the following to your Bash profile:
export ANDROID_HOME=$HOME/Library/Android/sdk
export PATH=$PATH:$ANDROID_HOME/tools
export PATH=$PATH:$ANDROID_HOME/platform-tools
Because I had forgotten to re-source my shell after adding the above, it failed to connect the Android debugger to the emulator.
Example Application
As I mentioned earlier, in addition to setting up a development environment, I wanted to see how difficult it would be to build a simple app with navigation that loads some data from the cloud.
The answer was: moderately difficult. Most of the complexity came from trying to understand how to best handle cross-platform navigation.
Navigation
Cross-platform navigation seems kind of messy. In iOS, most navigation is controlled by UINavigationController. React Native has a NavigatorIOS component, but it is for iOS only.
The NavigatorIOS docs suggest using the third-party native-navigation library for decent cross-platform navigation. They also suggest Airbnb’s library, but just reading the disclaimer on the project homepage screams, “This is beta software. Be ready for breaking changes and bugs.”
I decided to give native-navigation a try. The installation was straightforward for iOS. However, it took a lot of finagling to get it working on Android. I had to update the compileSdkVersion and buildToolsVersion in android/app/build.gradle from 23 to 25. I also had to define an icon for my tabs–the Android app would not build without a defined tab icon.
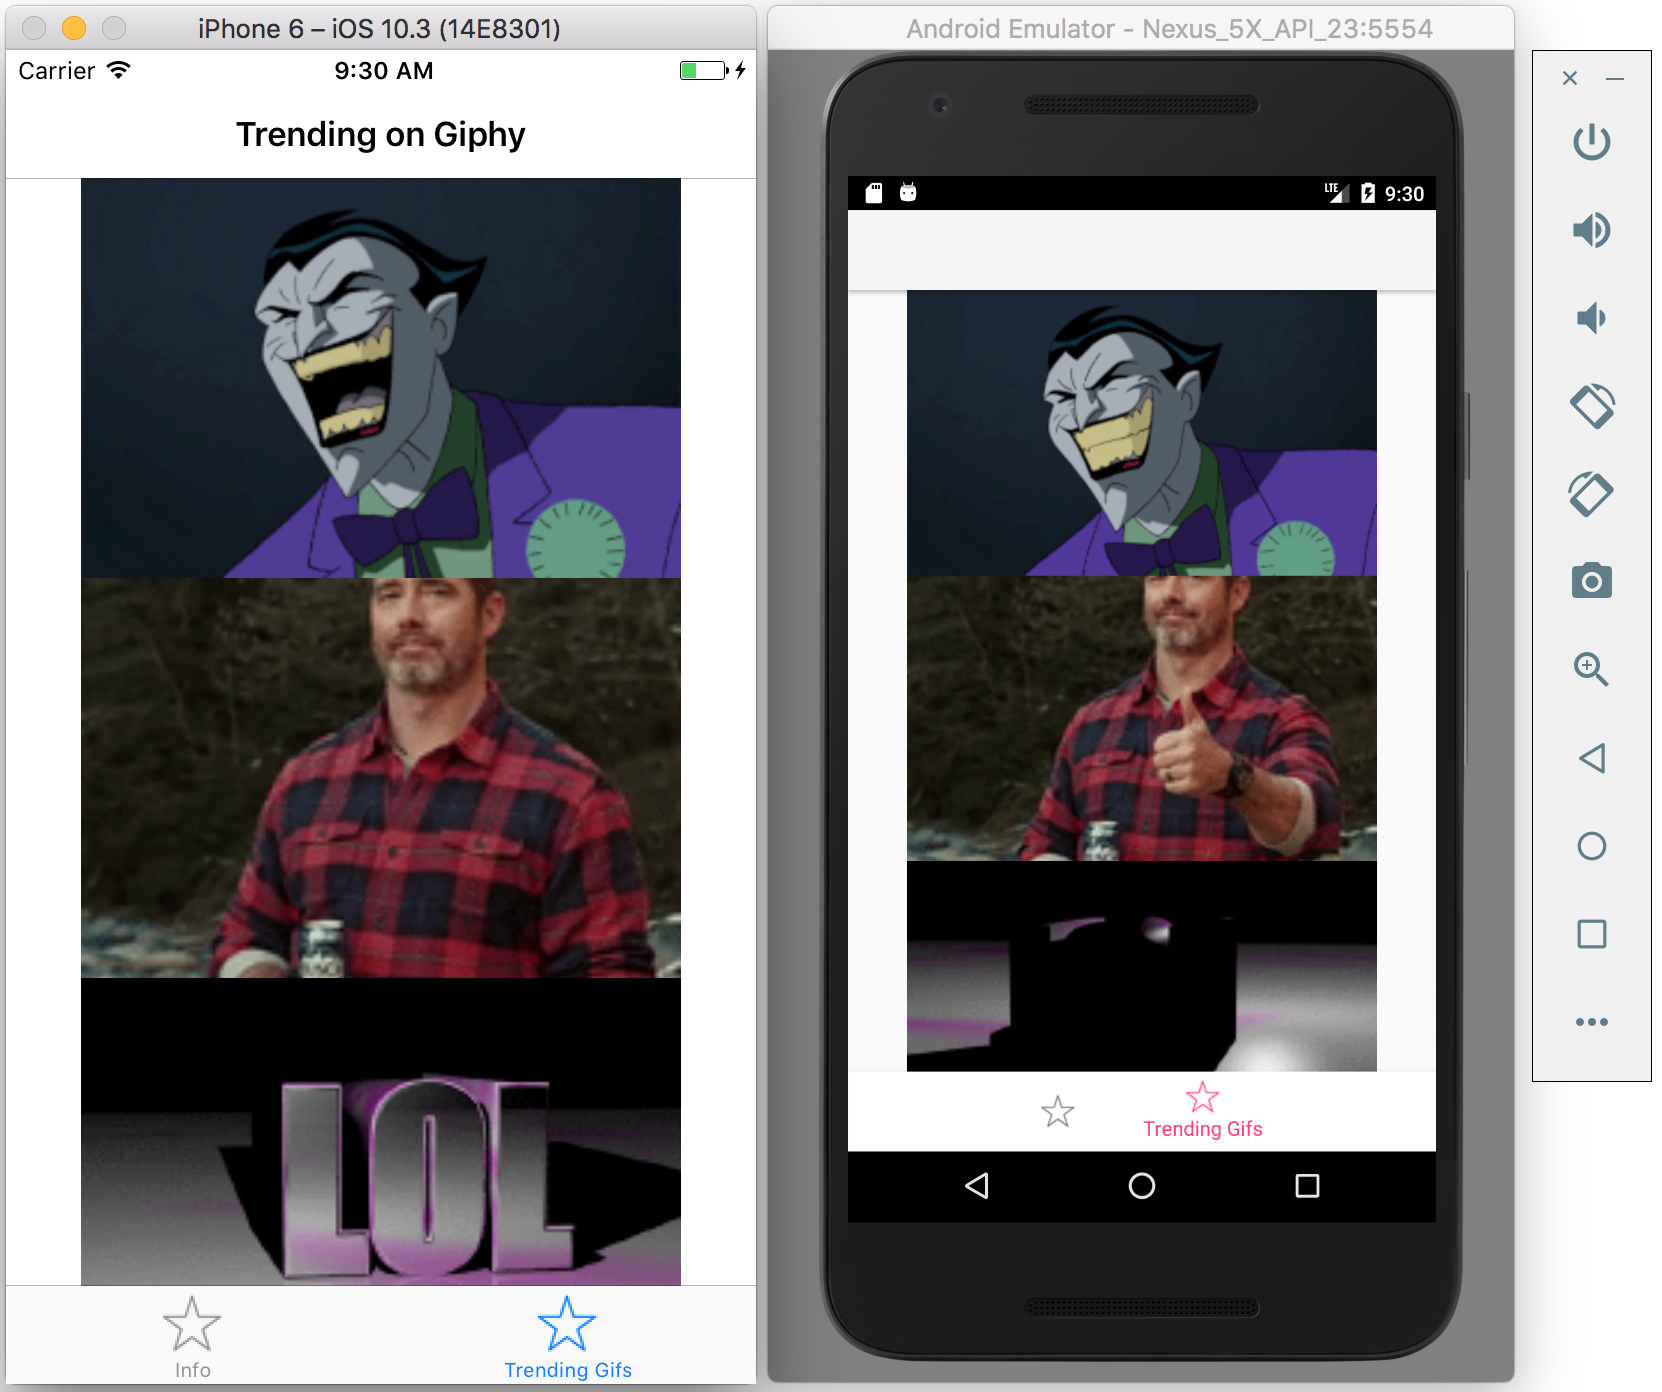
After some work, my cross-platform app was looking pretty decent. I created an app with basic tab navigation. The first tab just displayed some text. The other tab displayed a table of trending gifs from Giphy.
The code for this is pretty simple. Both index.ios.js and index.android.js look like this:
import { setupApplication } from './screens/main';
setupApplication();
They both include ./screens/main, which defines the tabbed navigation like this:
import { Navigation } from 'react-native-navigation';
import { registerScreens } from './index';
registerScreens();

export function setupApplication() {
  return Navigation.startTabBasedApp({
    tabs: [
      {
        label: 'Info',
        icon: require("../img/star.png"),
        screen: 'InfoScreen',
        title: 'Info'
      },
      {
        label: 'Trending Gifs',
        icon: require("../img/star.png"),
        screen: 'DataScreen',
        title: 'Trending on Giphy'
      }
    ]
  });
}
The first contains a
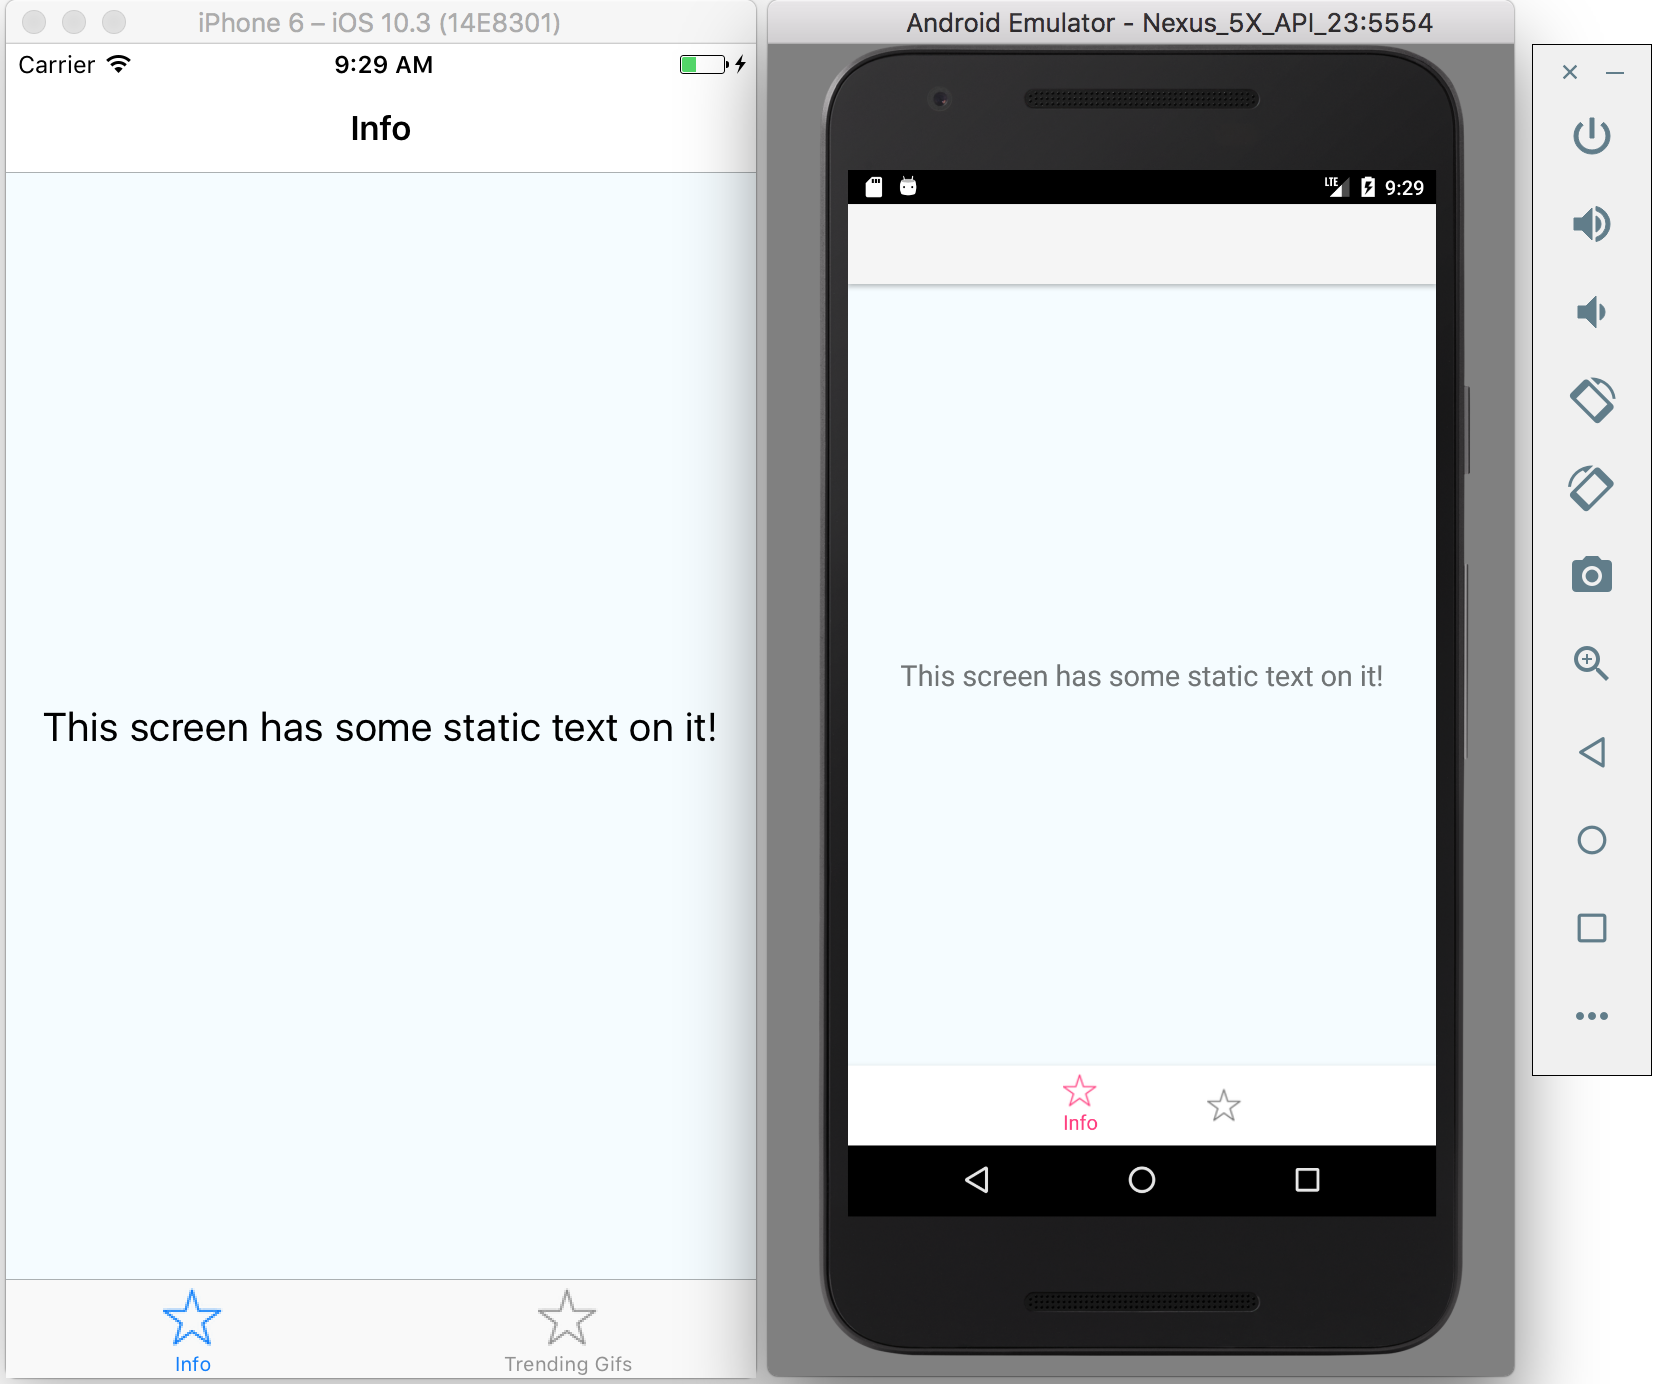
The second tab uses the React Native ListView component to render a table of gif images. Here's the result:

Summary
This two-tabbed app is definitely simple. It only took about a day to put together, and it contains zero platform-specific code.
Furthermore, I was able to accomplish it without any prior experience with React Native. I think that definitely speaks to its strengths. I'm sure you will need to introduce platform-specific code stuff if you develop anything moderately complicated, and especially if you need views that aren't supported natively or by a third party, but I suspect this can be kept to a minimum with some planning and consideration.
You can find the code for my app on GitHub if you'd like to spin it up and play around with it. I would love to hear about your experience or thoughts on React Native.