If you’ve used VMware Fusion to run Windows on your Mac for any length of time, this is probably a familiar sight:
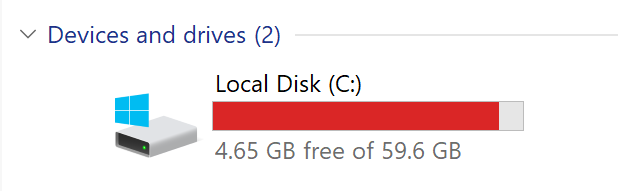
Fusion only gives your Windows virtual machine 60 gigabytes of space, which may seem like plenty at first—but it rapidly fills up. Thankfully, there’s a relatively easy way to expand your space, as long as your Mac has headroom.
Understanding Your Storage Situation
Storage on a personal computer is relatively easy to understand. Your computer comes with a certain number of gigabytes of disk, which contains your operating system, installed software, and any files you store there. If you need more space and don’t want to (or can’t) split it between two disks, you’ll need to copy all of your files onto a bigger disk.
Virtual storage is a little more complicated, but it’s also more flexible. Because virtual disks are stored as files on the host computer, having more storage just means fitting a bigger virtual disk file on the host.
Additionally, by default, they’re stored sparsely. While they start out occupying almost no space, they grow as you write, right up to the virtual disk’s actual size.
As long as you expect to have enough space on your Mac to expand your virtual disk, you can very easily treat your virtual Windows machine to an upgrade.
Upgrading to Something a Little Roomier
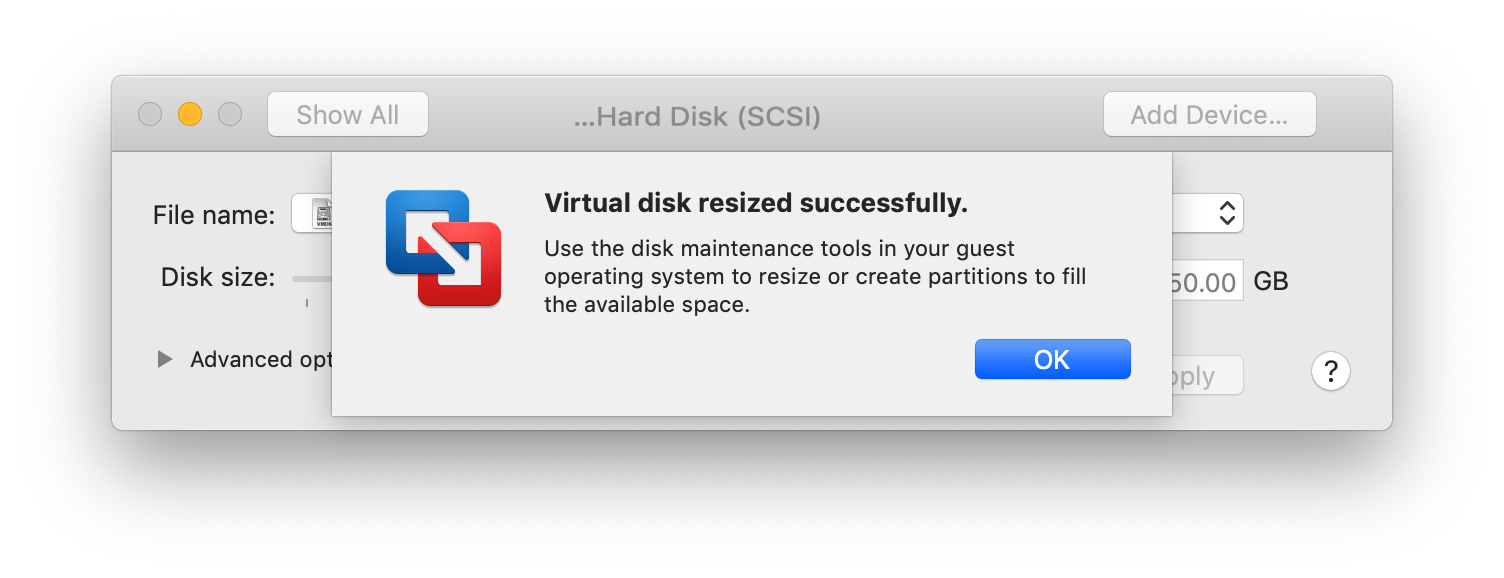
Asking VMware to give you a bigger disk is straightforward. Just shut down your virtual machine, press Command-E to open its settings dialog, and open up the Hard Disk option.

From here, you can make your Windows virtual disk as big as you want. You can even make it bigger than the free space on your Mac, since it won’t actually take up the space until Windows uses it! (Beware, though: You can’t easily shrink it again, and if you start running out of space on your Mac, you’ll be in trouble. Keep it reasonable. You can always make it bigger later.)
When VMware is done doing its thing, you’ll effectively have a new, bigger disk with the contents of your old disk right up front. But then you’ll see this curious dialog:
Giving Windows Permission to Move In
When you boot Windows again, you’ll find that you haven’t solved anything yet—your disk is just as full. Although there’s plenty of space on the virtual disk, the Windows volume on the disk is still only configured to fill 60 gigabytes.
The good news is that this is easy to fix. You just need to extend the volume, and Windows 10 already comes with the tool you need.
Click the Windows 10 start menu, and search for Create and format hard disk partitions. Start it, and you’ll see a window like this:
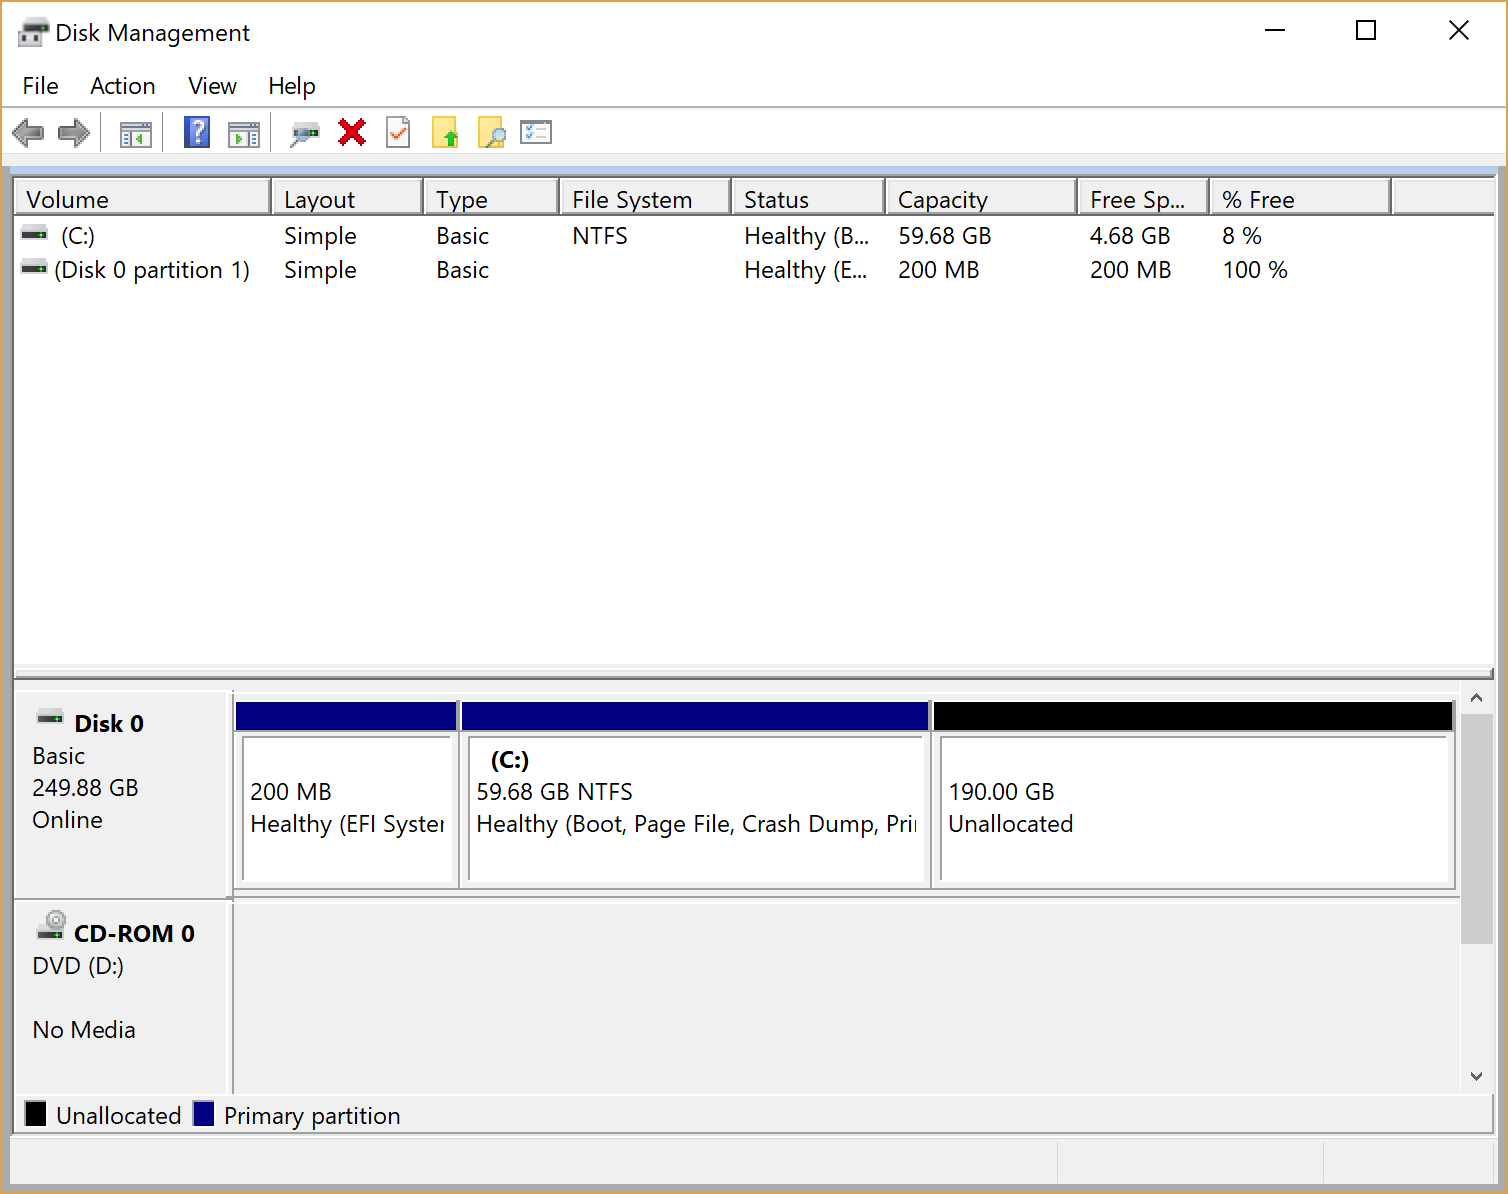
If your disk layout looks like mine (and it should, if you let VMware Fusion install Windows for you), you can just right-click your NTFS volume and select Extend Volume. Page through the wizard; it should offer to add as much space as it can from “Disk 0.” Once the wizard is complete, you’re done! Enjoy your new, much larger disk!
What If It Doesn’t Work?
There are a number of reasons that last step might not work for you. The most common is that there’s not space directly to the right of your main volume in Disk Management. If you run into a case like this, there’s still hope.
But first, make sure you have a backup of your virtual machine, in case anything goes wrong! Making a Time Machine backup of your virtual machine directory (by default, Virtual Machines in your Documents folder) is a good way to safeguard your machine against data destruction or becoming unbootable.
GParted is a Linux tool designed to rearrange and resize partitions of all kinds on your disks, including your Windows volume. Go to the Live CD download page, and get the GParted Live CD/USB/HD/PXE Bootable Image. The image I downloaded was named gparted-live-0.33.0-1-amd64.iso.
Once you have the file downloaded, booting it works like this:
- From the Virtual Machine menu, choose CD/DVD, then Choose Disc or Disc Image….
- Select the GParted CD image file you downloaded.
- From the Virtual Machine menu, choose CD/DVD, then Connect CD/DVD.
- In Windows, search for Change advanced startup options, then click Restart now under Advanced startup.
- When the Choose an option screen appears, select Use a device, then the CD drive (in my case, it was called EFI VMware Virtual SATA CDROM Drive (1.0)).
- VMware will reboot and start the live image. Keep pressing Return whenever you’re asked a question, and eventually you’ll end up with a Linux desktop in your virtual machine.
- Double-click the GParted icon to start.
From here, you can move and rearrange partitions however you need to take advantage of the full virtual disk. Just remember—you can’t make a partition bigger unless it has space to the right, but you should be able to move other partitions over to make space for it. Click Apply when you’re done, close GParted, and double-click the Exit icon and choose Reboot to get back into Windows.
I hope this helped you out with your space predicament. Of course, none of this can make your MacBook’s internal disk bigger, but we can dream…can’t we?
Is it possible to shrink the size of the drive for VMware fusion? My iMac is running out of space and I am trying to free some up.
Hey Mark,
Actually reducing the size of your virtual disk (as in, doing the inverse of what this article describes) would take some effort. But what you may be able to do is reclaim some space on your Mac by using VMware’s built-in cleanup option:
https://docs.vmware.com/en/VMware-Fusion/11/com.vmware.fusion.using.doc/GUID-6BB29187-F47F-41D1-AD92-1754036DACD9.html
It’s my understanding that if you delete files from your VM to reduce disk space use there, you’ll end up with reclaimable space that VMware’s clean up option can use to reduce the Mac-side disk usage for your virtual disks.
I’m not sure if the latest version of Windows 10 has remove the ability to utilise another device but I can’t see the option which would allow me to select the Linux ISO
Actually why you cannot expand the partition is because Windows 10 has a recovery partition in the way that is much easier to delete than downloading a program.
https://www.techrepublic.com/article/how-to-increase-virtual-disk-size-when-running-windows-10-in-a-vm/