
Article summary
All of us at Atomic have been working remotely for a couple of weeks now. In that time, we’ve learned a lot about what works really well (team Discord servers, Zoom happy hours, lots of affirmation) and what doesn’t work quite so well. One of the things that I’ve found troublesome is using whole-network VPNs.
All of us at Atomic have been working remotely for a couple of weeks now. In that time, we’ve learned a lot about what works really well (team Discord servers, Zoom happy hours, lots of affirmation) and what doesn’t work quite so well. One of the things that I’ve found troublesome is using whole-network VPNs.
VPNs are great for getting remote access to specific resources on a client’s network. But with so many people connecting to them at once, sending all of my traffic through one overburdened VPN endpoint was starting to feel like the dial-up days — especially when doing video calls.
Fortunately, there’s a quick and easy way to split up your network traffic so that only some things go through the VPN, leaving the rest of your traffic unimpeded. You can do this even if your VPN software doesn’t support it natively.
Follow the recipe below for smoother video calls and faster downloads. Like any recipe, this is just one way to combine these ingredients into a useful whole. You may need to substitute a piece or two depending on what you have on your machine.
Here are the core steps:
- Run your VPN software in a VM.
- Open a long-running SSH connection into that VM with a dynamic port-forward.
- Connect to that port with any SOCKS-compatible proxy software.
🌱🍋 Ingredients
- One virtual machine (I use VMware Fusion version 11.5)
- One Mac with a little bit of horsepower to spare
- One SSH tunnel manager (I use Core Tunnel)
- One extensible web browser (I use Firefox)
- One browser extension (I use FoxyProxy)
🥣🥢 Instructions
Set Up Your Virtual Mac
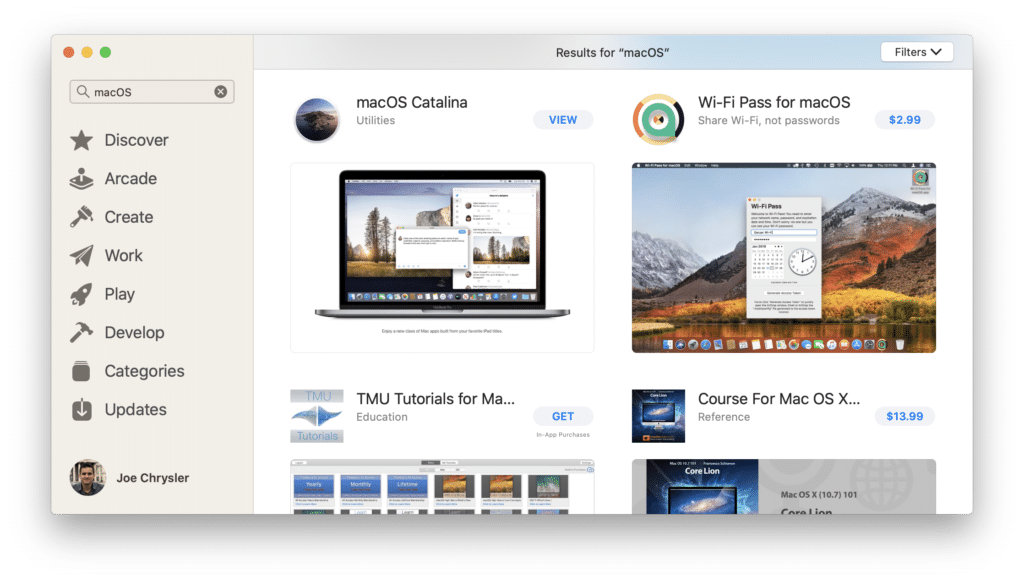
- Download an installer for macOS. The easiest way to do this is to search the App Store for macOS, find the macOS Catalina installer, and click “get.” The download is about 8GB, so this will take a minute.
- The macOS installer will open itself automatically. Close that down. We don’t want to run the installer on your real Mac.
- Launch VMware Fusion and click the + button in the upper left to add a new virtual machine.
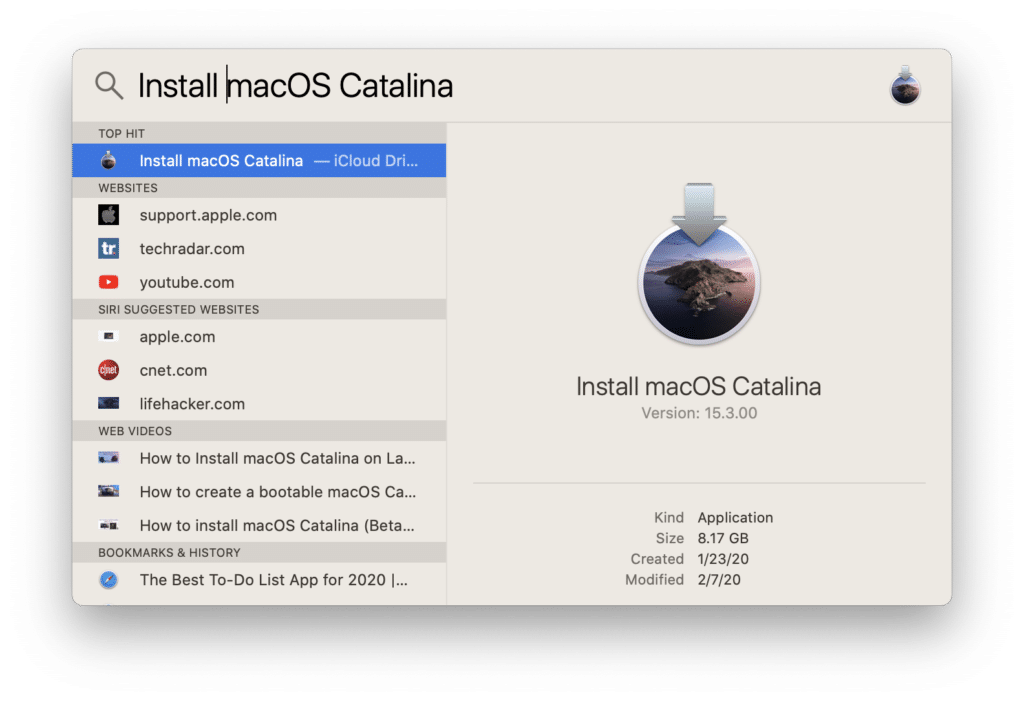
- Find the installer that you downloaded in step two. One easy way is to search Spotlight for “Install macOS Catalina” and then to hold ⌘ while tapping return to reveal the installer in Finder instead of opening the installer directly.
- Drag the installer to the VMware installation method window and follow the prompts to set up your new virtual Mac. Note that you don’t need too much horsepower on the new machine. I gave mine two CPU cores and two GB of memory.
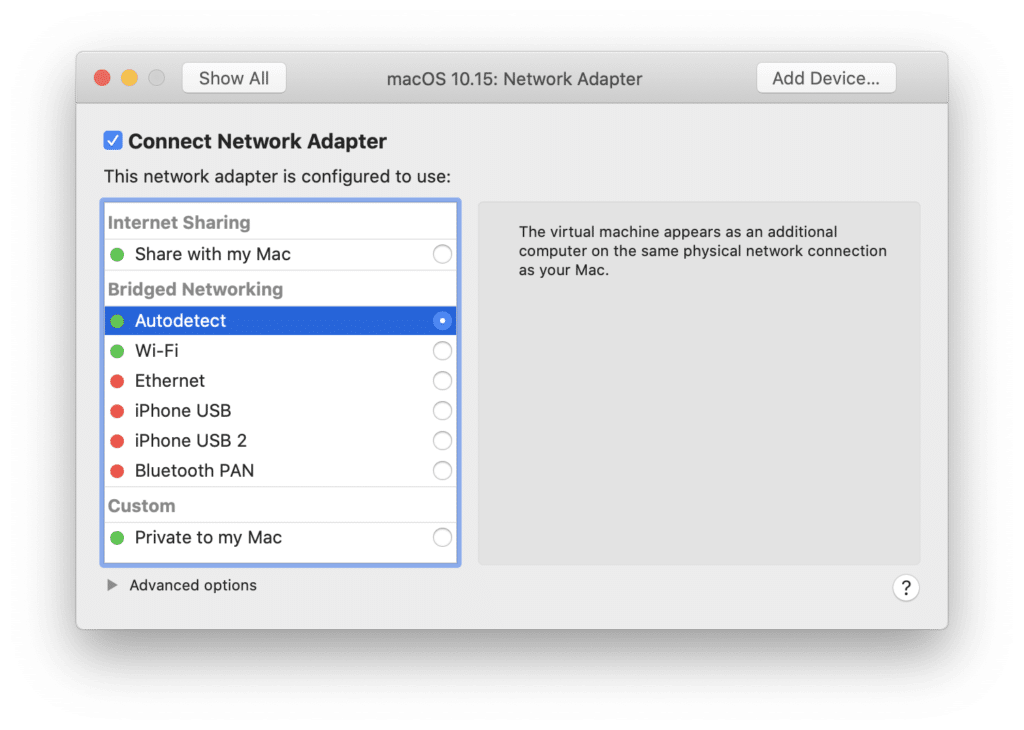
- Configure your VM to use bridged networking so that your VM shows up as a separate computer on your network.
- Finally, install your VPN software on the virtual Mac just like you would on your real Mac.
Set up Your Virtual Mac for SSH Access
- Copy a public SSH key from your real Mac to your VM using
ssh-copy-id, generating a new ed25519 key if necessary. - Set up your VM for passwordless SSH login by modifying /etc/ssh/sshd_config to add the following lines (you’ll need root privileges to modify that file):
PasswordAuthentication no ChallengeResponseAuthentication no - Find your VM’s hostname by running this in Terminal on the VM:
hostnameIt should look like something like: “your-mac.local”. -
Test the new settings by connecting to your VM using SSH from your real Mac (mine was
ssh [email protected]):ssh username@hostname
Open a SOCKS Proxy to Your VM 🧦
- Using Core Tunnel, tap the plus button to add a new tunnel.
- Add your VM’s host and user information, plus one dynamic port forward. I used 1080 here, which is common for SOCKS proxies, but you can use any port that you aren’t currently using.

- Double click on the proxy to connect. You should see a green circle next to its name.
Send Some of Your Traffic Through the Proxy with FoxyProxy 🦊
- Launch Firefox and install the FoxyProxy Standard extension.
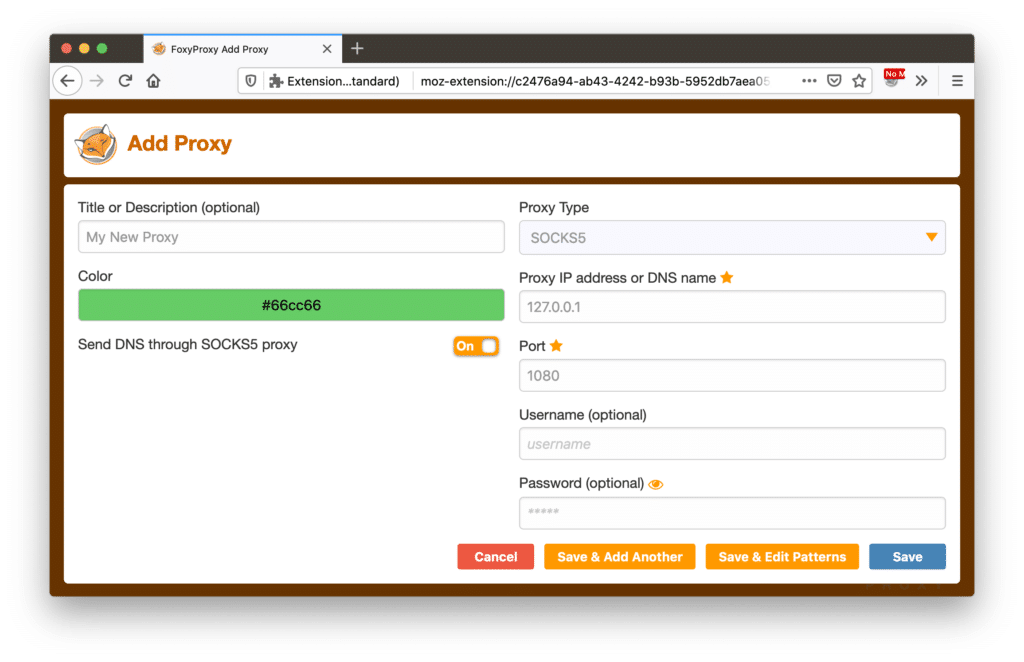
- Add a proxy to FoxyProxy, using the SOCKS5 proxy type, and making sure to send DNS requests through the proxy.
- Add patterns for any URLs that you want to go through your VPN. In my case, I just want Jira and Confluence traffic to flow through the VPN, so I added those URLs to the patterns list.
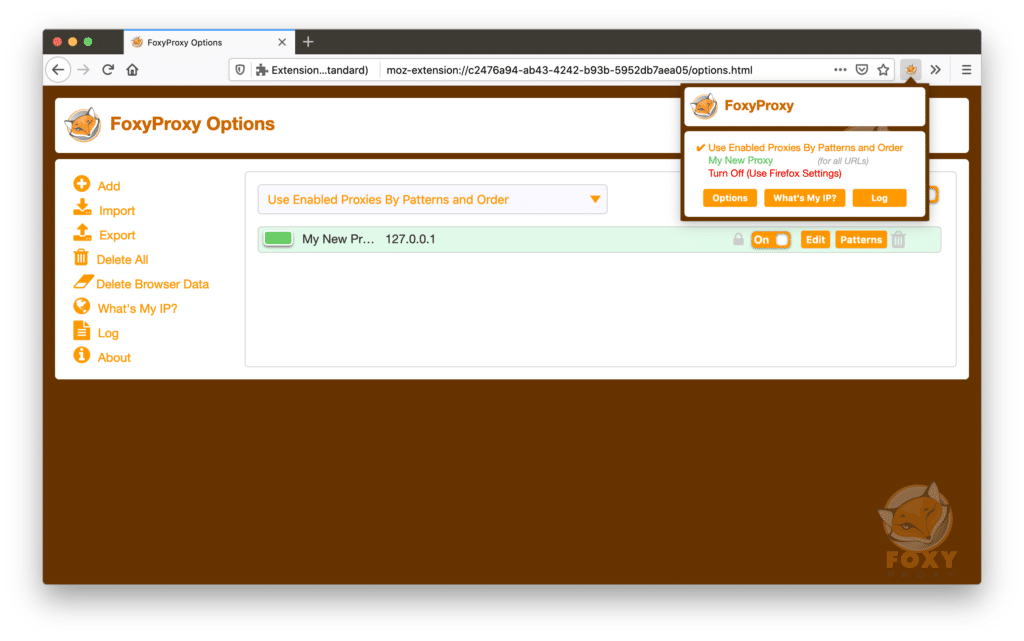
- Click the FoxyProxy icon in your toolbar and make sure it’s set to “Use Enabled Proxies by Pattern and Order.”
- Disconnect your real Mac from the VPN.
- Fire up your VM.
- Connect to the VPN from within the VM.
- Double click your proxy tunnel in Core Tunnel.
- Launch Firefox and navigate to one of the addresses that should go through the VPN.
Mix Well Using a Wooden Spoon and Serve 🥄
And you’re done! You can now use bandwidth-heavy apps like Zoom and
Discord without forcing all of that traffic to flow through the VPN. As
a bonus, you’ve now completely isolated the VPN software from your real
Mac.
Serving size: 1 sandboxed VPN