Article summary

After seeing my neighbor’s Christmas light display this year, I was left feeling a bit underwhelmed by my own. I grabbed my computer and started shopping for new lights, but then it occurred to me — why not make something? Finally, a good use for the random electronics that I’d stashed in my desk drawer!
Materials
Here’s a list of what I used for this project. Feel free to check it twice 🎅:
- ESP8266
- WS2812B LED strip
- Small breadboard and jumper wires
What I Did
Note: If you are using a different microcontroller, the process will be similar, but you’ll need to find alternative board definitions and make sure the board is compatible with FastLED.
1. Install the Arduino IDE
Arduino IDE is a popular IDE used for writing software for Arduino and third-party microcontrollers.
2. Add Board Definitions
To add support within Arduino IDE for a non-Arduino board, you’ll need to add the appropriate board definitions for your microcontroller. I used an ESP8266, so I added the corresponding board definitions.
To add a board definition within the Arduino IDE:
- Paste the board definition for your board into the File > Preferences > Additional Board Manager URLs input field.
- Open Boards Manager from Tools > Boards > Boards Manager and install the ESP8266 package.
3. Install the FastLED Library
Using a library like FastLED gives you a big head start in writing software for your LED strip. FastLED not only comes with detailed examples but also provides a simple way to interact with your individual LEDs.
To install FastLED, download the latest library. Then add it to the Arduino IDE by navigating to Sketch > Include Library > Add .ZIP Library and selecting the zip file you downloaded. Once it’s installed, you’ll have access to several FastLED examples.
4. Test Your Setup
Connect your LED strip to your microcontroller. I used a small breadboard and jumper wires to make my connections. Select the Blink example from File > Examples > FastLED > Blink.
Ensure the defined DATA_PIN matches the actual pin you used to drive the LED strip. Also make sure that you use the appropriate FastLED.addLeds function for your LED strip. For my LED strip, it looks like this:
void setup() {
  // NOTE: I also had to change my LED ordering from RGB to GRB
  FastLED.addLeds<WS2812B, DATA_PIN, GRB>(leds, NUM_LEDS);
}
Keep in mind that many LED strips use 5v logic on the data pin. In my case, my 3.3v esp8266 was still able to sufficiently operate the LEDS. But if you notice lots of flickering or the strip not working at all, you may want to use a logic-level converter.
Finally, select the correct port from Tools > Port and upload your sketch to your microcontroller. If you’re successful, you will see the first LED on the strip blink continuously!
5. Add Some Holiday Spirit
To get my Christmas lights up and running quickly, I used a gist called TwinkleFOX. It comes with a bunch of really nice holiday and wintery lighting effects out of the box. Download the gist, open it in Arduino IDE, and configure it.
#define NUM_LEDS      150
#define LED_TYPE   WS2812B
#define COLOR_ORDER   GRB
#define DATA_PIN        3
//#define CLK_PIN       4
#define VOLTS          12
#define MAX_MA       4000
Then upload it and watch it cycle through the different lighting effects. I recommend tweaking it to your liking by adjusting the ActivePaletteList towards the bottom of the file. I chose to use only the RedGreenWhite palette and commented out the others.
const TProgmemRGBPalette16* ActivePaletteList[] = {
  //&RetroC9_p,
  //&BlueWhite_p,
  //&RainbowColors_p,
  //&FairyLight_p,
  &RedGreenWhite_p,
  //&PartyColors_p,
  //&RedWhite_p,
  //&Snow_p,
  //&Holly_p,
  //&Ice_p
};
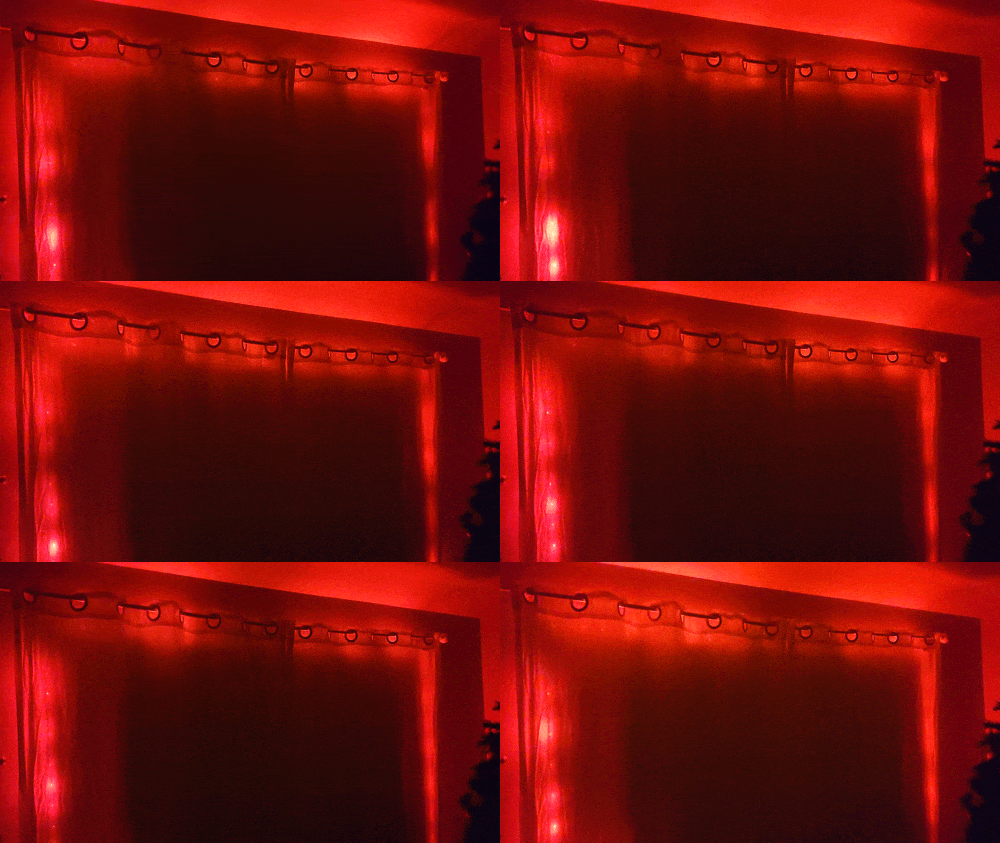
After a few hours of work, my custom Christmas lights were ready to go. Some fun next steps might involve adding a timer or, if you’re ambitious, utilizing the ESP8266’s WiFi to control the lights from an app or a web browser! The possibilities are endless.
Happy holidays, and happy coding!

