
Web components are a powerful feature that allow you to create reusable, custom HTML elements. We will go over how to export a web component from an Angular project and use the component in a non-Angular project.
Prerequisites
This post assumes the reader is familiar with NodeJS and Angular and has NodeJS and the Angular CLI installed. For help setting up these prerequisites, see the NodeJS and Angular CLI documentation.
Project Initialization
We will start by using the Angular CLI to initialize our new project, ng new angular-web-components --create-application=false. This command will create a new, bare-bones Angular project without boilerplate code. Next, we will run a command to create the component we will export from the project as a web component, ng generate application MyWebComponent. You will be prompted with a few questions from the CLI. The first question will ask if you would like to add angular routing to the application; we want to choose ‘no.’ Otherwise, choose the options that work best for your project.
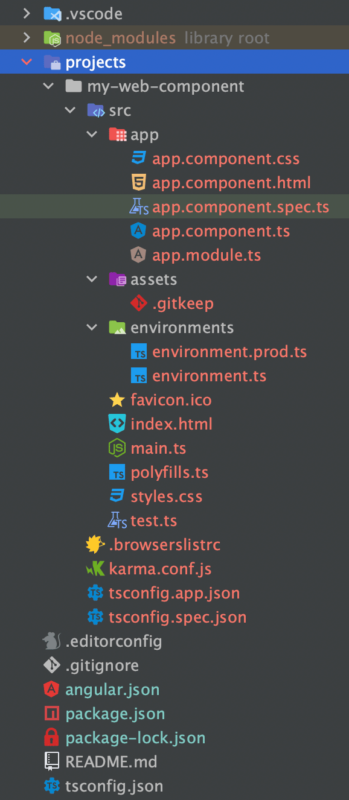
We have our project set up and are ready to build our web component. Your project structure should look something like this:
Create a Simple Component
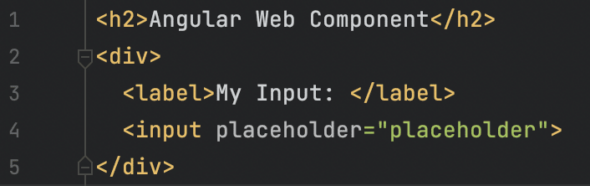
When we package our web component, Angular will include all the dependencies needed, including child components and services. However, for the sake of brevity, let’s create a simple component. We can replace the contents of app.component.html with some simple HTML:
Export the Web Component
To export our Angular component as a web component, we need to add the Angular Elements dependency to our project: ng add @angular/elements. Next, we will need to change the app.module.ts file. We can start by adding a constructor and a single parameter for the Angular Injector. Then we can use the createCustomElement function made available by the Angular Elements library to declare our web component:
export class AppModule {
  constructor(injector: Injector) {
    const banner = createCustomElement(AppComponent, { injector });
    customElements.define('my-custom-web-component', banner);
  }
}
An important note: the first parameter in the define method declares the name of the HTML element. This name can not be any of the standard HTML elements (i.e., div, span, body, etc.), and it can not be the same as the name declared as the selector in the @Component annotation of the component being exported.
Lastly, remove the bootstrap: [ AppComponent ] from the @NgModule annotation.
Building the Web Component
To generate the javascript and CSS files for our web component, we will need to run the build command, ng build --configuration production --output-hashing none. The --output-hashing none flag will remove the hash codes from the javascript and CSS file names.
After the build finishes, your dist directory should look like this:
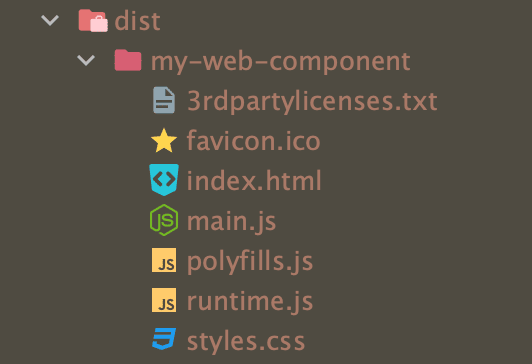
The necessary files here are the three JavaScript files and the CSS file: main.js, polyfills.js, and runtime.js, and styles.css.
Testing the Web Component
Next, let’s copy the four files previously mentioned to an empty directory, ./test-scaffold. We can now add a index.html file to host our web component.
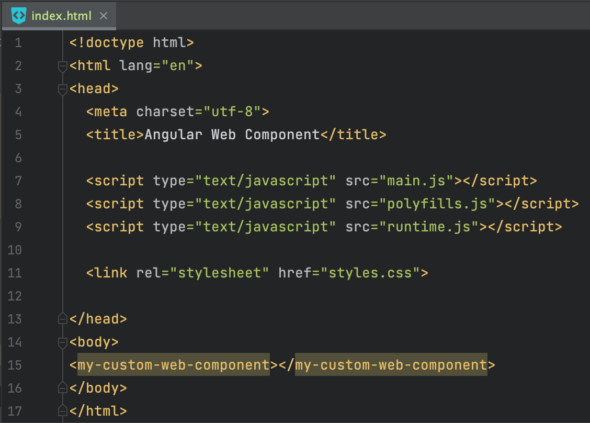
Lastly, we will install an NPM package that will serve our index.html, npm install serve -g. Then from our ./test-scaffold directory run the command serve from the terminal. In your browser, navigate to http://localhost:3000 and see our web component live!
This will not work for Angular 14 and above
This has worked for me ok today, using Angular 15.
The only difference is that the `ng add @angular/elements` is no longer valid, just add it as a normal package `npm i @angular/elements –save`.
The schematic got removed as it no longer had any custom steps to perform since Angular 13