Software developers love building automations. We write tests to keep our code in check, build pipelines to ease deployment, and create scripts to simplify repetitive tasks. But you don’t have to be a software developer to use automations. Thanks to Apple’s Shortcuts app, you can build them yourself with little to no coding experience. Below, you’ll learn how I built my own personal automation to simplify my daily routine.
The Scenario
I have noisy neighbors, so I like to play white noise and/or rain sounds at night to help drown out the sound. For a long time, I had to do this manually every night: connect to my Bluetooth speaker, turn on the white noise, and adjust the volume to the right level. In the morning, I had to do the reverse: turn off the white noise and make sure to disconnect from my Bluetooth speaker before playing any other media. Why bother doing all this every day when I could have done it automatically? Enter the Shortcuts app.
Our First Automation
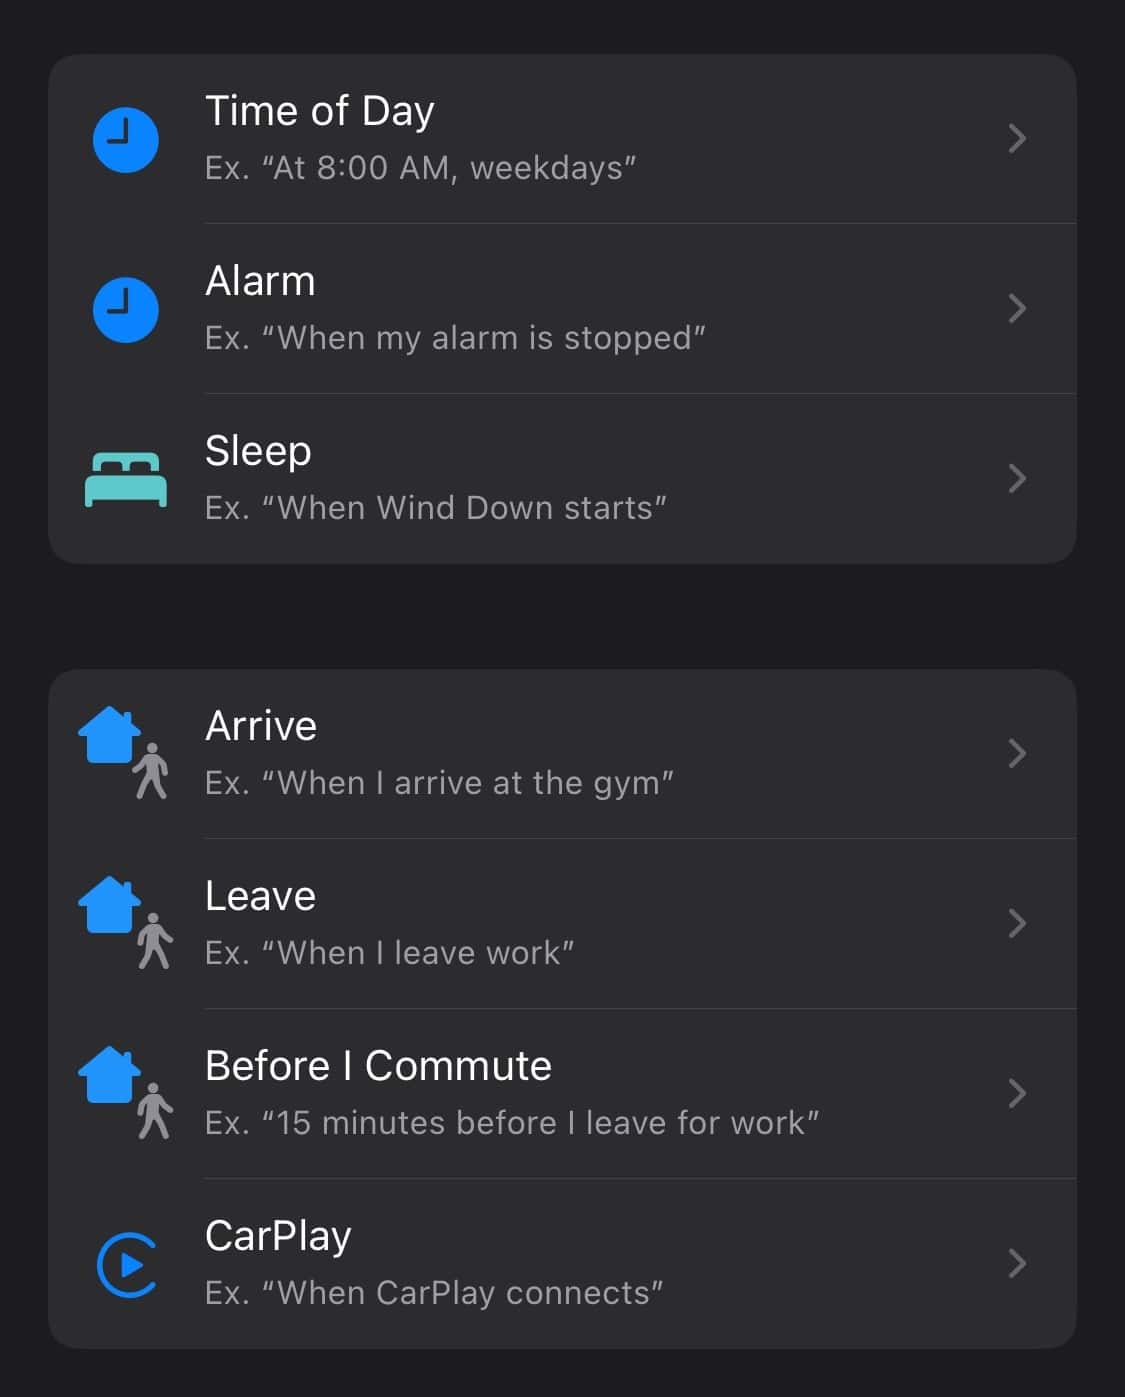
The first step to building an automation is deciding how and when to activate it. There are several automation triggers available, including arrival at a location, connecting to a charger, and opening an app. You can choose whichever trigger makes the most sense for you. I decided to use an NFC tag that would trigger the automation any time I tap my phone on it. You can get these on Amazon for really cheap.
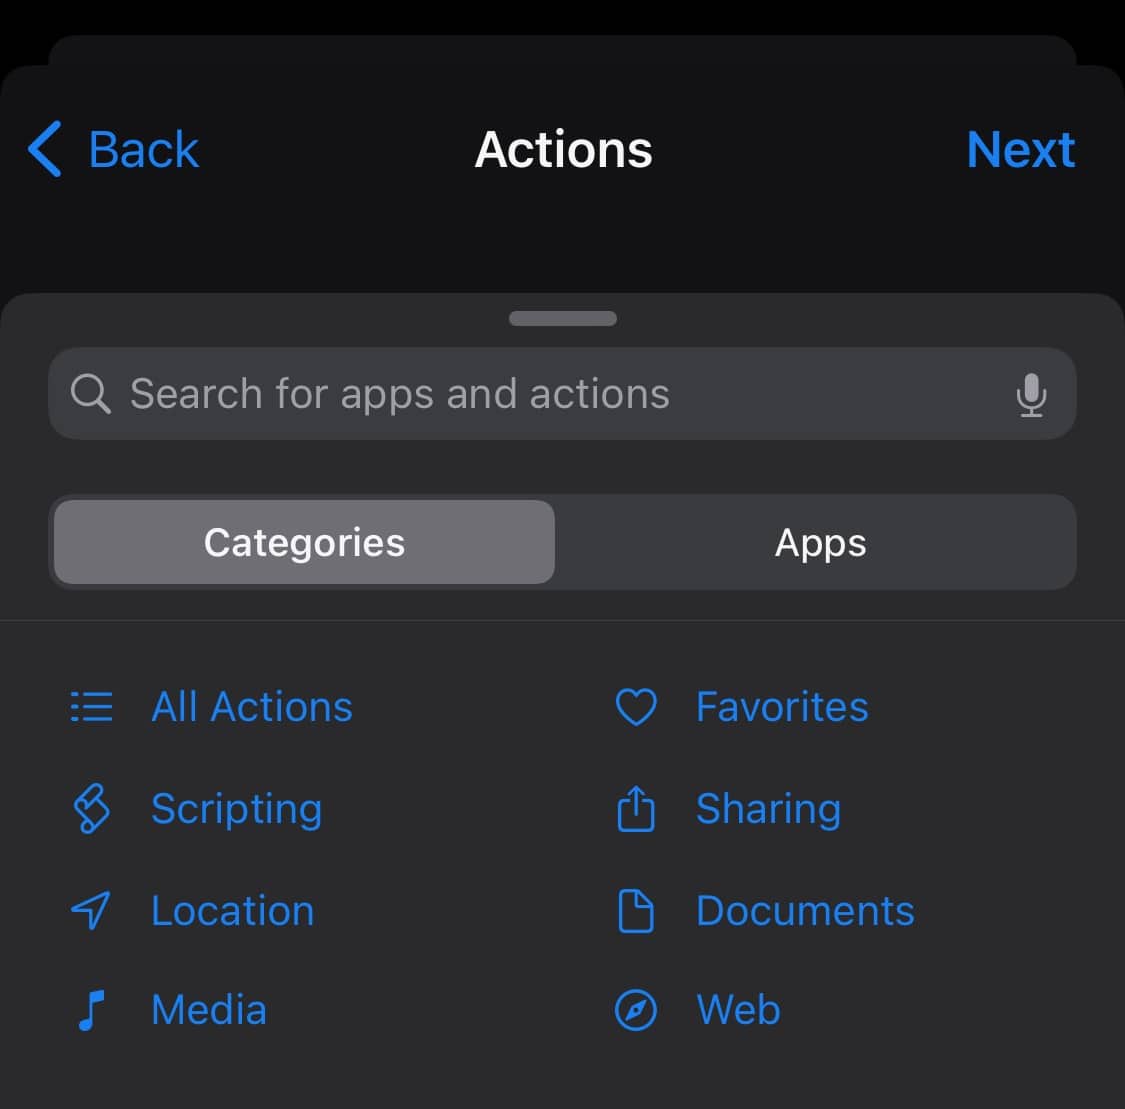
From there, we can build out a simple automation to connect our Bluetooth speaker and start up white noise. We’re greeted with an “Add Action” button, which pulls up a searchable palette of actions.
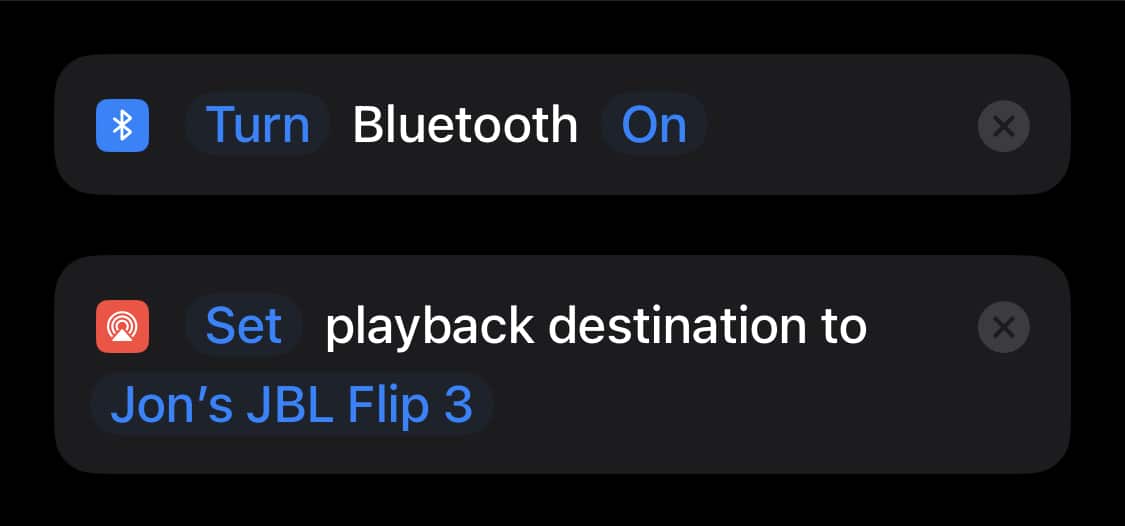
The first thing we need to do is make sure Bluetooth is on and connect the speaker. Search for the “Set Bluetooth” action and insert it into your automation. Afterward, insert the “Change Playback Destination” action. From there, you can select whichever device you want to play audio from, in my case, Jon’s JBL Flip 3:
Next up, we’ll use some more actions to set the volume and start the white noise sound. The audio I like is directly from Apple Music, which makes things a little more convenient, but there are other third-party apps that support Shortcuts too.
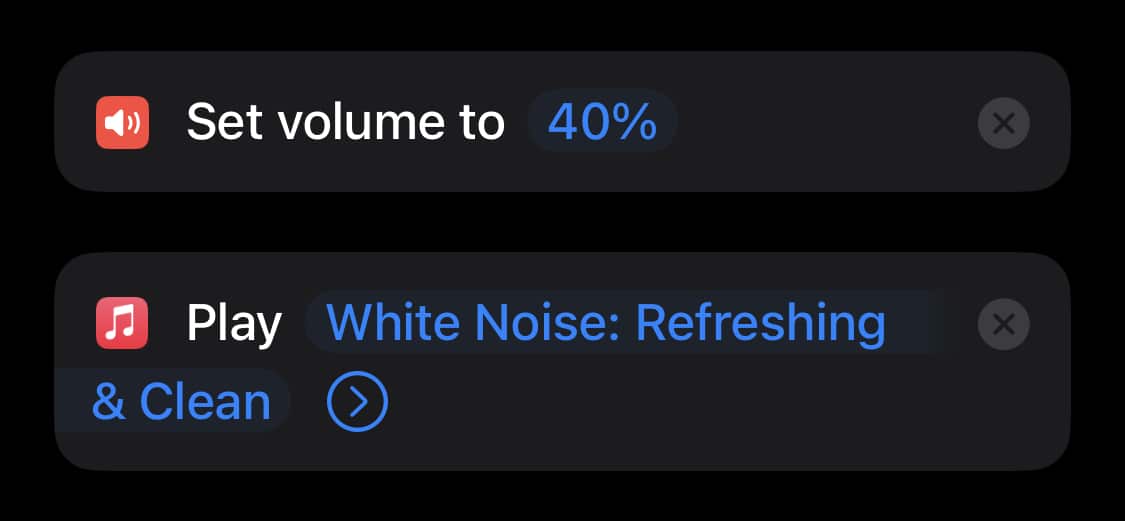
Running the automation now, it successfully connects to the Bluetooth speaker and starts playing white noise. Nice!
Pairing with a Wake-up Automation
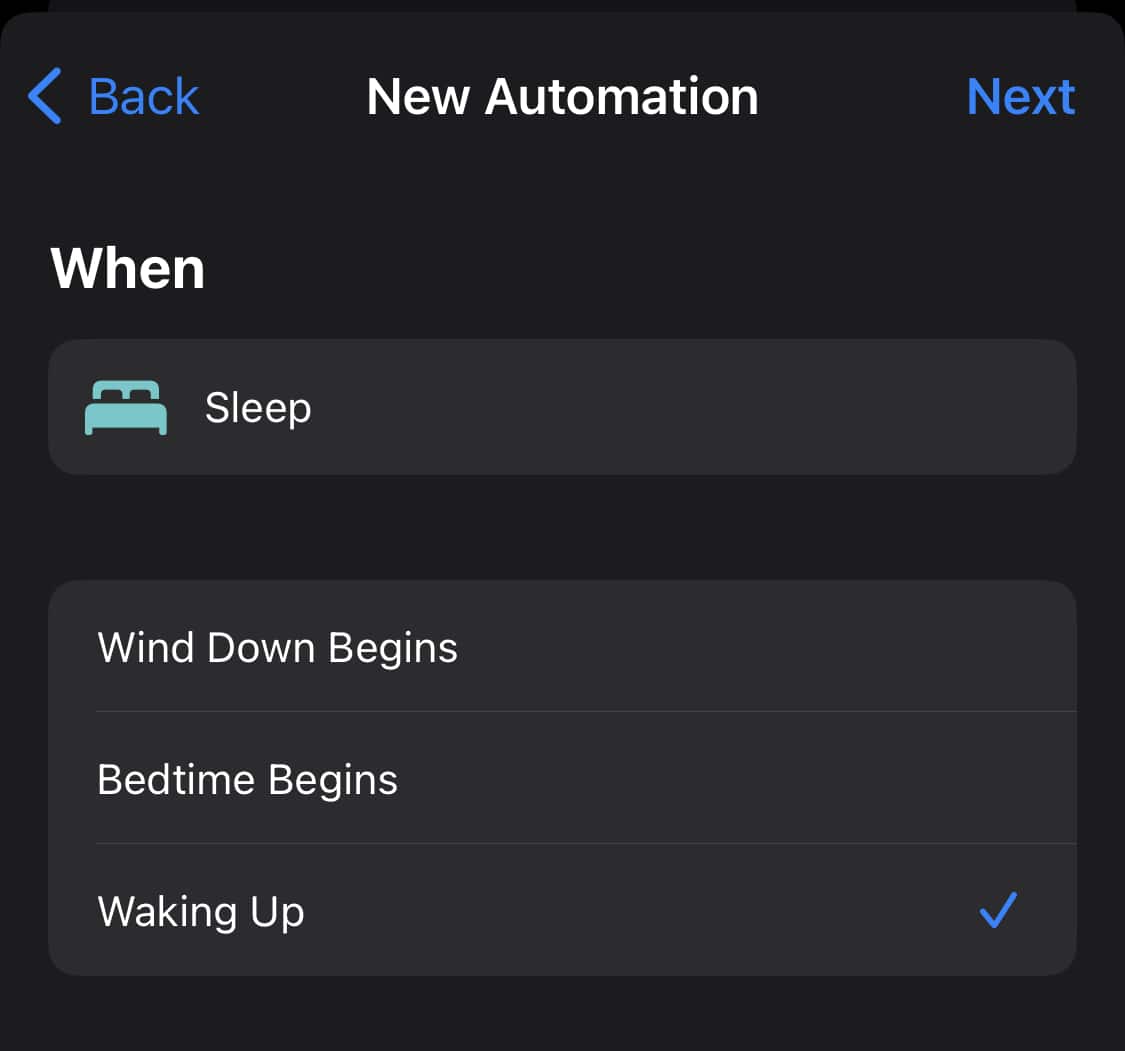
While it’s great to automate turning on white noise at night, we can go even further by adding a new automation to turn it off in the morning. This automation might be triggered by an alarm going off, or, in my case, when Sleep focus ends.
This automation only requires two actions: “Play/Pause” and “Set Bluetooth.” As you’d expect, running this automation stops the audio and disconnects the Bluetooth speaker:
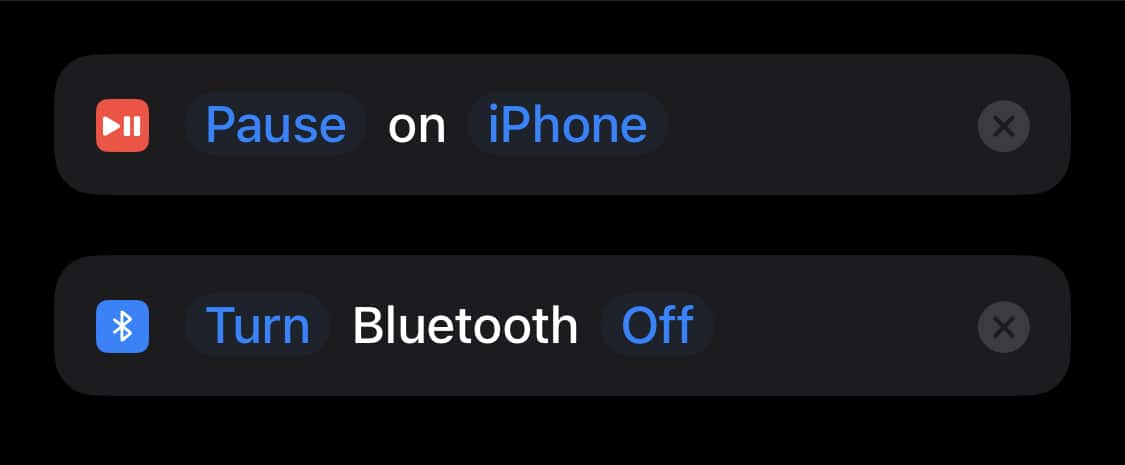
Optionally, you can add another “Set Bluetooth” command at the end of the automation to turn Bluetooth back on after the speaker has disconnected.
Adding Some Polish
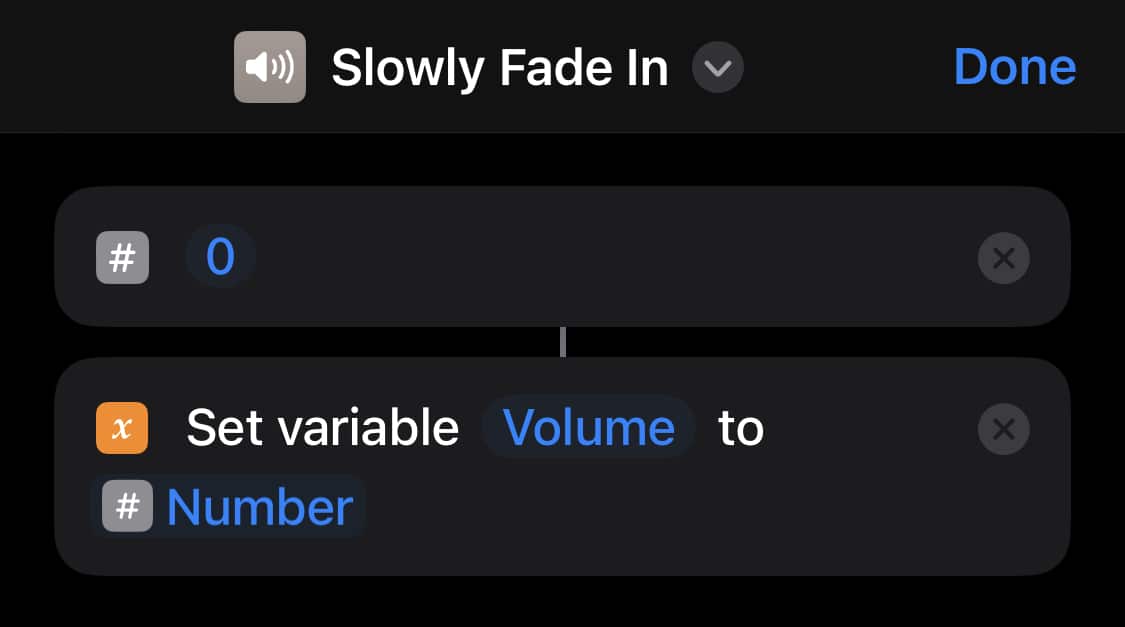
Our automations work, but having the audio abruptly cut in and out is a bit jarring. Let’s improve this by adding a slow fade transition. We’ll create two new shortcuts that we’ll invoke from our automations, titled “Slowly Fade In” and “Slowly Fade Out.” These shortcuts will use variables and loops, concepts familiar to any software developer.
Starting with our fade-in shortcut, we’ll create a variable “Volume” and initialize it to 0. We can do this using the “Number” and “Set Variable” actions.
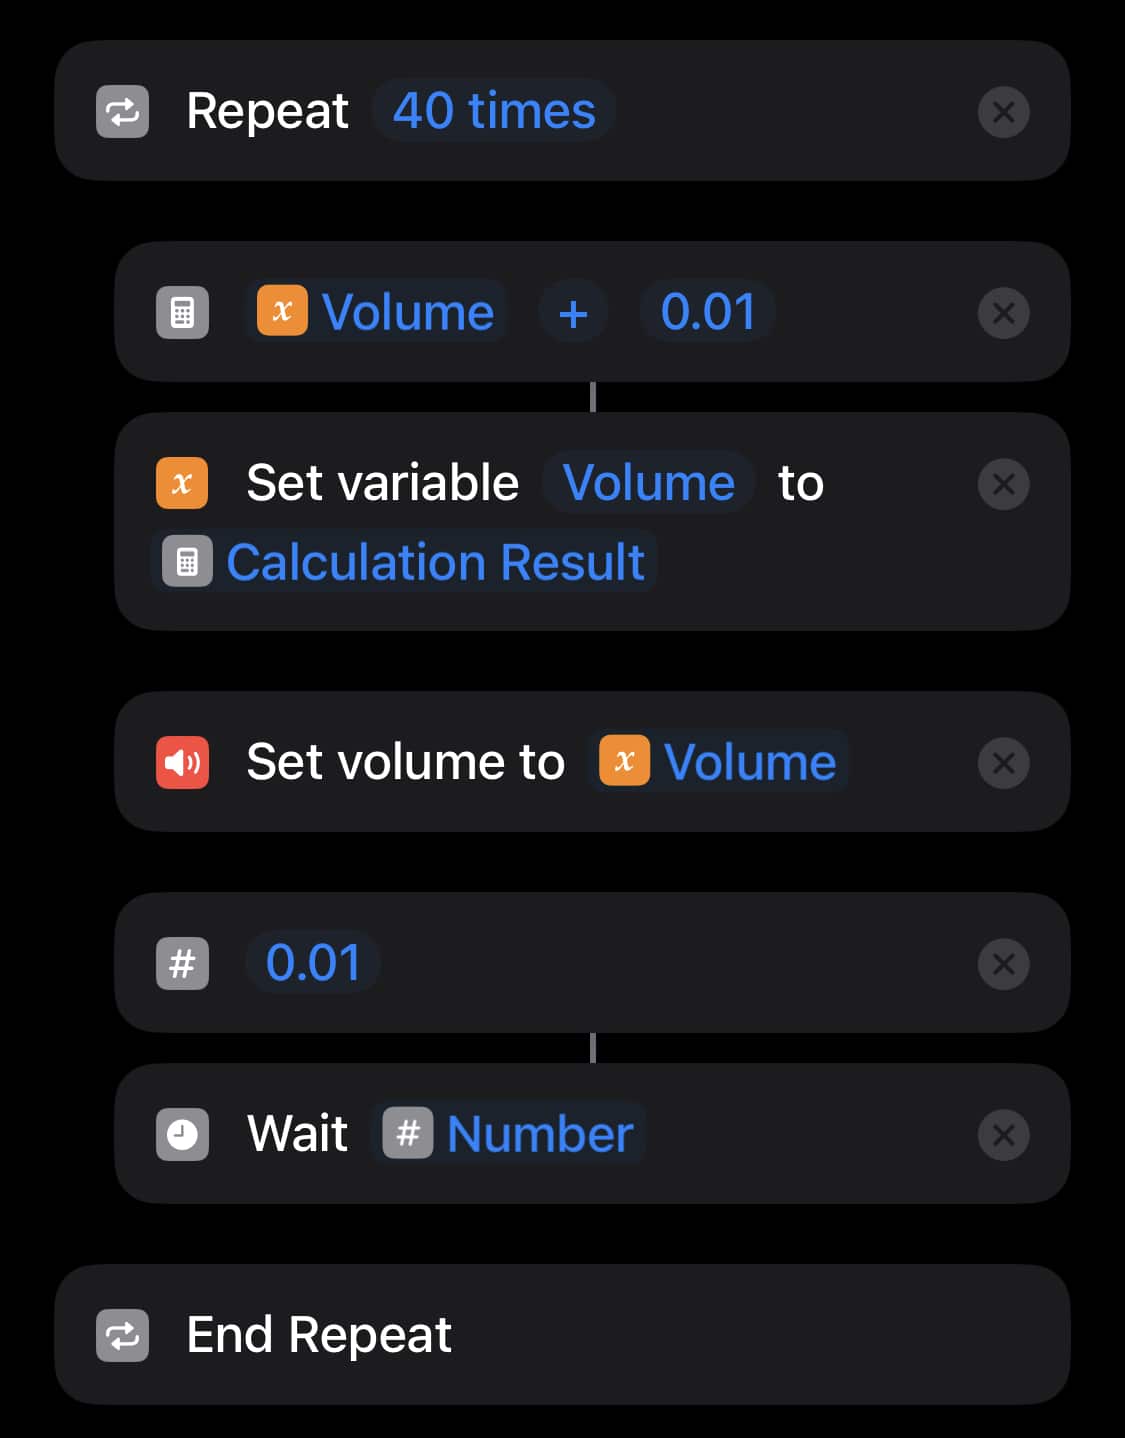
Next, we’ll write a loop that gradually increments the “Volume” variable, setting the system volume to the variable’s value each time. Since I like the volume at 40%, I’ll repeat the loop contents 40 times, increasing the volume by 1% each time. We can accomplish this using the “Repeat”, “Calculate”, and “Set Volume” actions, adding a “Wait” at the end so it increments slowly over a few seconds, instead of all at once.
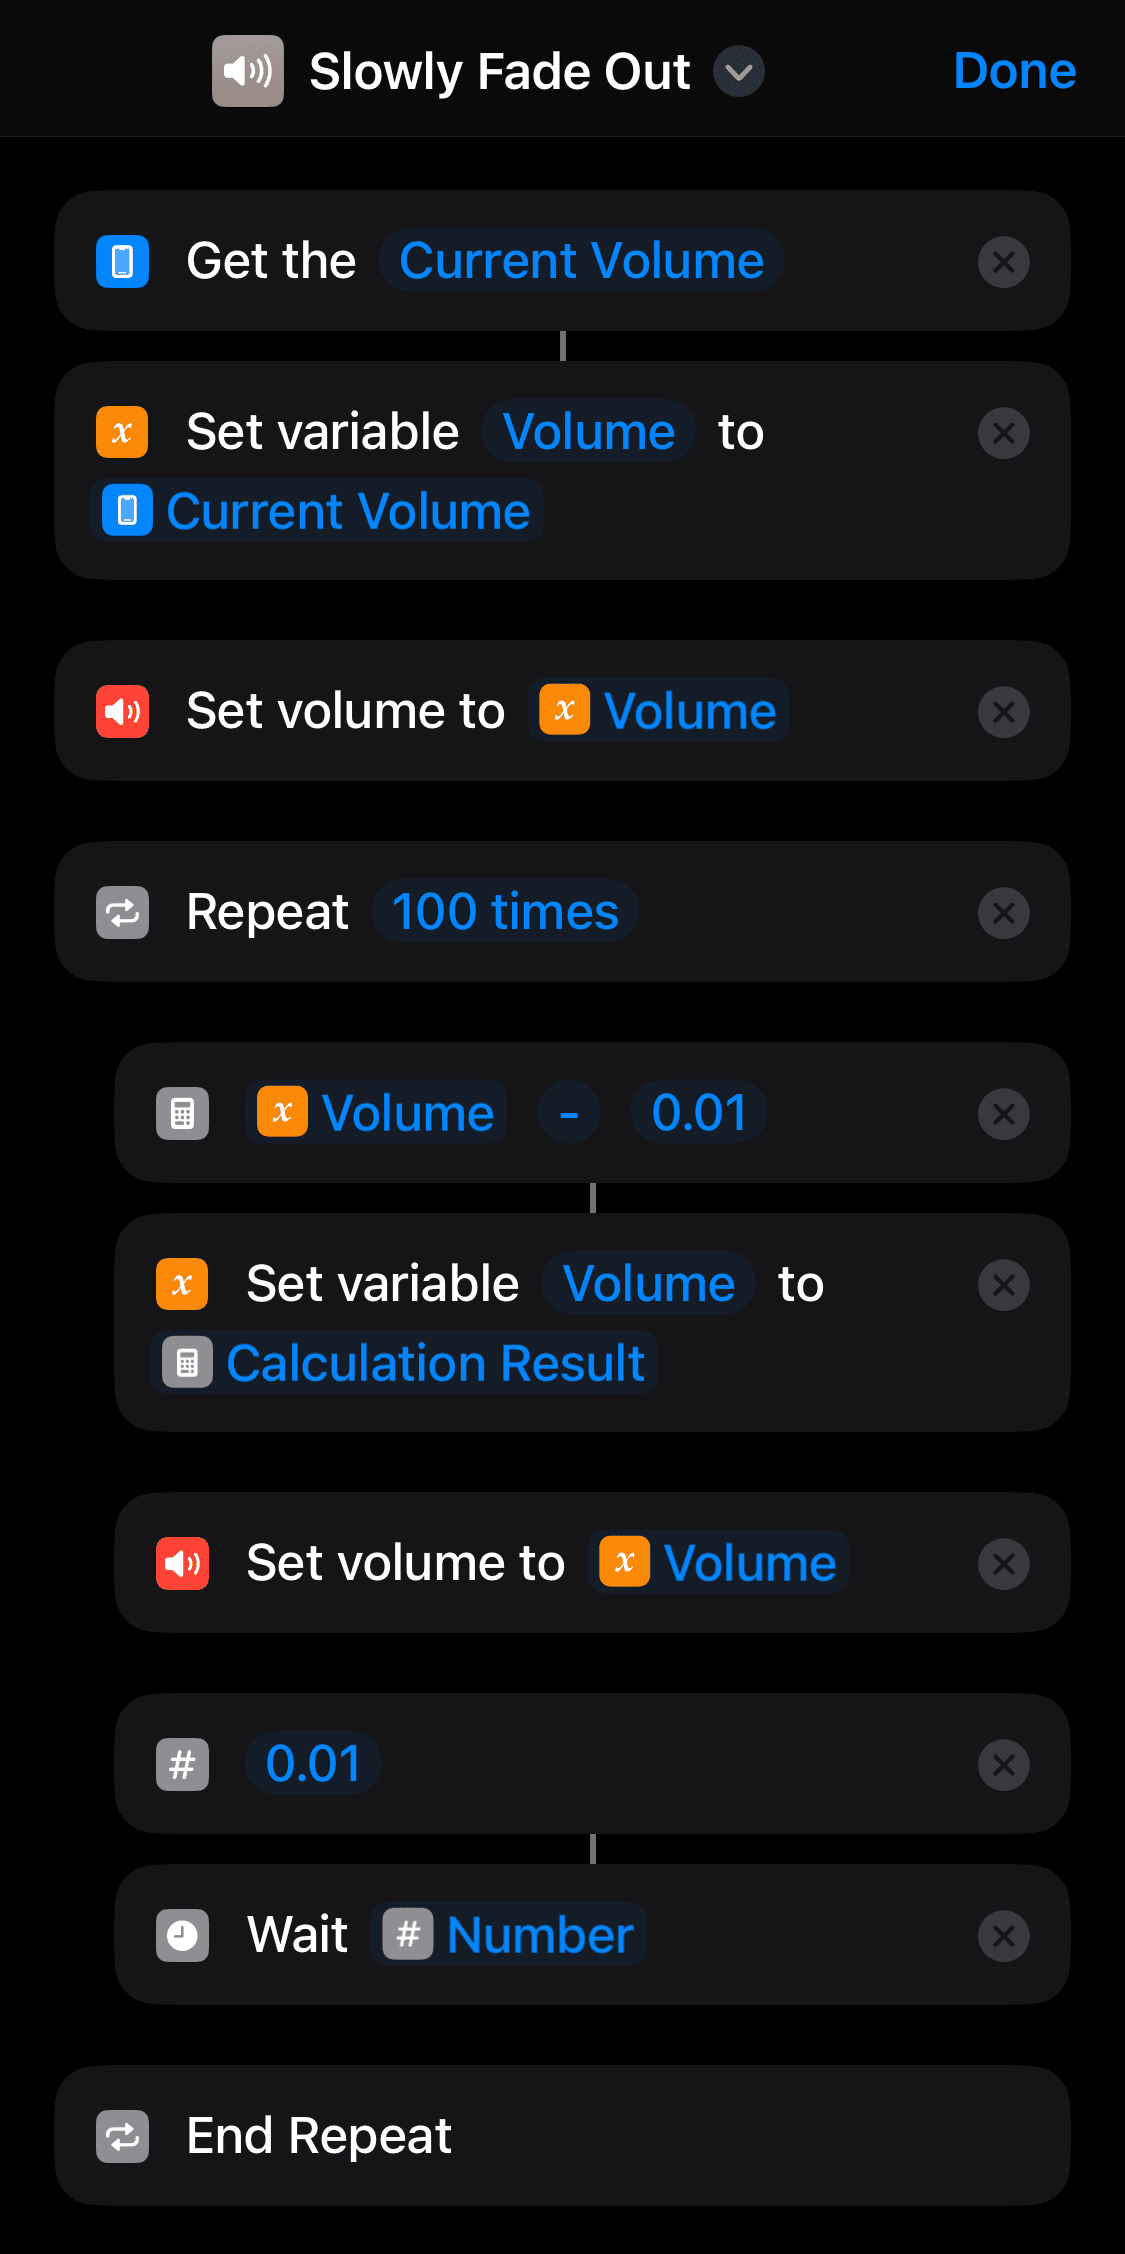
The fade-out shortcut is very similar, with three main modifications:
1. Instead of setting “Volume” to 0 at the beginning, we set it to the current system volume (in case we manually changed the volume overnight)
2. We loop 100 times instead of 40 (again, to cover different possible initial values)
3. Instead of adding 0.01 to “Volume”, we subtract it.
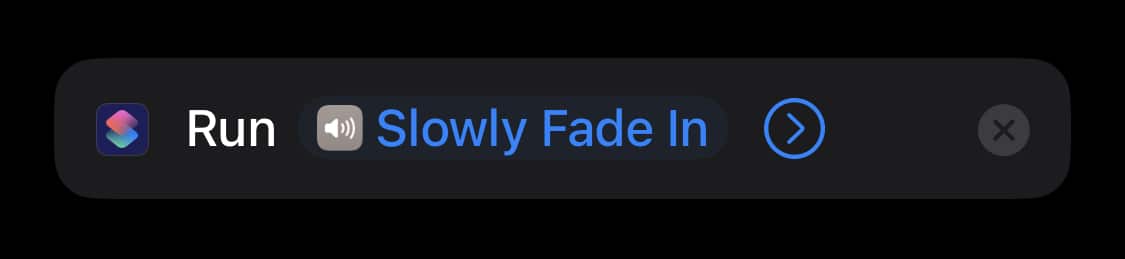
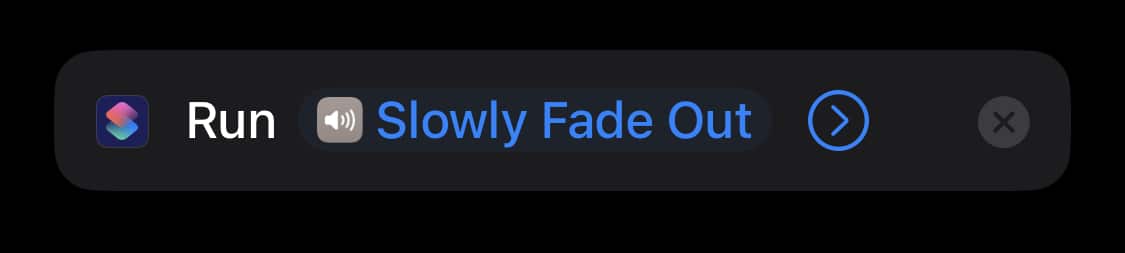
Finally, we can run these shortcuts from the automations we made earlier using the “Run Shortcut” action:
Done!
With that, we’ve built simple automations for our bedtime and wake-up routine. How convenient! This is just one of the many automations you can build using the Shortcuts app. I’d encourage you to explore the possibilities yourself and see what you can make!