
Article summary
Recently, I discovered a new tool that quickly became an integral part of my daily development workflow. It’s called up – the Ultimate Plumber. It allows for interactive chaining of pipe outputs. This is a good choice for anyone who frequently pipes the output of awk, sed, grep, and other command line utilities together.
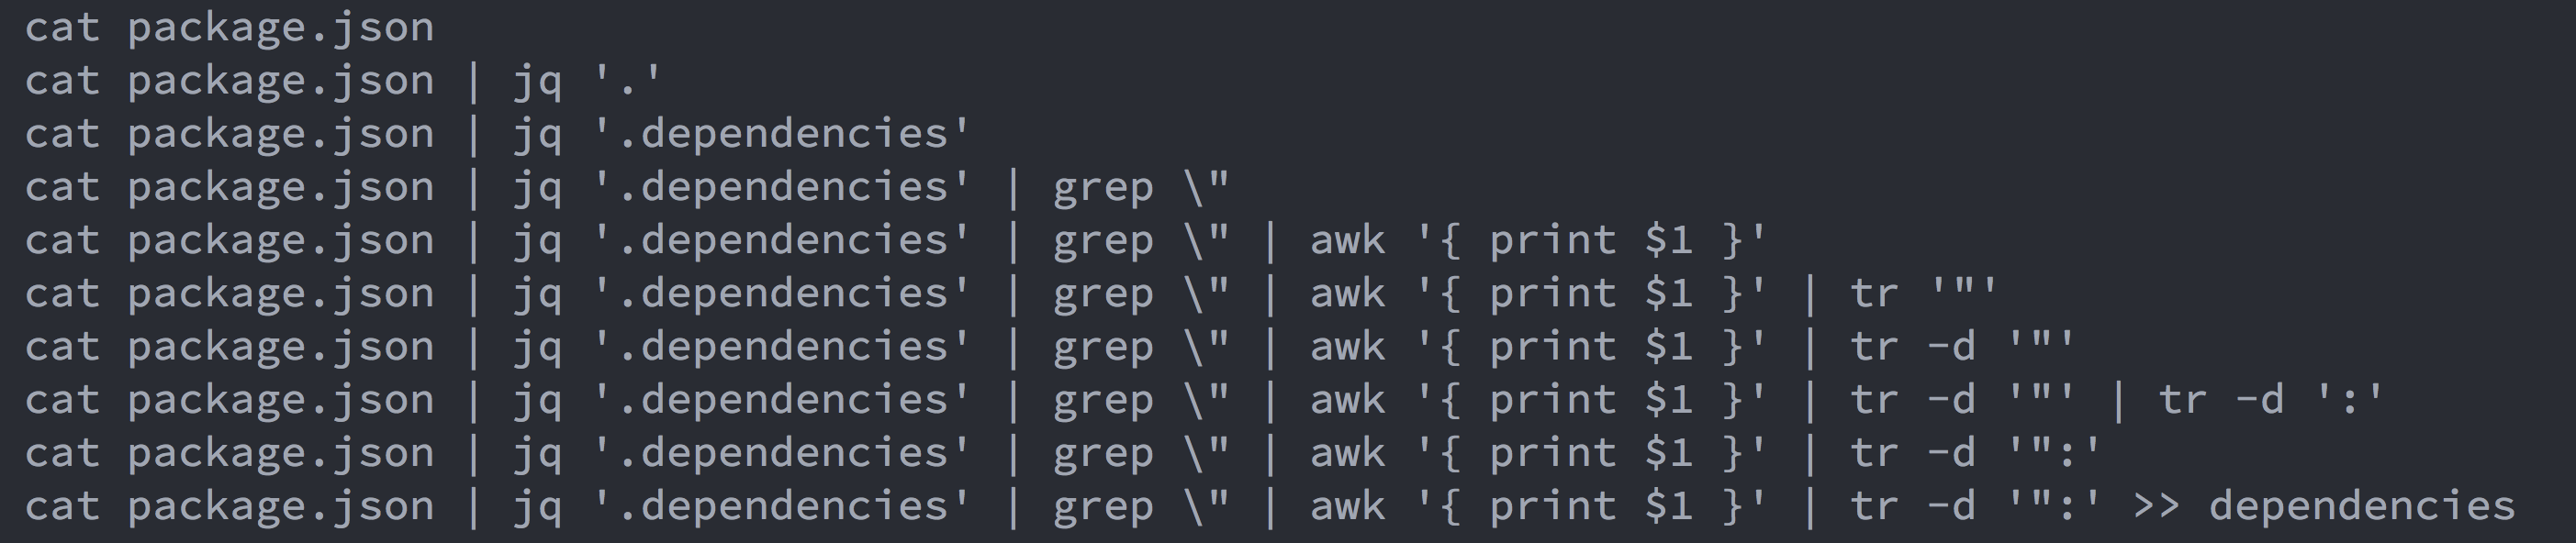
When chaining commands together, I used to rely on the trial-and-error methodology. I’d run a command, look at the output, pipe it into grep, check the results, pipe it into awk, and so forth.
Since I started using up, piping commands has become easier and more efficient.

With up, you just need to run a command once, pipe it to up, and then enter the interactive editor.
Benefits of Interactive Piping
1. There’s no need to run commands multiple times.
This is especially noticeable when one of the commands takes a few seconds to run. With up, the base command runs once. Before I discovered up, I spent far longer than I should have parsing and manipulating commands that didn’t run instantaneously. One possible workaround is to save the results of a command to a file, but that requires changing the base commands and can clutter directories with forgotten output files.
2. Instant feedback leads to quick changes.
Changing a single command in the many chained commands produces feedback immediately, and it eliminates the need to wait for a command to finish running.
3. You can get rid of clutter in the command history.
I’m sure I’m not the only one who could look back in their shell history and see the familiar pyramid–a growing list of attempts from trying different command combinations. With up, you can run the base command once, continue to pipe new commands to it, and exit the interactive editor when satisfied. This method will leave just one command in your history, preventing the question of, “Which attempt out of these 10 was correct?”
4. It’s easy to go back a few sub-commands and change something.
While this may seem minor, knowing that you won’t lose your cursor position after running a command is quite convenient. If you need to modify a previous command a few times, scrolling back on the line after each execution can get tedious.
Installation
This is how I installed it on my Mac. Your system may work differently.
- Download the script from the releases page.
- If necessary, create a directory in your PATH.
- If you haven’t done so already, create a directory (I like $HOME/bin/).
- Add
export PATH="/path/to/dir:$PATH"(export PATH="$HOME/bin:$PATH") to your.bash_profile,.zshenv, or profile for whichever shell you use. - Run
source /path/to/profilein your terminal, or restart your shell.
- Move the script to that directory
mv /path/to/downloaded/script $HOME/bin/up - Make the script executable with
chmod u+x $HOME/bin/up
I prefer this method of installation over the example in the up repository README. Now, to run up, you simply need to add | up to the end of a command.
Give it a try and let me know what you think!