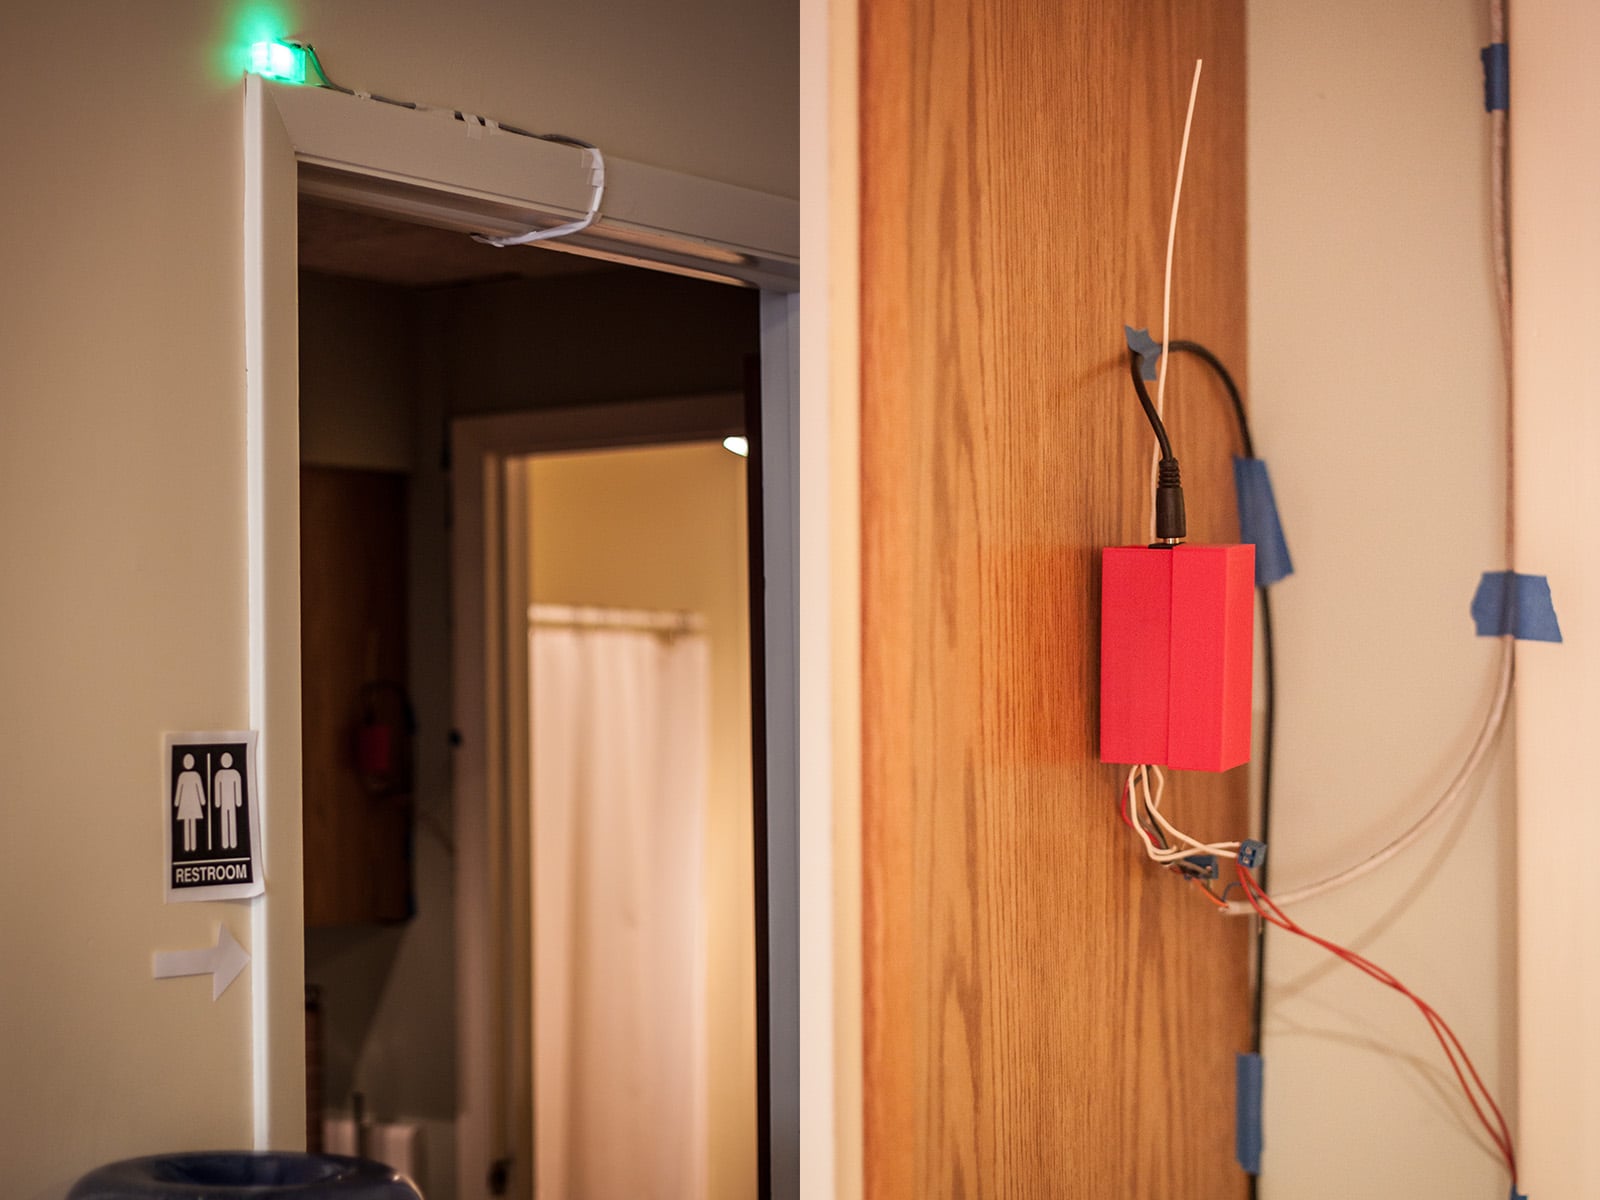
At the end of part 1, the radio link between the receiver and the bathroom doors’ transmitters was working, but how does the receiver get its data where someone else could see it? I could have put a couple red/green LEDs on the receiver board itself, or wired it to some sort of display, but that doesn’t give much room for future expansion. (We may be remodeling the downstairs floor in a couple months, and adding another bathroom is likely. Other sensors could also use the same radio link.)
Instead, I decided the receiver should broadcast its info onto the network, and other programs can use this information as they see fit. There’s still another step to get it to the network though, as serial and parallel ports are uncommon these days. USB is ubiquitous, but it’s a far more complex protocol. While there are libraries (such as V-USB) to do USB communication in-software, my ATtiny84 chip is probably too busy monitoring the radio signal to also juggle all the tightly-timed edges in a USB signal, and I’m fine with saving the process of implementing a full USB stack from scratch for another project. :)
USB Support
There’s another option, however; there are relatively inexpensive ICs that bridge USB to simpler serial bus protocols, such as SPI or I2C, or to UARTs (asynchronous serial IO). I decided on a FT230X chip, a UART-to-USB bridge. (I’ve wanted to learn to prototype inexpensive USB devices for a while, so I didn’t want a solution that would be overly specific to the receiver.)
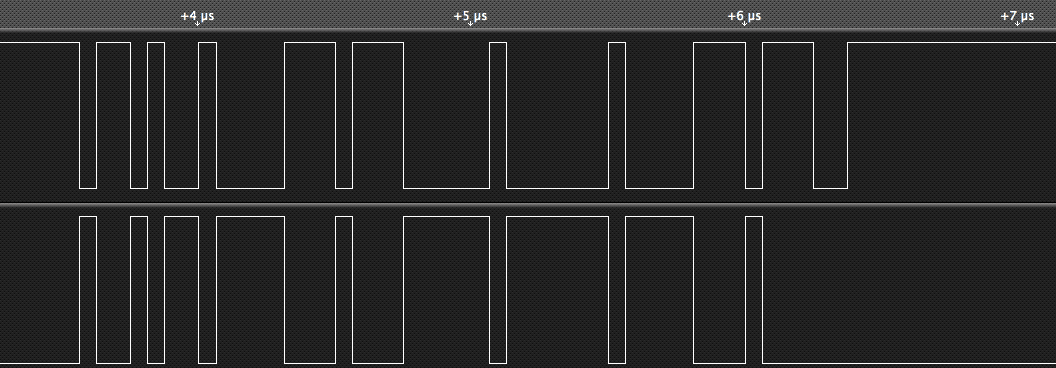
My ATtiny84 didn’t have hardware support for UARTs, either. I could have used an FTDI SPI-to-USB chip, but also wanted to make a software UART. I’ve configured UARTs plenty of times before, but never stepped through the protocol myself. Unlike SPI or I2C, which have a clock signal on another line, the UART assumes a known, shared clock. (And, unlike the Manchester Coding I used for the radio signal, the UART signal usually can’t have the clock rate determined dynamically.) The FTDI chip communicates at common rates such as 9600 or 2400 baud, which don’t cleanly divide into the ATtiny84 chip’s internal 8 MHz clock – using 833 1/3 clock ticks per edge would lead to signal slipping. If I put an external crystal on my ATtiny84, though, I could use a clock speed which allows a common transfer rhythm. I used a 15.36 MHz crystal, because it’s close to the max speed the ATtiny84 supports (16 MHz), but an exact multiple of 9600.
Serial IO / UARTs

Once they had a shared rhythm, I still needed to set up the actual protocol. The transmit and receive lines work the same way: the signal is at logic high when idle, then pulled low for one bit’s time (the start bit), then a certain number of low (0) or high (1) bits are clocked out, then a high stop bit. At that point, one byte frame has been delivered. The line can either drop low for a start bit, indicating another byte is on the way, or stay high if the message is complete. Easy. (I wrote a little C library, “bluebottle”, for doing this in software.) There are some options, like varying the amount of bits per frame or adding a parity bit for error detection, but 8 bits per byte, no parity, and 1 stop bit is quite common. (This is where the “8-N-1” in terminal programs comes from.) There are other lines that can be used for optional flow control, but I’m only transferring a few bytes, so I didn’t need them.
The FTDI chips have a corresponding generic USB driver that allows me to treat them like a virtual serial device on the USB host side. Once I set up libftdi, I could just plug in my receiver, connect the driver program to the detected USB device, and periodically read any available bytes from it. The driver is usually already installed on Windows or Linux, but I needed to update the OSX homebrew recipe for libftdi, because 230X chip support was recently added.

Now the door state data has crossed the threshold into our network, but nothing is actually publishing it yet. In part 3, I set up MQTT and HTTP endpoints for it, and tie everything together.

