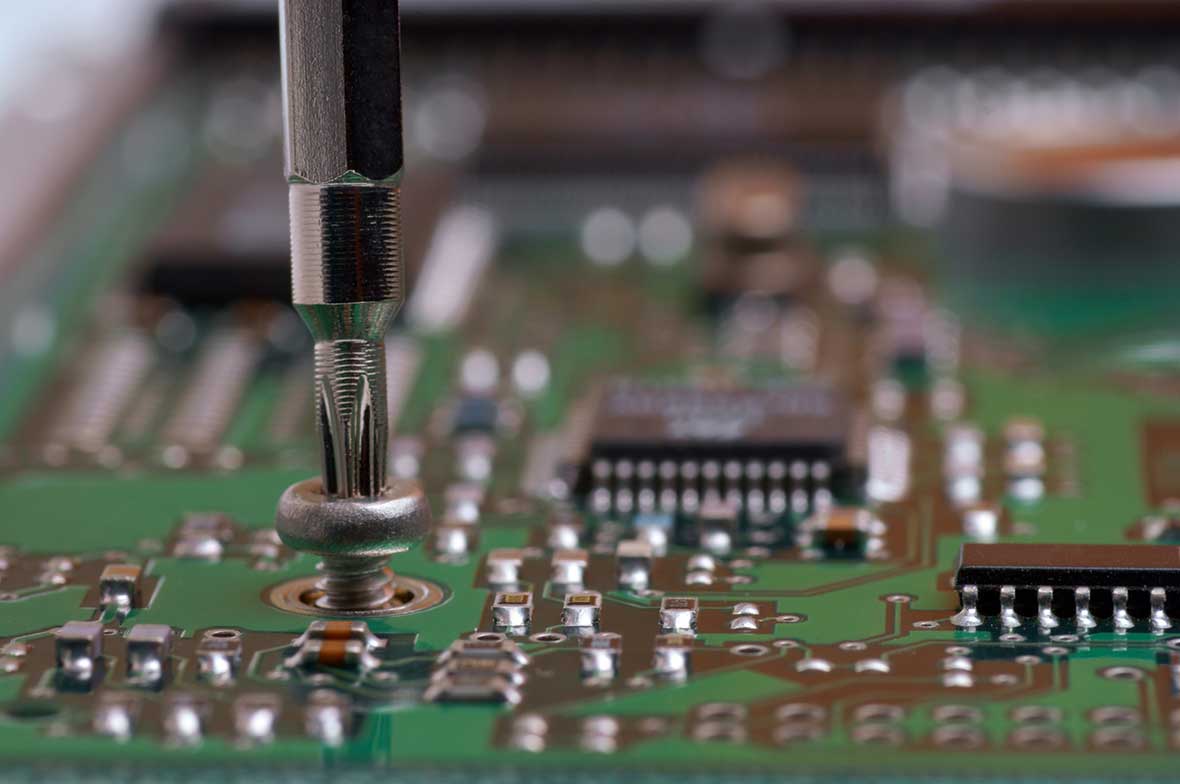
My PC wouldn’t boot, didn’t even make a sound. I traced the problem down to a particular mounting screw, but there was nothing to indicate that this screw was problematic. It was a perfectly fine screw, correctly installed in the right place. How did I figure this out? Debugging!
Debugging: the process of discovering how your system actually behaves (once you’ve discovered that it doesn’t behave how you think it does; see: testing).
I’ve wanted to write a post on debugging techniques for a while, but it’s just too big a topic for one post, so I’ve decided to start a series! In each one, I’ll talk about a couple of useful debugging techniques, discuss where they are useful, and give a real-life example where I’ve used those techniques to corner a crazy bug.
Technique 0: Have an Inquisitive Mindset
Before we begin debugging, we must have the right mindset. This might seem like a silly thing to list as a “technique,” but it’s actually super-important.
The goal of debugging should be to understand why the program has the behavior that it does. It should not be to fix the problem. Trying to fix the problem before you understand it is misguided. In the best case, it takes much longer than necessary, and in the worst case, you end up “fixing” the problem in the wrong way and causing more issues that will crop up later.
Technique 1: Break the System into Smaller Pieces
If it’s at all possible to break the system down into two smaller pieces (preferably as close to equal size as possible) and test them independently, do it. Cut out as much as possible—both what you think might be relevant, and what might not be.
This is essentially equivalent to the good ol’ binary search, and it’s one of my favorite techniques to use. Even with impossibly large systems (say that have 2^32 different potential points of failure), it only takes 32 experiments to find the failure (assuming you can divide the system evenly each experiment, and a bunch of other pedantic caveats).
Unfortunately this doesn’t always work. If it doesn’t, it’s usually because of one of two reasons:
- You can’t break the system down further.
- The failure isn’t in a specific component but is caused by a higher-order interaction between several components.
However, in the second case, the experiments you do as you break things down still provide valuable information, and they can also help you detect a more serious problem.
A real-life example
I recently built a PC out of some old parts. I got everything put together and plugged in, flipped the switch, and…nothing happened. No blinking lights, no fan, nothing. After about 15 minutes of debugging, I finally traced down the issue. Here’s how it went.
First, I did the basic sanity checking (“Did I remember to plug it in?”), pushed the power button a few more times, and still nothing.
Then I started subdividing. I unplugged my drives, front panel audio, and USB connectors. If it had suddenly started working, I would have followed the binary search algorithm in the direction of the removed components and put about half of them back in. But in this case, still nothing.
I conveniently happen to have a PC power supply tester, so I unplugged the power supply from the motherboard and tested it by itself. It checked out OK. This didn’t perfectly follow the binary search, but it was a very quick test.
I plugged the power supply back into the motherboard, and in desperation, I unplugged all of my case fans, the PC speaker, all switches (except the power switch) and LEDs and from the front panel, and the video card. This left just the power supply, the CPU, the CPU fan, the motherboard and the RAM connected. Still nothing. And I mean nothing. No beeps, no fan wiggles, nothing.
Declare the motherboard dead? Or keep debugging?
At this point, I was pretty sure the motherboard was just dead. Usually when RAM or a CPU goes bad, the system will still at least turn on (and then promptly crash). If the motherboard were still under warranty, I’d probably stop now.
But it wasn’t, so just to make sure I had narrowed it down as much as possible (maybe against all odds, the RAM or power switch was bad?), I kept going.
Next, I pulled out the RAM (the CPU and power supply fans should still turn on in this case), unplugged the power switch, and very carefully shorted the power switch pins with a screwdriver. Still nothing.
At this point, I was almost certain that the motherboard was dead. But, as crazy as it seems, I wasn’t quite at the simplest possible configuration that I could test. I could still subdivide a little bit further. So why not…I removed the motherboard from the case, carefully shorted the power switch pins, and, THE FANS TURNED ON! OMG! WTF!?
I turned the power supply off, put the motherboard back in the case, mounted it with just two screws, pushed the power button, AND IT STILL WORKED.
I put in the rest of the mounting screws, and…nothing!?
Pulled a couple back out, and IT WORKED!
Put one back in, and…nothing.
Took it back out and IT WORKED!
Put it back in and, nothing.
Success!
I was actually so surprised that I took the motherboard back out again and inspected that hole for any scratches or dust or anything. I even tried a different screw.
My assumption is that there is probably either a manufacturing defect or damage to the motherboard that is shorting some power circuit to ground. Mounting screws are usually supposed to connect the grounding planes in circuit boards to the case, but apparently this one is also connecting something else?
If this were a brand new motherboard, I’d probably send it back for an RMA.
But for now, I guess I’ll just leave that screw out. :)

