
Recently, I had trouble getting ahold of my wife at home. She had forgotten to take her phone off Do Not Disturb mode, and when I tried to call, she didn’t answer. This happens fairly often, so to address this problem, I decided to build a text-to-speech “Squawk box” using a Raspberry Pi and some other hardware that I had at home.
Acquire Hardware
First, let’s gather the hardware we need.
| Item | Purpose |
|---|---|
| Raspberry Pi 3 or newer | Board (Raspberry Pi 2 may also work) |
| Raspberry Pi Micro-USB charger | Power the Raspberry Pi and speaker |
| Anker Soundcore Mini (any speaker will do) | Inexpensive speaker that can be reused later |
| MicroMini plug cable | Micro USB cable for powering speaker |
| Project Box | Not necessary but provides a more polished experience |
| 2″ Speaker Grille | Again not necessary but looks more polished. |
| Clear caulk | For keeping speaker grille mesh in place |
Prepare Project Box
Next, we’ll prepare the hardware.
I drilled a 2″ hole in the front panel of the project box for the speaker. I also drilled the same size hole in the back because my project box wasn’t deep enough for the speaker. Finding a larger project box would have been ideal, but I already had an extra one on hand.
I also drilled a couple of holes in the project box for running the power and audio cables.
I then mounted the speaker grille on the front panel. I drilled holes for the screws and used some clear caulk to keep the mesh in place.
Install Hardware and Connect Cables
Then, we’re ready to connect things up.
- Slide the speaker into the project box.
- Connect micro-USB power cable to Raspberry Pi
- Connect audio cable and micro-USB to USB-A cable from speaker to Raspberry Pi
- Slide in the Raspberry Pi.
I was able to simply push the Pi in next to the speaker. I didn’t need to use any method for attaching it because it was already a snug fit. - Attach front panel.

Set up System and Required Software
Next, we’ll set up the software.
After installing Raspbian onto your Raspberry Pi, install Festival text-to-speech Software:
$ sudo apt-get install festivalCreate Helper Script
We’ll create a simple script to pipe standard input from the iPhone Shortcuts app into the TTS system:
echo "$ cat | festival --tts" > squawk
$ chmod +x squawk
Prepare Remote Access
Generate SSH keys for your Raspberry Pi account:
$ ssh-keygenWe are now ready to set up our iPhone to use the squawk box.
Configure Shortcuts App on iPhone
Add a new shortcut with the following:
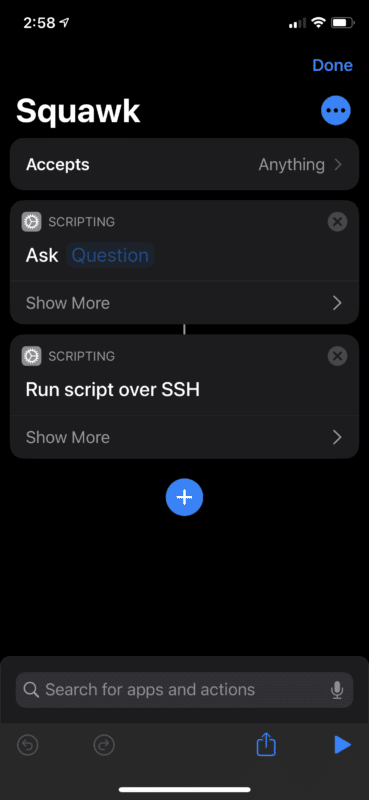
Configure Run script over SSH:
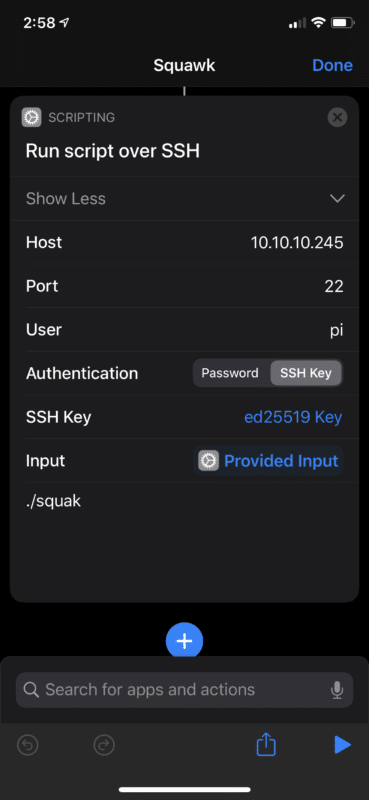
Use the IP address and username you set up with you first installed Raspbian. Configure the script to run ./squawk (the script we created earlier).
Share the Public Key for your Shortcuts app on iPhone with yourself:
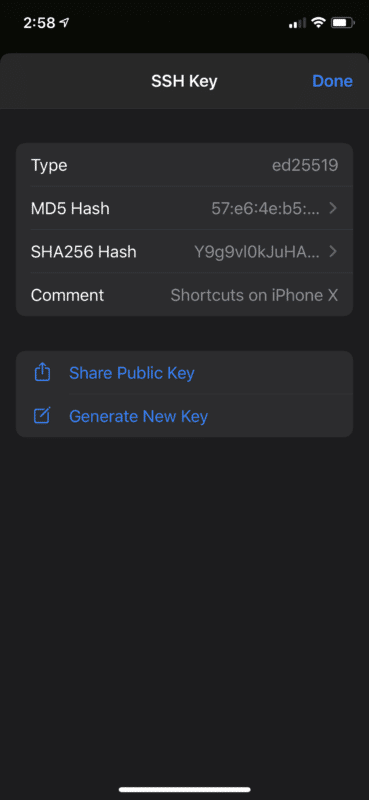
Add the public key to your ~/.ssh/authorized_keys file on the Raspberry Pi. This will allow password-less access to your Squawk box from your iPhone.
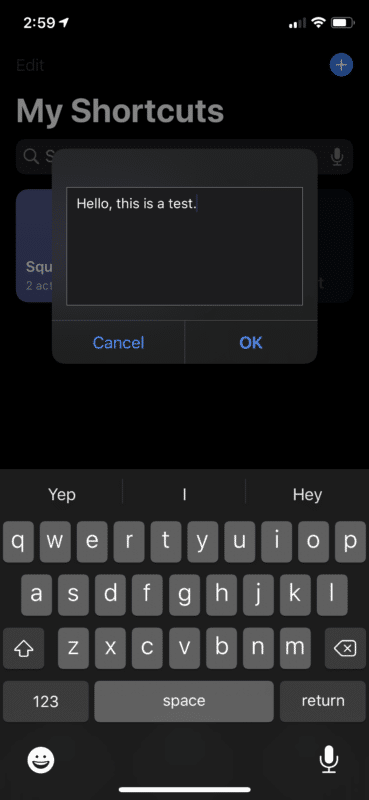
Test It Out
Run the Shortcuts app, enter some text, click okay, and listen on your new Squawk box:
Conclusion
This was a fun little project that required very little effort to set up. I wanted to make the outward appearance of the box acceptable enough to sit on a nightstand beside the bed, but of course, you can do as little or as much customization as you wish.