Recently, I bought a new M1 MacBook Pro after using Intel MacBooks for the last 10 years. Within the first few days of using it, I was immediately hooked. It is, by far, the best computer I’ve owned in my professional and personal life. I wanted to set this up completely from scratch, without using the migration assistant or importing from a backup. This felt like a good time to codify some of the settings and applications I use and recommend to other folks. So, here’s a look at my comprehensive macOS development setup.
During setup, I sign in with my iCloud account to sync contacts, messages, and calendar events. I enable touch ID and disable Siri.
First Steps
Immediately, I copy a few key files from my previous computer.
.zshrc,.zprofile,.zshenv,.history~/.aws/~/.vimrc~/.gitconfig
Note: It’s nice to skip all of the git config --global setup here, but otherwise you may need to specify things like user.name, user.email, pull.ff, and alias (among others).
~/.ssh/(I shouldn’t do this, but it’s easier than updating my SSH keys everywhere. I cycle these after I’ve finished setting up, but this is one less step during this process.)~/bin/(a collection of scripts I’ve written, also included in my$PATH)
Next, I download a few key applications from the internet:
- iTerm2
- Visual Studio Code
- Orion Browser
- Firefox Developer Edition
- 1Password
- Docker
- BetterTouchTool (Note: window keybindings inspired by Rectangle)
- Slack
- Homebrew
- oh-my-zsh
- Powerline Fonts
- XCode Developer Tools:
xcode-select --install
Some of the above may be available in Homebrew Cask, but I don’t mind downloading them by hand.
Homebrew
brew install \
  wget \
  exa \
  nodenv \
  direnv \
  fasd \
  fzf \
  shellcheck \
  tldr \
  jq \
  fd \
  neovim \
  ripgrep \
  tmux \
  up \
  yarn \
  telnet \
  git-extras
Note: Some of these have prompts at the end for additional installation instructions. One in particular is fzf:
- add
set rtp+=/opt/homebrew/opt/fzfto.vimrc - run
/opt/homebrew/opt/fzf/installto install keybindings, autocomplete, and history search
macOS settings
Keyboard
- Set to fastest “Key Repeat”
- Set to shortest “Delay Until Repeat”
- Use Modified Keys -> Remap “Caps Lock” to “Control”
- Add new Colemak input source, can switch between with Control + Option + Space
- Disable
Use smart quotes and dashes - Disable curly quotes, use
" and ' - Use F1, F2, etc. keys as standard function keys
- Disable
Capitalize word automatically - Disable
Add period with double-space
Trackpad
- Tap to click
Accessibility
- Zoom > Enable
Use scroll gesture with modifier keys to zoom - Pointer Control > Trackpad Options > Enable Dragging > Three Finger Drag
Dock
- Turn hiding on
- Set size to ~20%
System settings
# Finder: allow quitting via ⌘ + Q; doing so will also hide desktop icons
defaults write com.apple.finder QuitMenuItem -bool true

# Finder: show hidden files by default
defaults write com.apple.finder AppleShowAllFiles -bool true

# Finder: show all filename extensions
defaults write NSGlobalDomain AppleShowAllExtensions -bool true

# Finder: show status bar
defaults write com.apple.finder ShowStatusBar -bool true

# Finder: show path bar
defaults write com.apple.finder ShowPathbar -bool true

# Disable the warning when changing a file extension
defaults write com.apple.finder FXEnableExtensionChangeWarning -bool false

# Avoid creating .DS_Store files on network or USB volumes
defaults write com.apple.desktopservices DSDontWriteNetworkStores -bool true
defaults write com.apple.desktopservices DSDontWriteUSBStores -bool true

# Show the ~/Library folder
chflags nohidden ~/Library && xattr -d com.apple.FinderInfo ~/Library

# Show the /Volumes folder
sudo chflags nohidden /Volumes

# Disable press-and-hold for keys in favor of key repeat
defaults write NSGlobalDomain ApplePressAndHoldEnabled -bool false

killall Finder;
Additional Application Setup
VS Code
I recommend checking in configuration settings to your project repository. This reduces global setup needed. Some recommended extensions:
- Vim
- GitHub Copilot
- Prettier
- ESLint
- Live Share
- GraphQL
- Prisma
- DotENV
- GitLens
- ShellCheck
- Todo Tree
- Bookmarks
- change-case
- Markdown All in One
- Text Editor > Files > Auto Save -> onWindowChange
- Text Editor > Tab Size -> 2
- Text Editor > Bracket Pair Colorization: Independent Color Pool Per Bracket Type -> enable
- Text Editor > Default Formatter -> Prettier
- Text Editor > Guides: Bracket Pairs -> true
- Goto Location: Multiple Definitions -> goto
- Text Editor > Formatting > Format On Save -> Enable
- JavaScript > Preferences: Import Module Specifier -> non-relative
- TypeScript > Preferences: Import Module Specifier -> non-relative
Settings
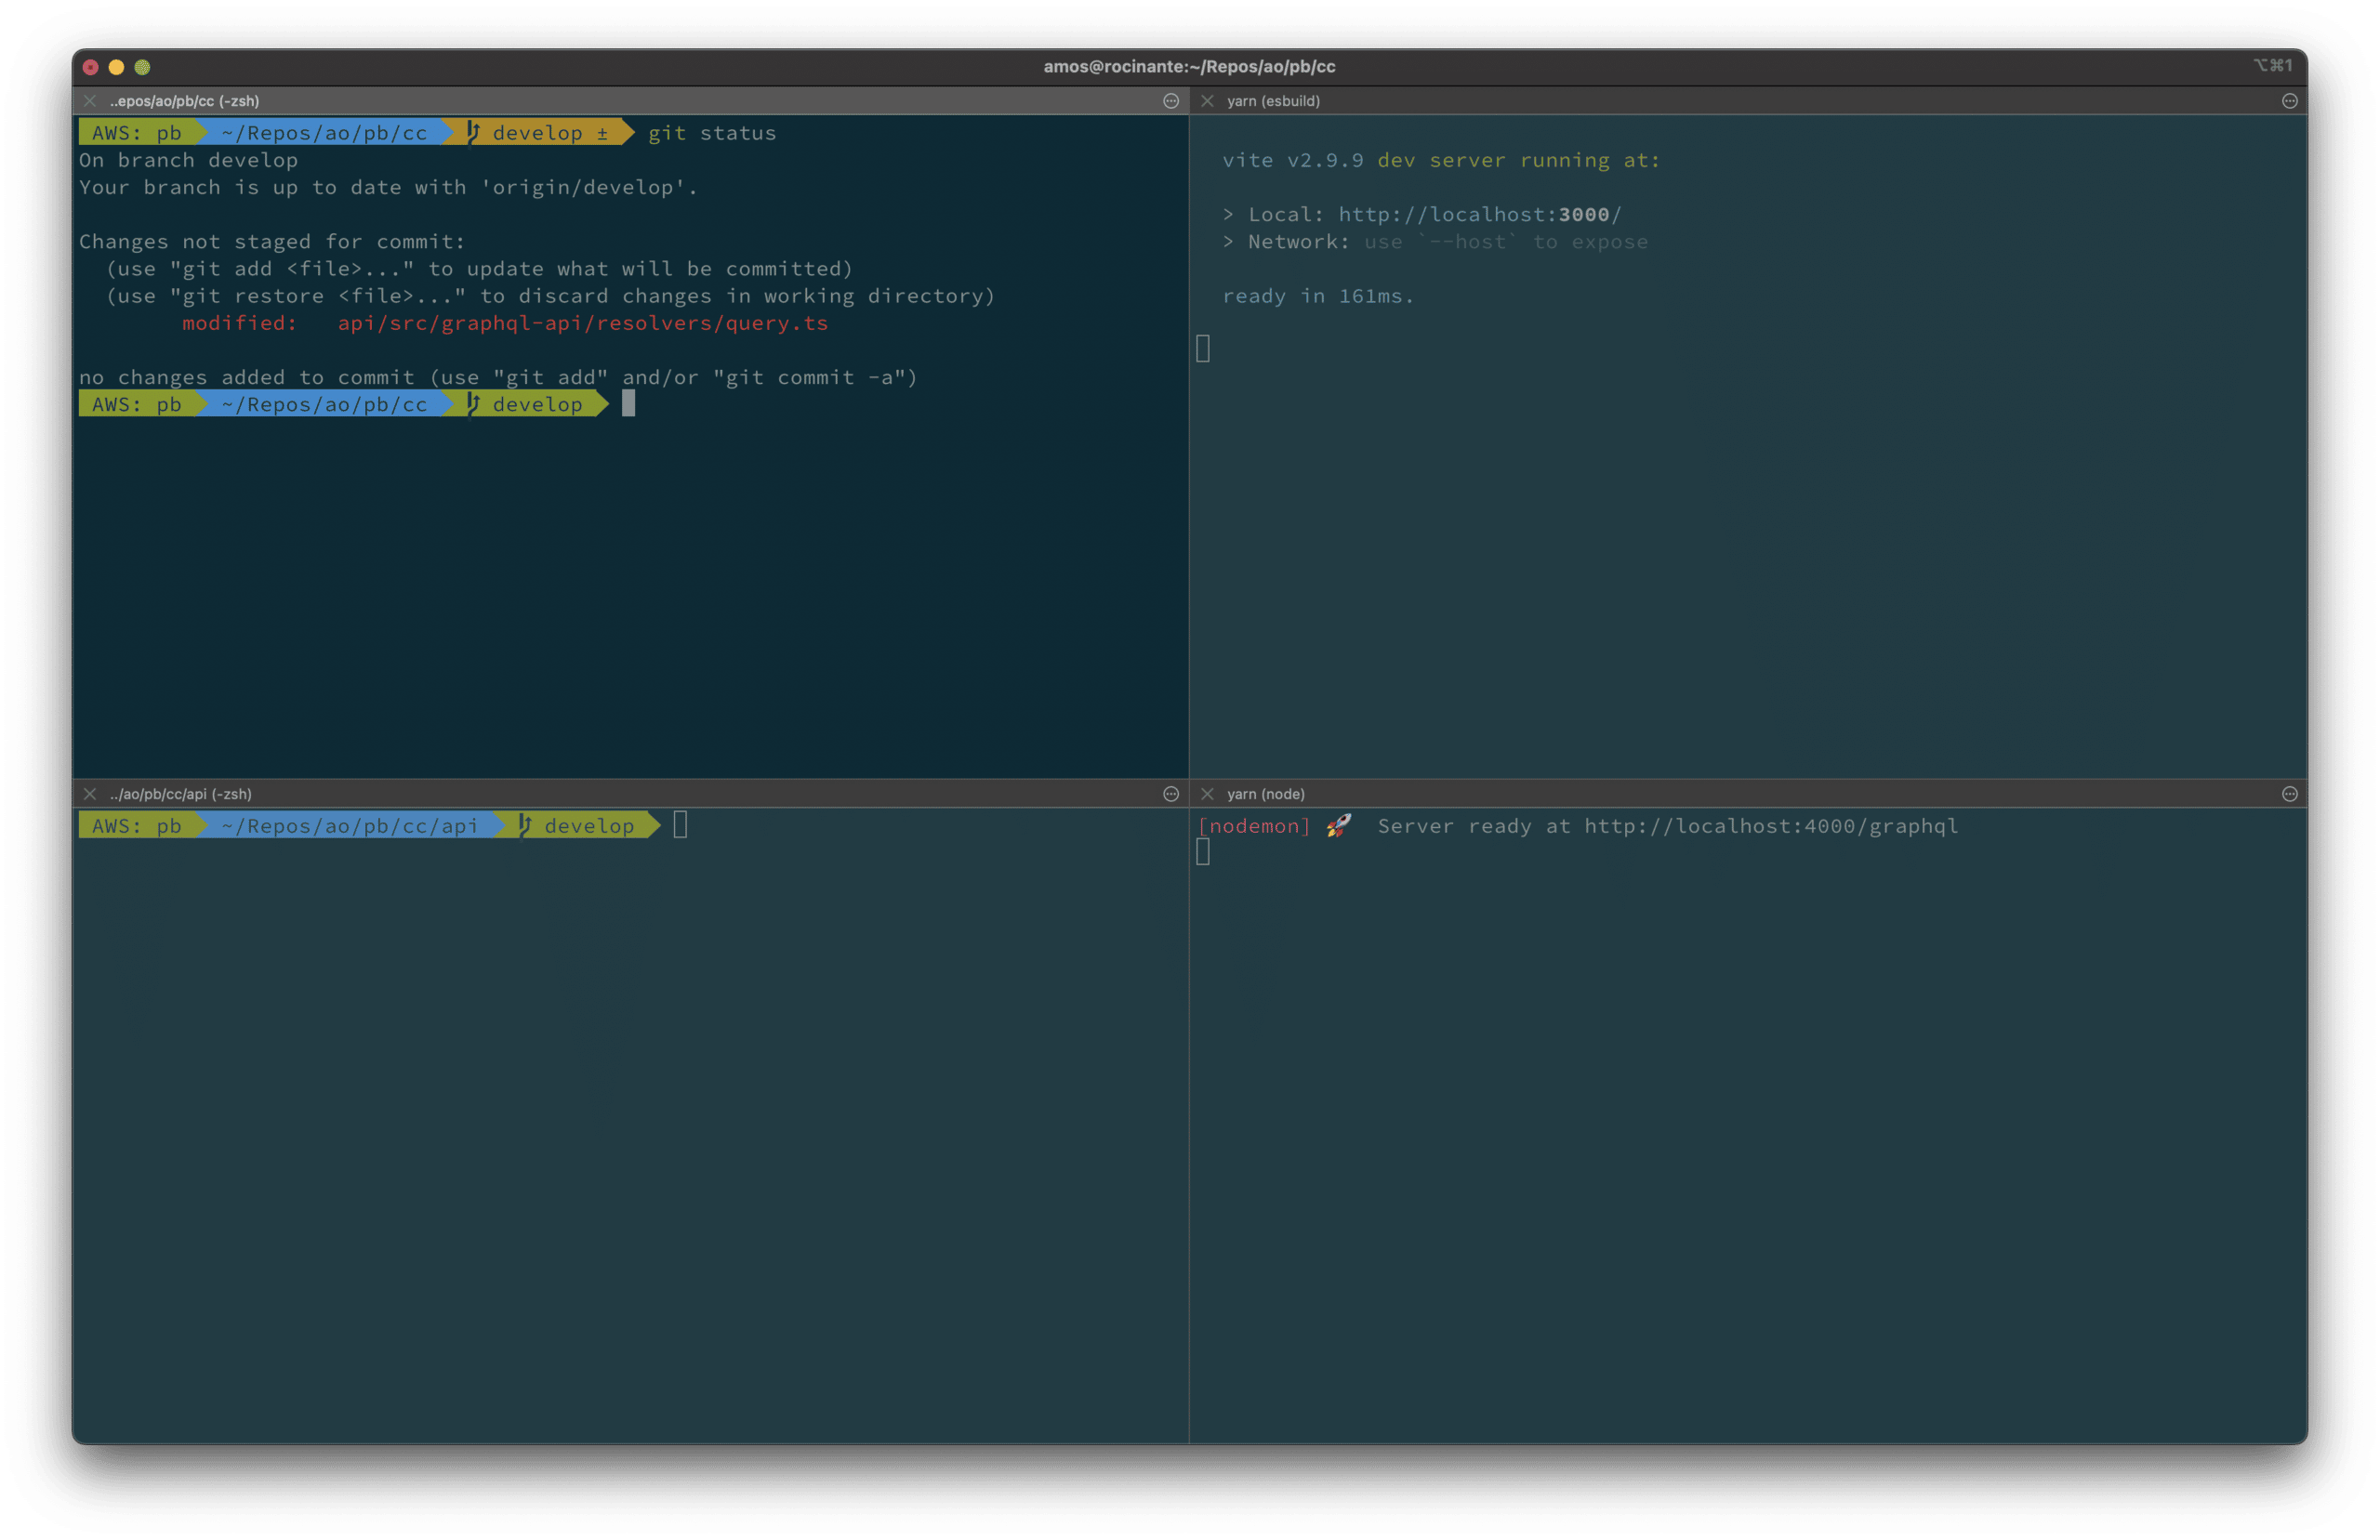
iTerm2
Profiles
- General > Reuse previous sessions’s directory
- Colors > Solarized Dark
- Text > Font -> Source Code Pro for Powerline
- Terminal > Scrollback lines -> Unlimited scrollback
- Keys > Left Option key -> Esc+
- Keys > Right Option key -> Esc+
Window > Save Window Arragement
- Note: I arrange my windows and tabs for my main project and CD into the appropriate directories before saving.
Appearance
- Dimming > Dimming amount -> 20
Wrapping Up macOS Development Setup
Ultimately, I really enjoy starting fresh with new computers rather than importing from backups. I tend to go through this process every year or two when I upgrade macOS versions since I typically perform fresh installs. However, I often forget to import certain settings, and I hope this can be a reference for others in the future.