
Article summary
Imagine this: it’s a Friday and you go to punch your work hours for the week, but you’ve forgotten what time you arrived at and left work. What if there was a way to automatically track your work hours without you having to remember? Well, you came to the right place. We can do exactly that with IFTTT! Below, I will walk you through how to track your work hours automatically using IFTTT.
What is IFTTT?
So what is IFTTT? I’m glad you asked! IFTTT is a service that allows users to program a response to events in the world. The programming conditional statement, “If this, then that,” gives it the name IFTTT. It allows users to automate a task in response to an event or trigger. A real-world example of this might be: “If I flip this light switch, then the light turns on.” IFTTT works on this basis to automate different tasks in your life.
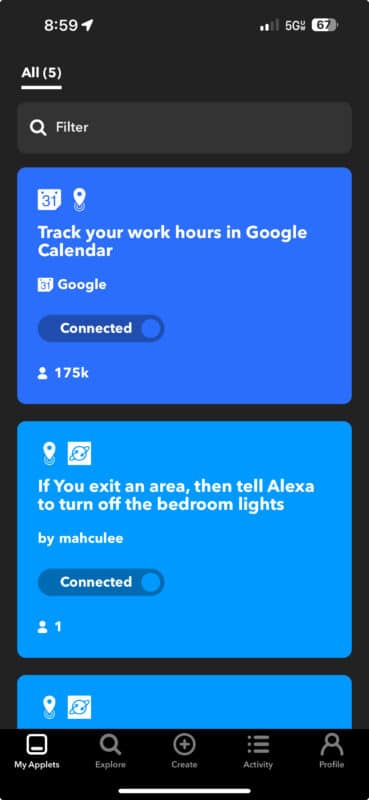
IFTTT lets you create “applets,” which are different automated tasks you can run. You can select a task from the giant library of pre-existing applets or create your very own. Here is my applet page with my current applets.

Tracking Our Hours
Back to my original prompt. How can we automate and track your work hours with IFTTT? Let me explain the general premise. Here is one of the pre-existing applets in the library.

This applet works by tracking the location of your mobile device. Every time your mobile device enters and leaves the designated location, it will fire a trigger to add an event to your Google calendar. This allows us to track when we went to and left work. Pretty cool, right? Let’s see how to set it up.
First, navigate to this applet. We’ll start by clicking on Connect. After a second, this redirects us to the Google login page. Select the account with the calendar you want the applet to save your work hours on. When asked to share your Google information with IFTTT, go ahead and click Allow. You should now see the following screen.

This screen should give us a couple of options to set up. The first thing we need to select is the location of your workplace. In the Locate your work section, enter the address of your workplace. You can drag the circle around on the interactive map to better pinpoint the zone for triggering the event.
After that, we can fill out the Quick add event section. Here you will see two drop-down fields. You can select the first one to choose a Google account, and the second one permits you to choose which calendar to save the events to. After you have selected all those values hit Save.
Setting Up The Mobile App
Once redirected you should be presented with this modal asking you to download the IFTTT app. This app will be used to track the location of your phone.

Enter your phone number and hit Send link. This will send a link to your phone to download the IFTTT app. Go ahead and download the app and sign in to your IFTTT account. Here you should see the applet you just added. If the applet says Connected, then you’re good to go.
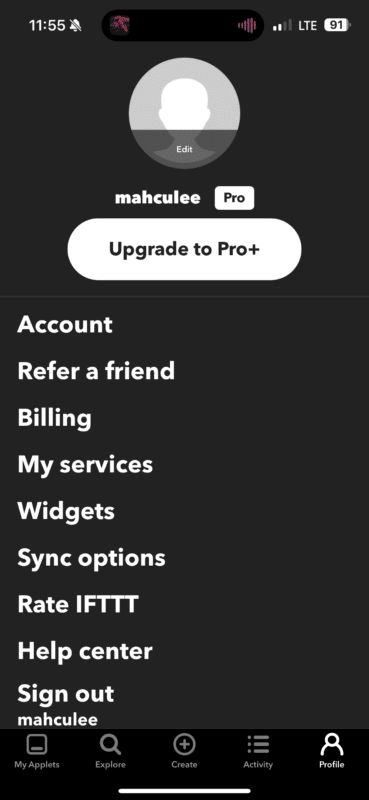
There is one last thing we need to do in the IFTTT app before this event will work. In the bottom right, click on your Profile.
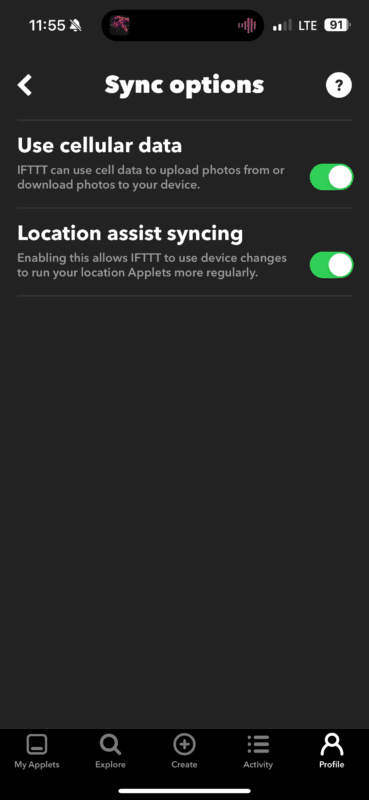
From here, click on Sync options and toggle Location assist syncing. This will allow the IFTTT app to more accurately track the location of your device to know when you enter or leave a location.
Now we are all set up! Let’s see it in action. Here is an example of a day where it tracked my hours.

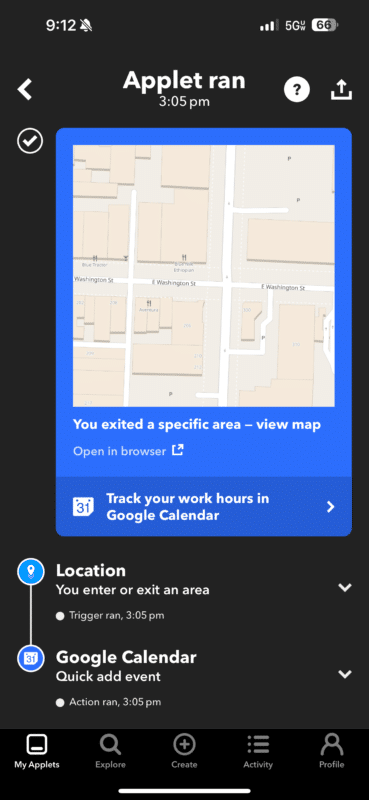
As we can see, two events triggered the applet: one where I entered the area at 9:39 a.m. and one where left the area at 3:05 p. m. Let’s now check my Google calendar!
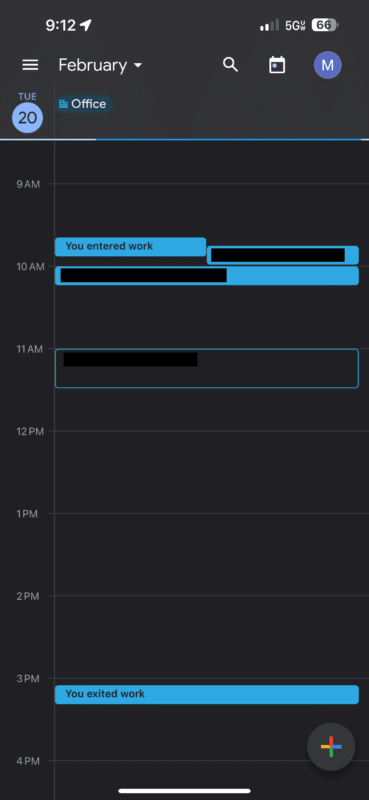
We notice here that our IFTTT event has automatically added the You entered work and You exited work events to your calendar. As we can see, we have automatically tracked our work hours.
It’s as easy as that. IFTTT unlocks endless possibilities for automating different tasks in your life. With tons of integrations with different services, you can create automations with ease. Have any questions? Thoughts on IFTTT? Leave a comment below. Happy automating!