Driven by an interest in preserving my online privacy, I’ve recently become interested in creating a home server. While researching where to begin, I came across two promising projects: Pi-hole and Ansible. Pi-hole offers network-wide protection primarily by acting as an adblocker and recursive DNS server. Ansible is an Infrastructure as Code framework that allows for server configuration management and deployment. These two tools will help a home server start off strong and open up new avenues to explore through Ansible automation and setting up a local DNS within Pi-hole.
Benefits of Pi-hole and Ansible
Here is the dashboard screen of my Pi-hole setup at present:

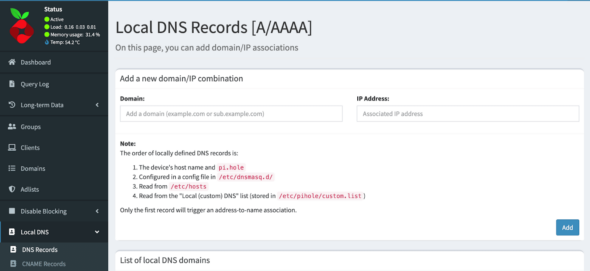
This screen gives information such as the number of queries and percentage blocked. There are additional diagrams below displaying the information visually. This is great for network-wide protection, but one of the other main benefits of starting with Pi-hole for a home server setup is its “Local DNS” section.

Eventually, we will use this screen to add more services to our home network and access them via a convenient alias, such as zachary.home.photos, instead of an IP address. Ansible is by no means necessary to get this initial Pi-hole configuration running. However, becoming familiar with Ansible now will allow increased flexibility in server setup and teardown, as well as general ease of configuration and future maintenance.
Raspberry Pi Initialization
I have chosen to get started with the server setup on a Raspberry Pi. This is because they are small, quiet, and use minimal electricity. This tutorial will specifically focus on the Raspberry Pi, but other hardware should also work. I would recommend using a Raspberry Pi 3 model B, or Raspberry Pi 4 model B. I have used a Raspberry Pi 3 and it works perfectly. You will also need to acquire a microSD card, ethernet cable, power supply, and the associated cables to use IO devices (only for the initial setup).
Next, follow this guide to install Ubuntu server on your Pi. I recommend using an ethernet cable for the easiest setup and skipping the section on installing a desktop; you won’t need it. You will then want to set up passwordless ssh and then disable password authentication. This is done for two reasons: Ansible assumes you are using a passwordless (key-based) login for SSH, and it gives you better general security.
Once you have completed the above steps, ssh into your Raspberry Pi from another computer. On a Unix-based OS, this should look something like ssh ubuntu@YOUR_IP_ADDRESS.
Pi-hole Setup Using Ansible
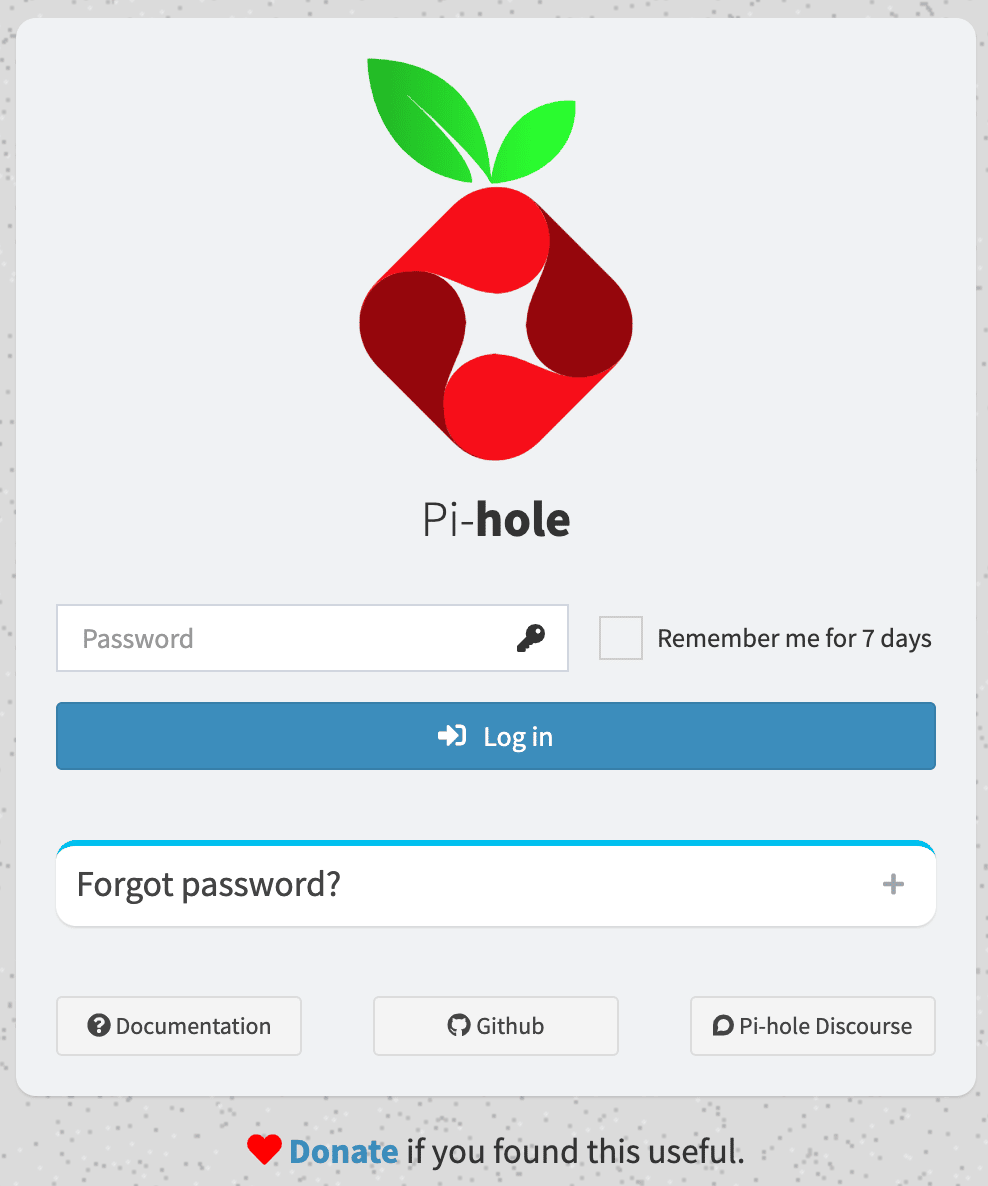
On another computer (not the Raspberry Pi), navigate here and clone the Pi-hole repo (This is a stripped-down fork of Jeff Geerling’s Internet Pi project; please take a look to see some additional things you could add to your home server. His book, “Ansible for DevOps,” is also very good!). Follow the setup instructions in the readme and watch as your Pi-hole is initialized! If everything worked successfully, you should be able to navigate to the IP address of your Raspberry Pi on your local network and see the Pi-hole login page.
Use your pihole_password value entered in the config.yml file to login. Congratulations! You have successfully set up Pi-hole.
For the final step, log in to your router and change the static DNS to the IP address of the Pi-hole. Because this process varies greatly depending on the device, we will not go into more detail here, but don’t forget this step! A quick internet search for your router model should do the trick.
Future Home Server Project Automation
We’ve now set up a network-wide adblocker successfully and learned a bit about automation with Ansible. Future projects might involve editing our Ansible playbook to add Unbound. That would allow our Pi-hole to function as a recursive DNS server. To get the most out of our Pi-hole setup, we would also look into running additional services and adding them to the local DNS records.

