Article summary

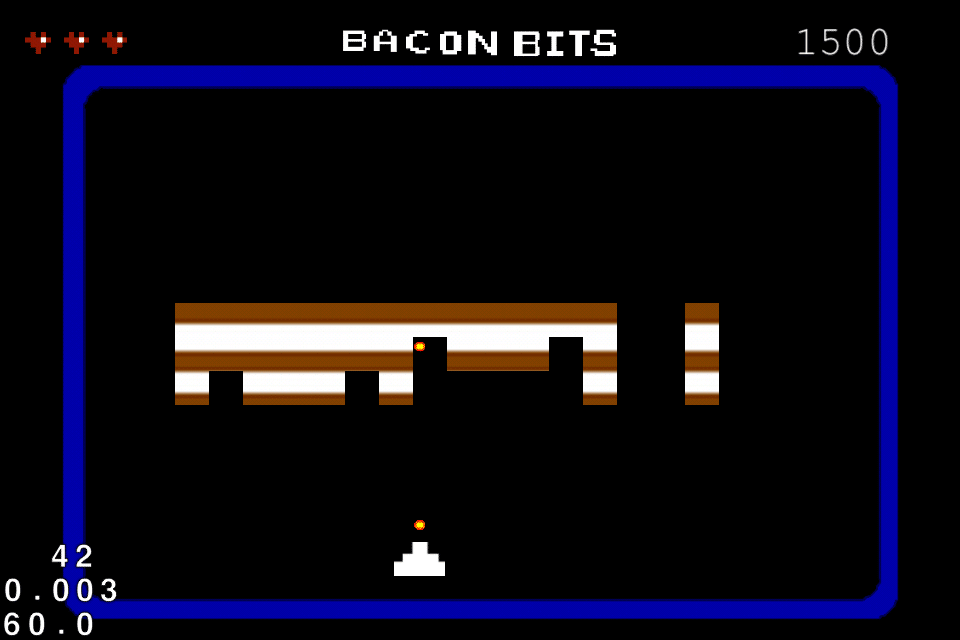
In my ongoing saga of getting my (now 9-year-old) daughter into programming and design, we decided to take the next step of porting our initial version of Bacon Bits from Ruby over to iOS.
Basically, once we had Bacon Bits working in Ruby, my kids were taking my MacBook Pro hostage whenever they wanted to play, but like most kids these days, they would rather be playing games on an iPhone or Momma’s new iPad. My solution? Port Bacon Bits over to iOS! That way, I would finally get to write my first ever iOS app, and get my laptop back as an added bonus.
Finding a Game Framework – cocos2d
After having used Gosu with Ruby, I definitely wanted to find a nice 2D game framework to ease the heavy lifting. After a bit of searching and hitting up some friends for tips, I was pointed at cocos2d, which has an Objective-C distribution called cocos2d-Objc that allows building games that run on iOS and OSX as well.
The basic sprite class (CCSprite) had most of the necessary goodness I utilized and/or concocted for the Ruby version. CCSprite objects can be constructed with images and/or text, and the location of CCSprites are specified with respect to the center of the sprite, which makes a lot more sense for relative positioning of pieces of the game field. Additionally, rotation, scaling, movement and other transforms are available as well.
More importantly, cocos2d-iphone has a very significant user base/community and there are 2500+ app in the AppStore that have already been released. I was sold!
Getting Started
Being not only new to cocos2d, I had yet to write a single line of objective-C, and definitely nothing for an iOS device, so I needed a kickstart!
Luckily, Ray Wenderlich wrote an excellent tutorial, which goes through all of the nitty-gritty details obtaining cocos2d-iphone, creating the basic XCode project, and implementation of a basic 2D shooting game.
With his help, I was able to take all of the graphical assets from my Ruby/Gosu version of Bacon Bits and use them directly in my iOS project, without modification.
Tackling Multi-Device Support
I had a strong desire to use run-time scaling of the graphical assets in order to make portability across the growing family of iOS devices. After not finding great image scaling support in iOS and looking at some not-so-fancy image scaling algorithms, I decided to use the scaleproperty of the CCSprite. Unfortunately, after scaling the sprites according to screen size, I found that the width and height properties still reflected the pre-scaled sizes. Therefore, I had to apply scale factors to my calculations to accommodate for this. Fortunately, the newer versions of Cocos2d have addressed many of the pain points with multi-device/display support.
Experimenting with a new UI
Though Bacon Bits was imagined to be a pixely 8-bitish project, I had gotten a bit fed up with the norm of mobile touchscreen 2D games having little arrows you tap on to move around and auxiliary buttons to trigger actions, such as firing a projectile.
I decided to use differentiation between taps and swipes as a “better” alternative. Basically, taps would fire the projectiles, and swipes would cause the shooter to move. I determined, via experimentation, that a touch longer than 5% of the screen width worked pretty well as the minimum length swipe.
Though my 5-year-old daughter specifically asked for the arrow buttons back, I still like this new UI, but I guess Daddy will have to suck it up and add the old-school option as well.
We did it!
After a good amount of fumbling with iOS/Cocoa memory management, I came up with a somewhat fully working version of Bacon Bits. It was an excellent experience to take myself and my budding 9-year-old developer through. Maybe next I will look into re-writing Bacon Bits at some point in RubyMotion, which translates Ruby into Objective-C bytecode! I will save that for later days, though.
