Article summary
Keyboard shortcuts improve productivity by reducing the time you spend moving your hand between the keyboard and the mouse. As a JetBrains user for my entire career, I have definitely benefited from these efficiencies over time.
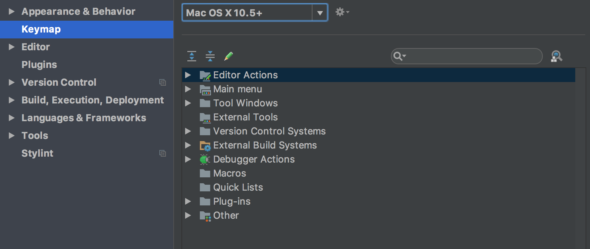
I use a default Mac OS X 10.5+ keymap, so the shortcuts in this article correspond to that. You can, however, use the names of these actions to find the corresponding keyboard shortcut in the keymap of your choice.
General Shortcuts
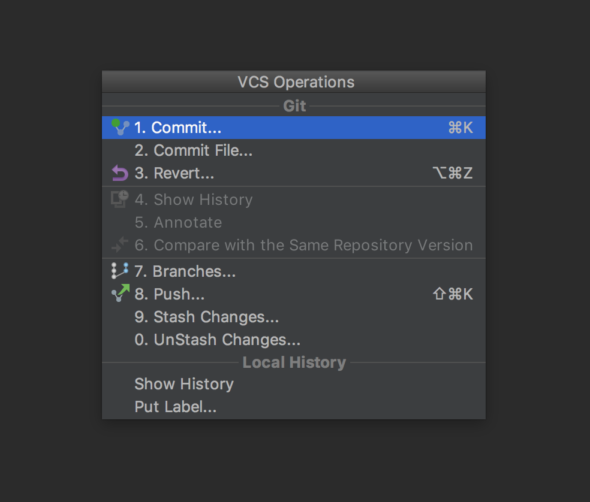
1. VCS operations popup ⌃V
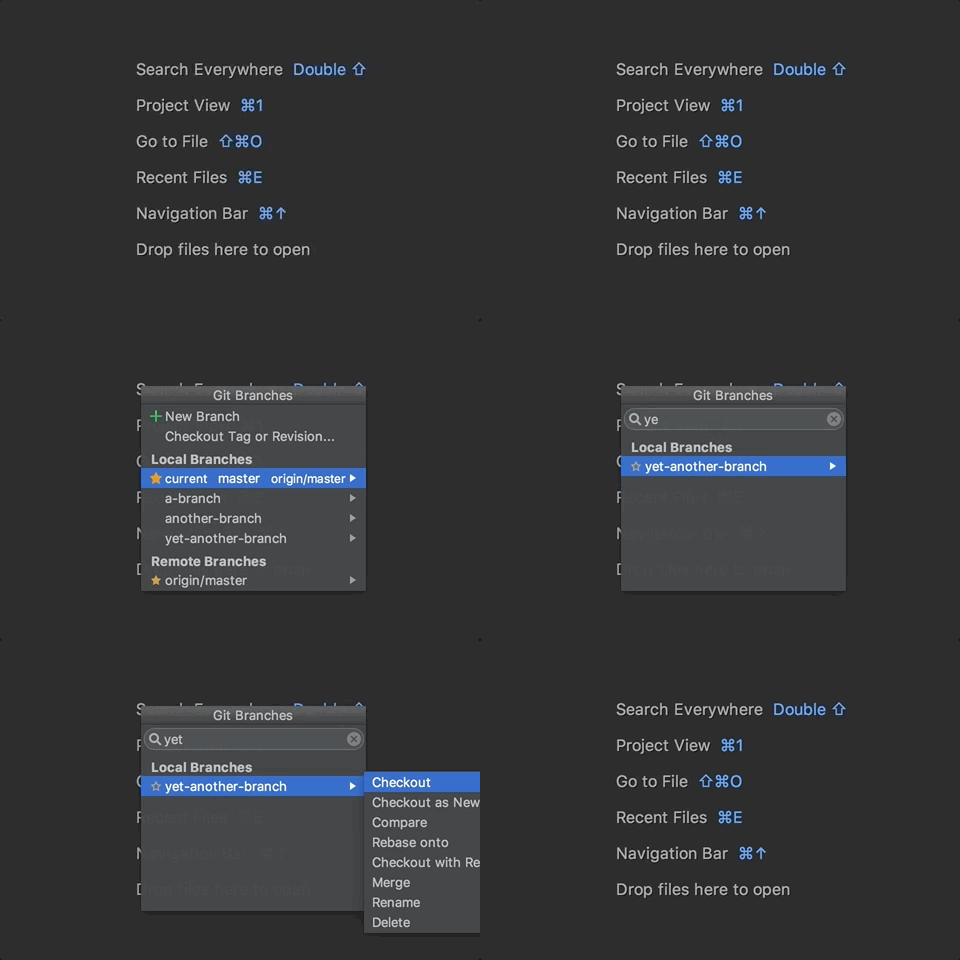
This action brings up a version control popup; for me, that means Git.
Note that popup here means:
not
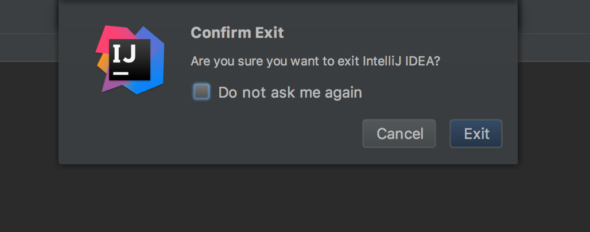
This type of JetBrains popup has two features:
- Typing will automatically filter down the options. You can try this with the better-known shortcut: Generate
⌘N.

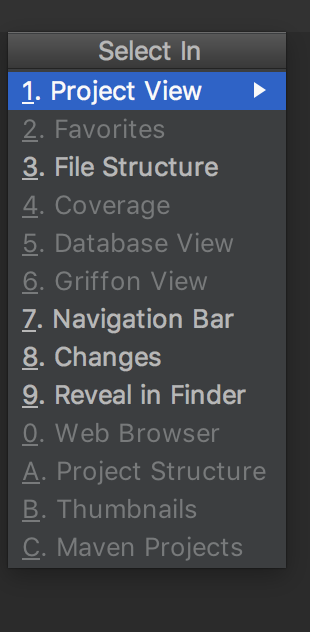
- Some popups have numbers by the options, and these numbers act as shortcuts. You can try this with another lesser-known shortcut: Select In
⌥F1.
I usually check out a different Git branch by:
- Hitting
⌃Vfollowed by7(the number shortcut for branches) - Typing a fragment of the branch name
- Hitting
entertwice (once to select the branch and again to check out)
Although this sounds like a lot of steps, it’s actually faster than moving my hand off the keyboard, selecting the VCS menu, selecting the branch, selecting checkout, and then moving my hand back. Of course, you could change to a terminal and type out the Git commands as well, but I find my shortcut combo to be even faster than that.
2. Run ⌃⌥R and Debug ⌃⌥D
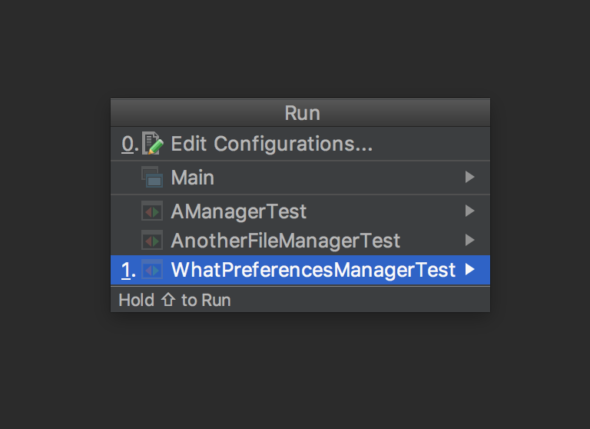
In general, JetBrains provides parallel Run and Debug shortcuts via the R and D keys respectively. You may know that ⌃R/⌃D runs/debugs the current configuration, but adding the ⌥ key allows you to pick the run/debug configuration in a popup. I used this regularly in AppCode when alternating between running unit tests and the simulator.
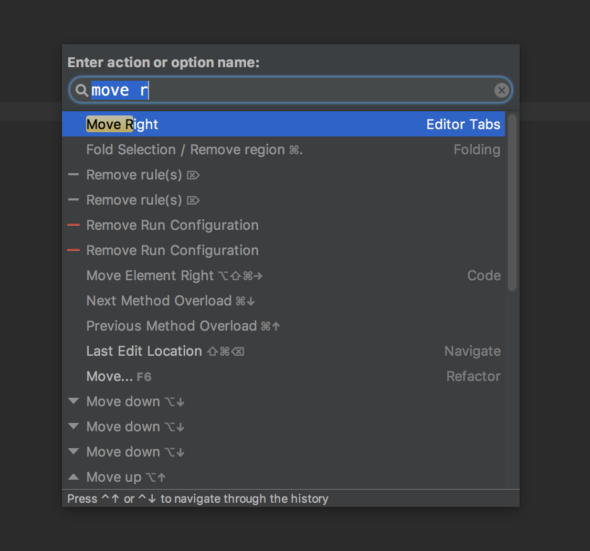
3. Find Action ⌘⇧A
This is a shortcut of last resort. Just as JetBrains has shortcuts for opening files ⌘⇧O or opening the corresponding test ⌘⇧T, this shortcut brings up the search bar for actions. It can be handy when you just want to check whether there’s a shortcut for what you’re trying to do.
Multi-Caret/Select Shortcuts
JetBrains’ multi-select capabilities are, in my opinion, among its most powerful features. If you haven’t used them before, I highly recommend you start now. Not only can you multi-select cut, copy, and paste in a sensible manner, but the following shortcuts make multi-selecting fast and easy to integrate into your development workflow.
4. Add or remove caret ⌥⇧Button1 Click
This “shortcut” is not a keyboard shortcut; it is, however, arguably the most fundamental and flexible way to create additional carets (i.e. enter multi-select mode). You can use this shortcut to add carets and multi-select in ways that are difficult or impossible to do via the keyboard shortcuts. The productivity gains from using this come from being able to cut/copy/paste or edit in parallel.
Using this shortcut on an existing caret will remove the caret. Clicking and dragging with this shortcut adds a selection instead of just a caret.
5. Clone caret above ⌥ ⌥↑ and Clone Caret Below ⌥ ⌥↓
This shortcut is extremely odd for a couple reasons. First, the shortcut keys above are not in the keymap and do not change with your keymap. The actions are there, but this shortcut works despite no keys being assigned.
Secondly, the activation mechanism is, as far as I know, specific to JetBrains products. You double-tap the ⌥ key, holding down the second tap. Then press the up or down arrows, and the caret will be cloned above or below respectively. The double-tap-and-hold mechanic may take a while to get used to and I’ve never seen it anywhere else, but it provides a quick way to clone the caret.
If you keep your tool bar hidden, the same activation mechanic with ⌘ instead of ⌥ can be used to temporarily access the toolbar.

6. Add selection for next occurrence ⌃G
This is my personal favorite. Each use of this shortcut will multi-select the next occurrences of the current selection. If nothing is selected, tapping this shortcut will select the word under the caret. Repeating or holding down this shortcut selects additional occurrences of the selection.
A quicker shortcut to select all occurrences is ⌃⌘G. Meanwhile, ⌃⇧G can be used to remove the last selected occurrence. I use this if I need to rename a variable and matching strings in the file.
7. Extend selection ⌥↑ and Shrink Selection… ⌥↓
This pair of shortcuts is in most IDEs. It simply expands or shrinks the selection by scope. Combining these with JetBrains’ multi-caret capabilities can result in very powerful keyboard controls.
Favorite Plugin
AceJump
The AceJump plugin adds several keyboard shortcuts for new navigation mechanics. The base shortcut brings up a small tooltip overlay. Typing a character causes tags to appear next to occurrences of that character. The tags may show one or two characters. Typing the characters will jump your caret to that tag. When there are too many occurrences, you can type subsequent characters, and the tags will filter down accordingly.
While all the tags feel overwhelming at first, you are usually already looking where you want the caret to go. When the tags appear, you’ll immediately see the characters to type, so you can just ignore the rest. It’s also much harder to follow someone else’s usage of this plugin, so I highly recommend you install it and give it a shot.
Honorable mention plugin: Key Promoter
The Key Promoter plugin notifies you any time you use the mouse to perform an action that already has an associated keyboard shortcut. After seeing ⌃D 20 times an hour, you learn to just use the keyboard shortcut. Learning by annoyance!
I used the original Key Promoter plugin, but it is no longer maintained. A modern rewrite called Key Promoter X looks like it works in the same way.
Another plugin inspired by Key Promoter is Force Shortcuts. This one takes the idea to another level and actively prevents using the mouse.
While these plugins are great training tools for building familiarity with keyboard shortcuts, don’t be afraid to disable them once you reach the point of diminishing returns. Remember, the goal is not to throw out the mouse or show off the most esoteric shortcuts; the goal is reduce development time. Sometimes, that means using the mouse.
Have a favorite keyboard shortcut that I should have included? Post it below!

