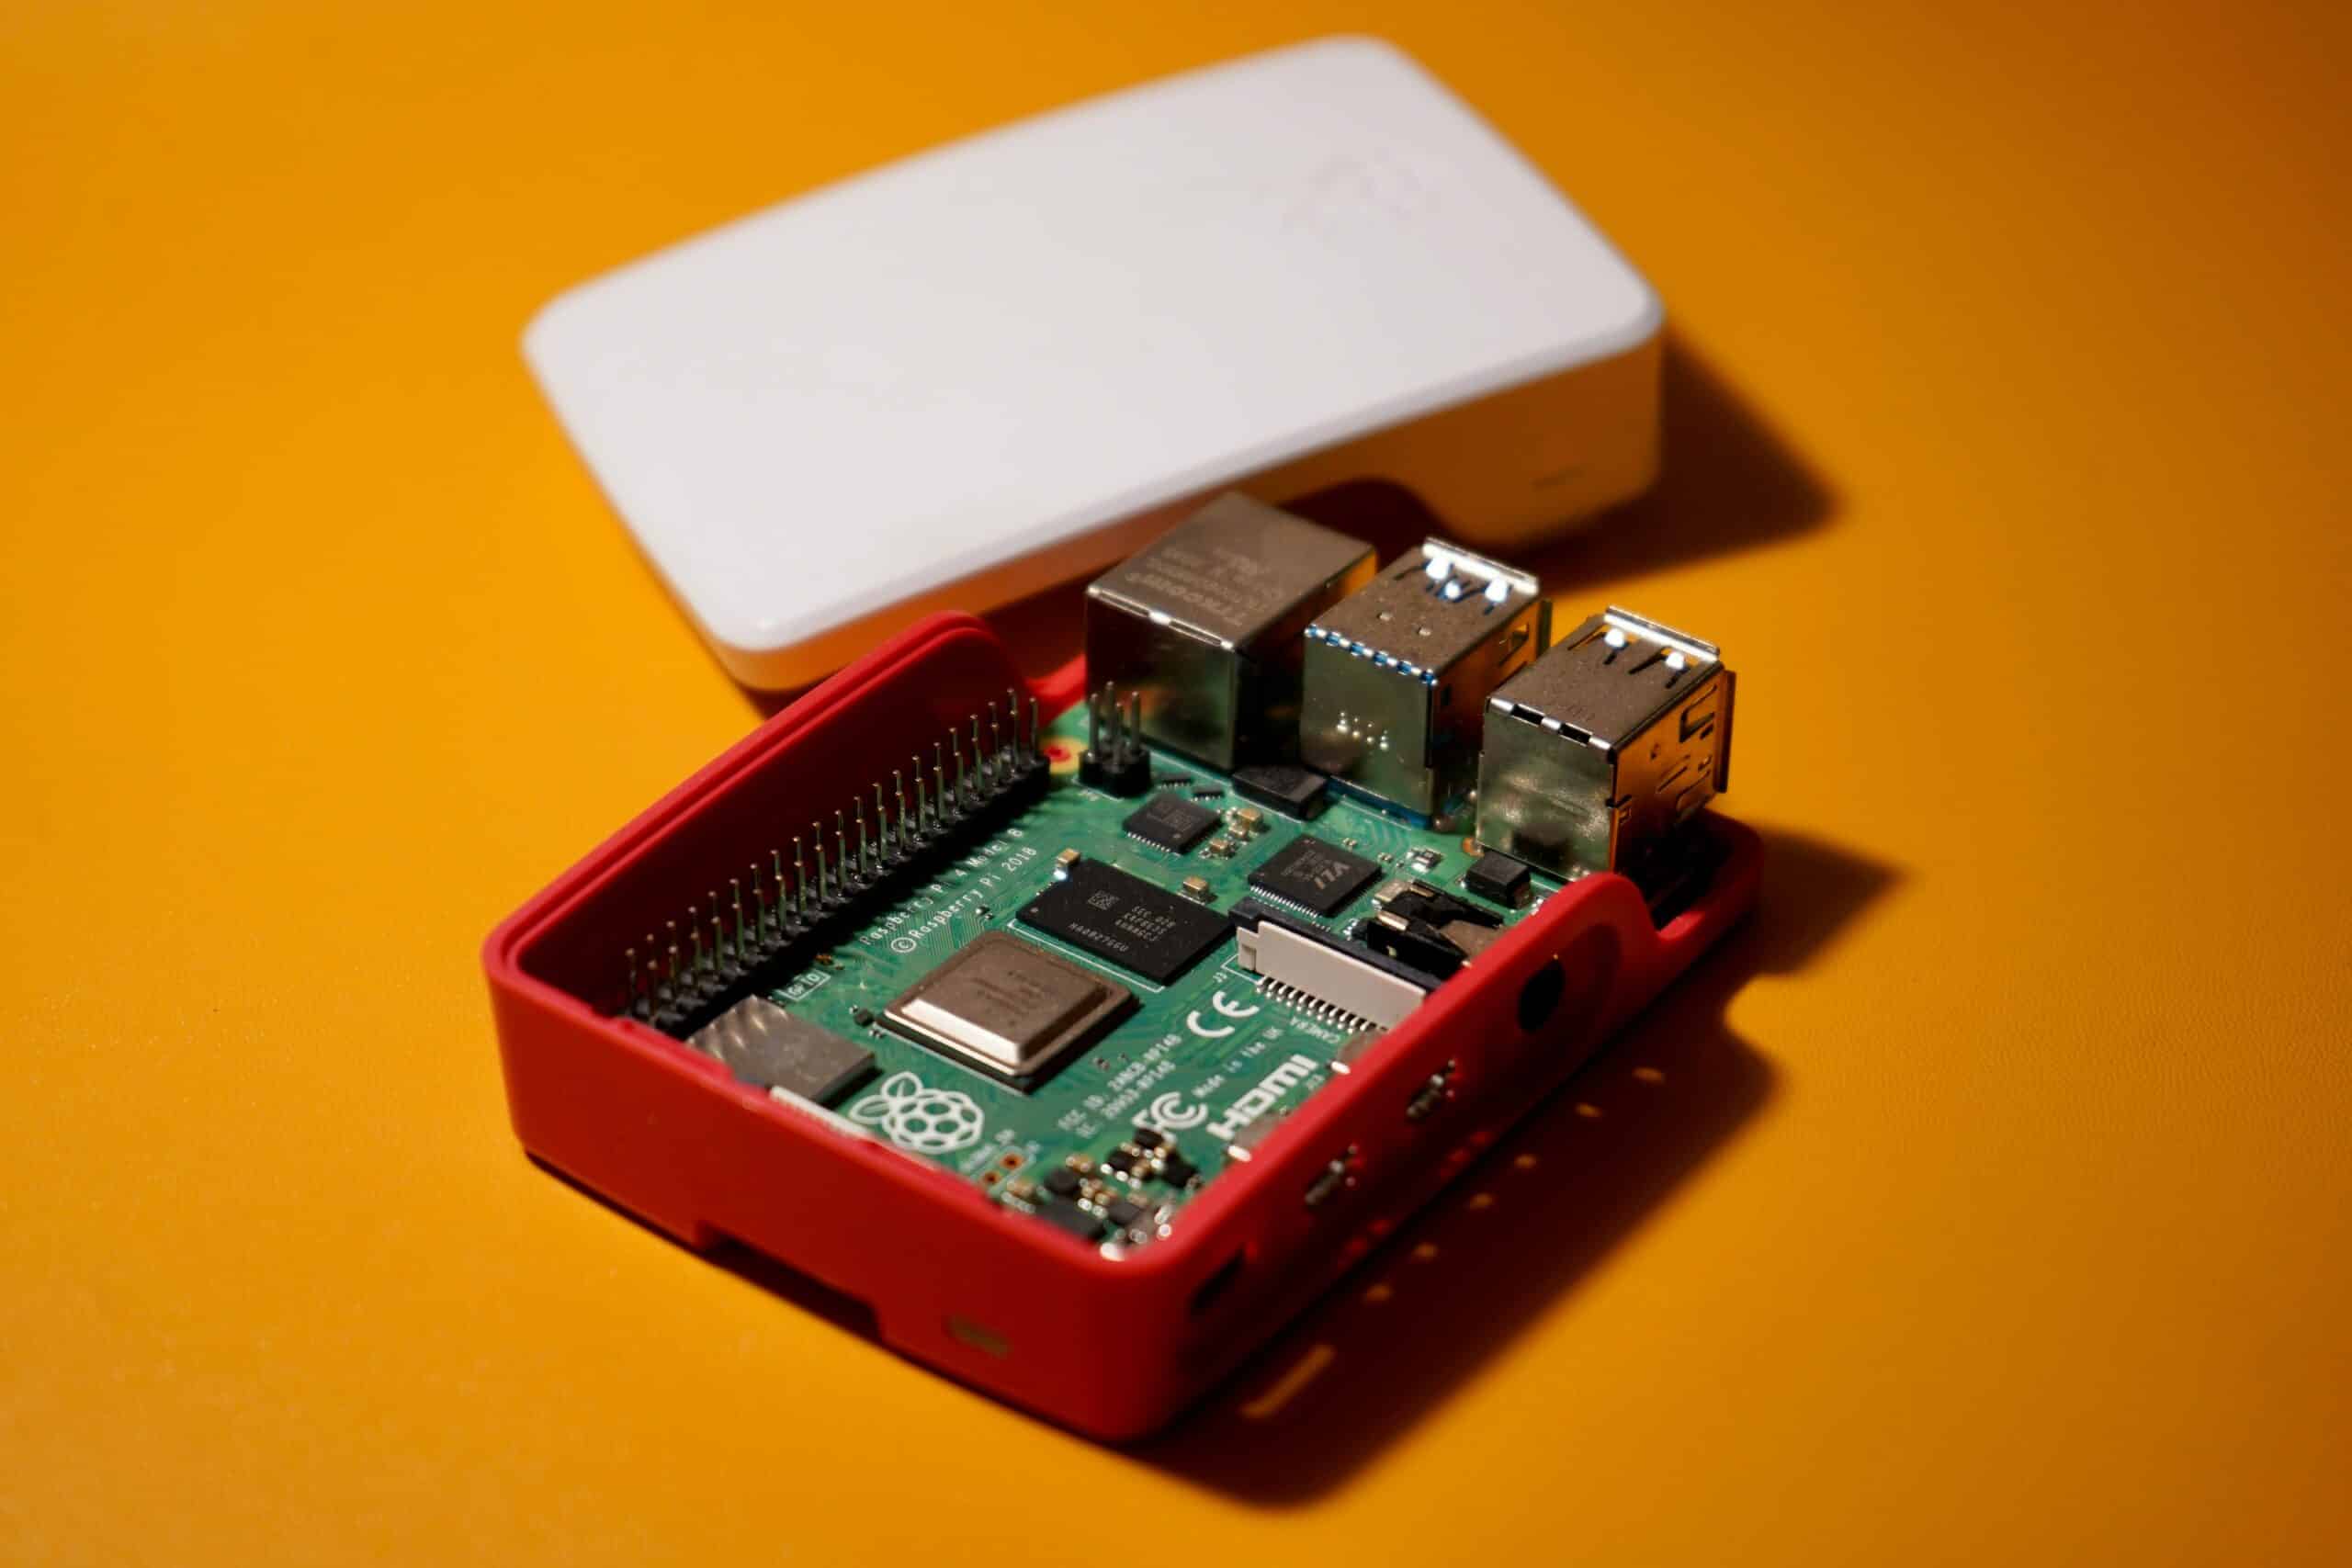
Let’s say you’ve built something cool with a Raspberry Pi — some project that requires physical access to your Pi. You’re about to head out the door, and you realize: you’ll need a way to reliably access that Pi when you’re not on your home network — portable Pi.
If you’ve ever tried this before, you know the pain. Connecting to a Pi outside your LAN is a minor nightmare. Tethering via USB? Finicky. Public Wi-Fi? Unreliable. Hotel or café networks? They’re usually locked down tighter than Fort Knox.
But don’t worry. You don’t need to go back to the dark ages of juggling dongles or dragging around a monitor and keyboard. With a little Tailscale magic and your phone’s hotspot, you can keep a secure and direct line to your Pi wherever you go.
What You’ll Need
To follow along, here’s what you’ll need to have beforehand:
-
A Raspberry Pi (any model with Wi-Fi will do)
-
Access to your home network for the initial setup
-
A phone with a working hotspot
-
A basic working knowledge of how to SSH into your Pi
You don’t need to be a Linux wizard—but if you’ve used ssh [email protected] before, you’re in great shape.
Step 1: Initial Setup at Home
Before you hit the road, let’s set things up on your Pi while it’s still cozy at home.
-
Connect your Pi to your home network – Ethernet is best here, but Wi-Fi works too.
- Note: If using Wi-Fi, you will have to configure this in the Pi Imager before flashing your SD card.
-
Enable SSH – This can be done in one of three ways:
-
In the Pi Imager: Click the gear icon before flashing, enable SSH, and set your username and password.
-
Using raspi-config: Run
sudo raspi-config, go to Interface Options → SSH, and enable it.

-
Via the boot directory: Add an empty file named ssh (no extension) to the /boot partition of the SD card.
-
-
(Optional but recommended) Set up SSH keys – Password authentication is fine, but keys are smoother and more secure.
At this point, your Pi should be booted, connected to your network, and accessible via SSH.
Step 2: Installing Tailscale
Now comes the good part – making your Pi portable.
-
Create a Tailscale account at tailscale.com.
-
Install Tailscale on your laptop and connect it to your Tailnet (or whatever device you’ll use to connect to your Pi).
-
Go to the Tailscale admin console, click “Add device” → “Linux” and copy the install command.

-
SSH into your Pi, paste the Tailscale install command, and run it.
-
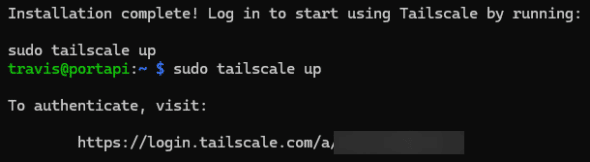
Once Tailscale is installed, run
sudo tailscale upand connect it to your Tailscale account by opening the printed link in your browser.
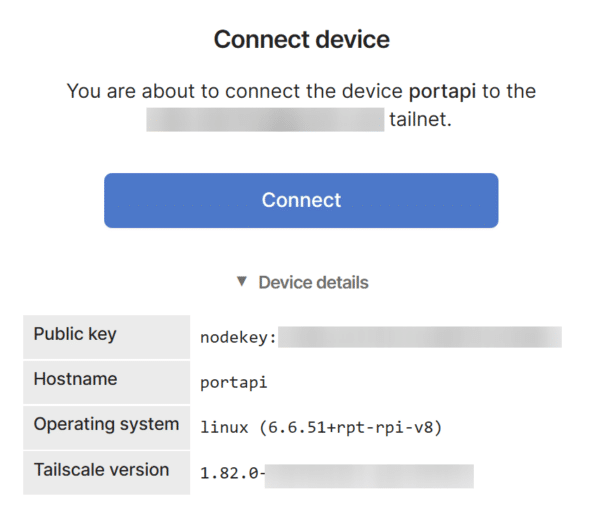
- Once connected, you will need to approve your device in the Tailscale Admin Console

At this point, your Pi should have a 100.x.x.x IP address assigned by Tailscale (this will show in the Admin Console)—write that down. That’s your golden ticket.
Step 3: Setting Up the Hotspot Connection
Time to untether your Pi from the home network.
-
Turn on your phone’s hotspot – Make note of the SSID and password.
-
Navigate to the Pi’s wireless LAN configuration – If you’re using Raspberry Pi OS, you can easily do this via the NetworkManager TUI by running
sudo nmtui.
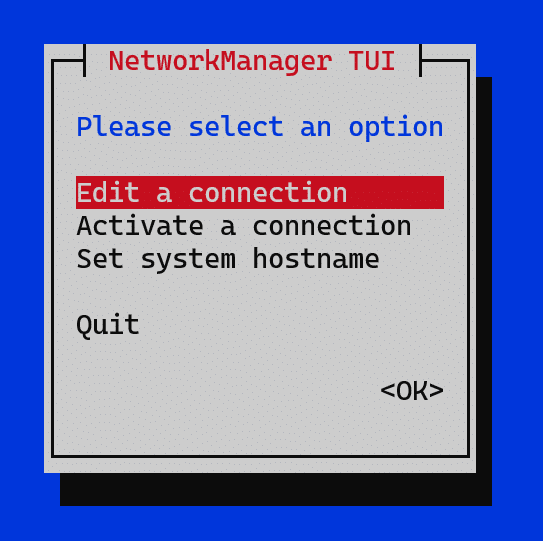
- Connect the Pi to your hotspot – In NetworkManager TUI, perform the following:
- Choose ‘Activate a connection’
- Arrow down to your hotspot’s SSID and press enter
- Enter your hotspot’s password and press enter
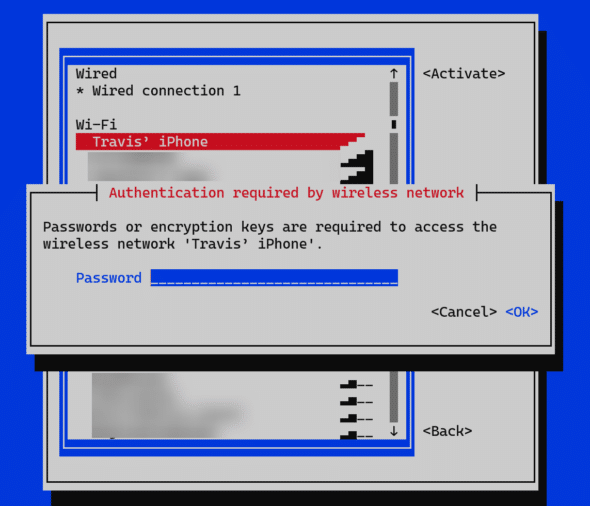
- After a few seconds, the Pi should connect, and a star should appear next to your hotspot’s SSID
Once connected to the hotspot, the Pi will boot, join your phone’s network, and immediately start Tailscale in the background. You can now SSH into it using that same 100.x.x.x IP—even though you’re on a mobile network with no port forwarding.

Here is an image of me pinging my hotspot-connected Pi from a completely different network, then SSHing into it.
Bonus Tricks
Once Tailscale is up and running, you’ve got some additional bonus options:
-
Leave the Pi at home – Depending on your use case, you may occasionally want to leave your Pi at home, but still have access to it. As long as it’s on and connected to your home network, you can connect from anywhere through Tailscale. No more setting up dynamic DNS or poking holes in your router.
-
Use Tailscale’s MagicDNS – Instead of remembering IPs, name your Pi something like ‘portapi’ and connect like it’s a regular hostname.
-
Tailscale Sharing – Want a friend or coworker to access your Pi too? Just share the device with their Tailscale account. No VPN config or open ports necessary.
Portable Pi Wrap-Up
A Raspberry Pi that just works—anywhere, anytime—is a great tool for hobbyists, developers, and tinkerers. Whether you’re using it as a Software Defined Radio platform, working on a hardware project that requires GPIO access, demoing at a conference, or just playing around on your lunch break, this simple setup gives you secure and portable access to your projects.
No cables, no network gymnastics—just you, your Pi, and the open road.