
Article summary
Blender is an incredible program with the potential to assist with many aspects of the creative process. It can host reference images, edit video and images, and model and render 3D objects. All this potential makes it daunting to find a place to start. Let’s start by modeling a snowman to demonstrate camera controls and editing geometry with this introduction to Blender hotkeys.
Camera controls
Numpad keys:
1 – Front View
3 – Right View
7 – Top View
9 – Change view 180 degrees
0 – Current active camera view.
Z – Holding z will bring up a wheel to change the current render mode between wireframe, rendered, solid, or material.
Holding control for any of the camera keys will invert them, so Ctrl + 1 will go to the back and Ctrl + 7 will go to the bottom view.
If you do not have a numpad, you can enable “emulate numpad” which will use the number along the top of the keyboard instead. Be aware that this will disable some keys later in this post that use the same buttons.
Transformations
G – Grab
Grab will move anything that is selected relative to the current user view. By tapping G and then tapping X, Y, or Z, you’ll lock the movement to a specific axis, the X, Y, or Z axis. Holding shift and pressing X, Y, or Z will lock one axis and move the object along the other 2.
R – Rotate
Rotate will rotate an object. Without pressing any additional keys, the rotation will be relative to the current view. Just like with grab, tapping X, Y, Z or Shift+X, Shift+Y, Shift+Z will limit the rotation to certain axes.
S – Scale
Scale will make a selection larger or smaller without deforming it. Selections can be scaled on certain axes just like with Grabbing and Rotating by tapping X, Y, Z or Shift+X, Shift+Y, Shift+Z.
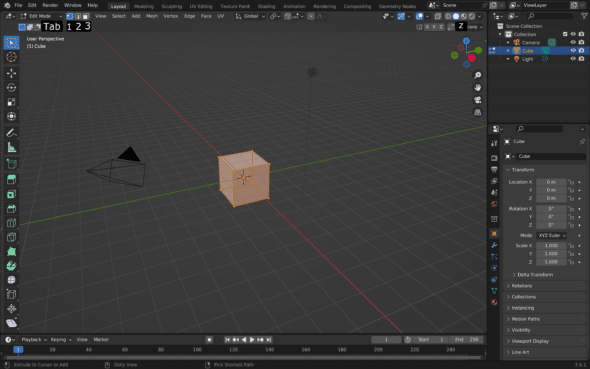
Tab: Toggle into and out of edit mode. Most commonly this will swap between object and edit mode.
Edit mode
Ctrl + R: loop cut
I: Inset faces. After selecting a face tap, the I key and a new face will be created within the existing one. It’s similar to a picture within a picture frame.
E: Extrude. Extrude will create new geometry extending from any currently selected points. This is especially useful after selecting a face because it will extend the model.
1,2,3: Select by vertex, edge, and face, respectively.
While in edit mode Grab, Rotate, and Scale hotkeys still apply. The transformation will impact any selected vertices, edges, or faces, depending on what you currently have selected. Use 1, 2, or 3 along the top of the keyboard to change if you are selecting vertices, edges, or faces.
See the image below for reference on where the edit mode keys are referring to in the UI.
Hotkeys are a great way to make Blender feel simpler and smoother to navigate, allowing your mouse and attention to focus on the 3D scene. I hope this helps your workflow and makes Blender easier to work with.