Android Snackbars are, unfortunately, not as tasty as they sound. But they are extremely useful for showing errors or other lightweight feedback to a user–with minimal setup required. This is a brief tutorial for setting up a basic Snackbar, adding actions, and customizing its appearance.
A Snackbar is a small banner that pops up at the bottom of the user’s phone screen. It might be useful for indicating a form validation error, confirming to users that an action was taken, or alerting them to an update. In addition to providing this information, you can also offer a custom action such as “dismiss,” “retry,” “undo,” or “override.”
Setting Up the Snackbar Example Project
In this project, I have an XML file with some text and a button.
<?xml version="1.0" encoding="utf-8"?>
<android.support.constraint.ConstraintLayout xmlns:android="https://schemas.android.com/apk/res/android"
    xmlns:app="https://schemas.android.com/apk/res-auto"
    xmlns:tools="https://schemas.android.com/tools"
    android:id="@+id/main_layout_id"
    android:layout_width="match_parent"
    android:layout_height="match_parent"
    tools:context="com.example.jaimelightfoot.myapplication.MainActivity">

    <LinearLayout
        android:layout_width="fill_parent"
        android:layout_height="wrap_content"
        android:orientation="vertical"
        android:paddingTop="100dp"
        android:paddingLeft="20dp"
        android:paddingRight="20dp">

        <TextView
            android:layout_width="wrap_content"
            android:layout_height="wrap_content"
            android:layout_gravity="center"
            android:gravity="center_horizontal"
            android:text="Click button to bring up snackbar!" />

        <Button
            android:id="@+id/callbackButton"
            android:layout_width="300dp"
            android:layout_height="50dp"
            android:layout_gravity="center_horizontal"
            android:layout_margin="50dp"
            android:backgroundTint="@android:color/holo_blue_light"
            android:textColor="@android:color/white"
            android:text="Click Me!"/>

    </LinearLayout>
</android.support.constraint.ConstraintLayout>
I also have a main activity, which sets an on-click listener for the button (whose ID I set as “callbackButton” in the XML file).
public class MainActivity extends AppCompatActivity {

    @Override
    protected void onCreate(Bundle savedInstanceState) {
        super.onCreate(savedInstanceState);
        setContentView(R.layout.activity_main);

        Button button = (Button) findViewById(R.id.callbackButton);

        button.setOnClickListener(new View.OnClickListener() {
            public void onClick(View v) {
                // this is where we'll add our Snackbar code
            }
        });
    }
}
Your screen should look like this:
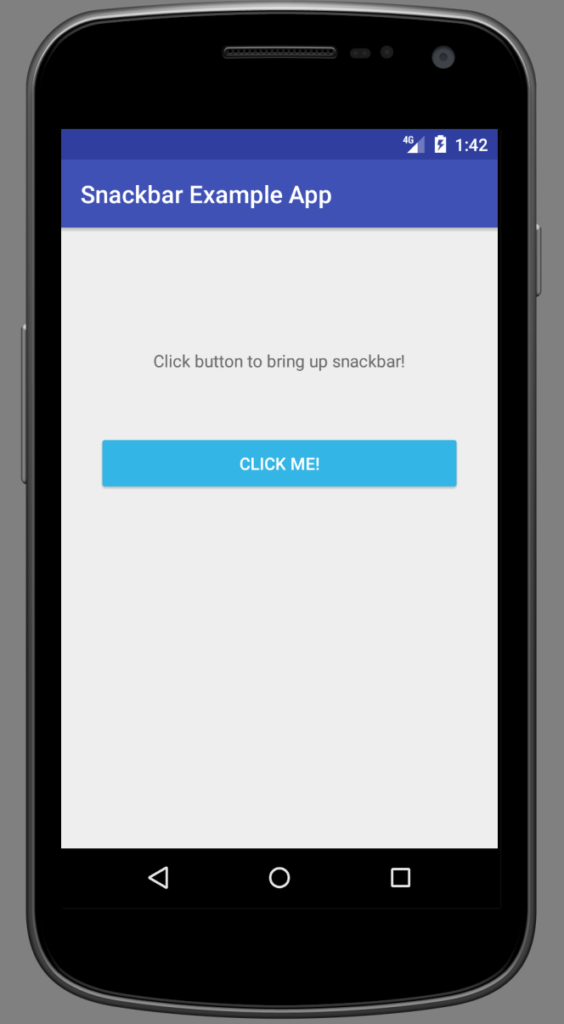
Basic Snackbar
Okay, time to add a basic Snackbar! We will call Snackbar.make(...) and supply it with a View, a message string (or ID of string, as stored in strings.xml), and a duration. I’ve made a showSnackbar method, as we’ll be adding more Snackbar-related code in the next steps.
public class MainActivity extends AppCompatActivity {

    @Override
    protected void onCreate(Bundle savedInstanceState) {
        super.onCreate(savedInstanceState);
        setContentView(R.layout.activity_main);

        Button button = (Button) findViewById(R.id.callbackButton);

        button.setOnClickListener(new View.OnClickListener() {
            public void onClick(View v) {
                // Button was clicked/tapped
                View view = findViewById(R.id.main_layout_id);
                String message = "Snackbar message";
                int duration = Snackbar.LENGTH_SHORT;

                showSnackbar(view, message, duration);
            }
        });
    }

    public void showSnackbar(View view, String message, int duration)
    {
        Snackbar.make(view, message, duration).show();
    }
}
This is the most basic case, and it looks like this (using LENGTH_SHORT for duration). If I click the button while the Snackbar is still present, the Snackbar goes away and then pops up again.
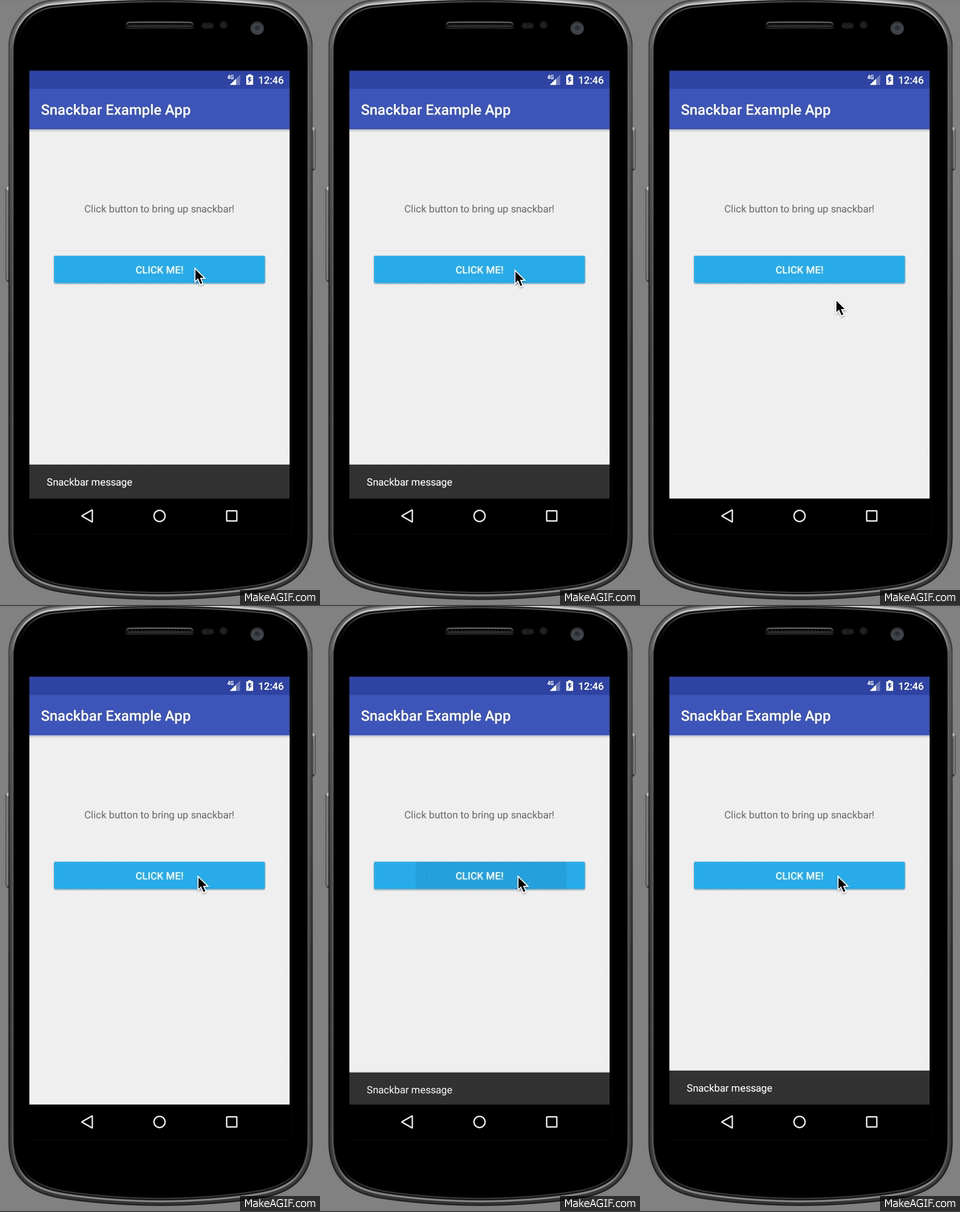
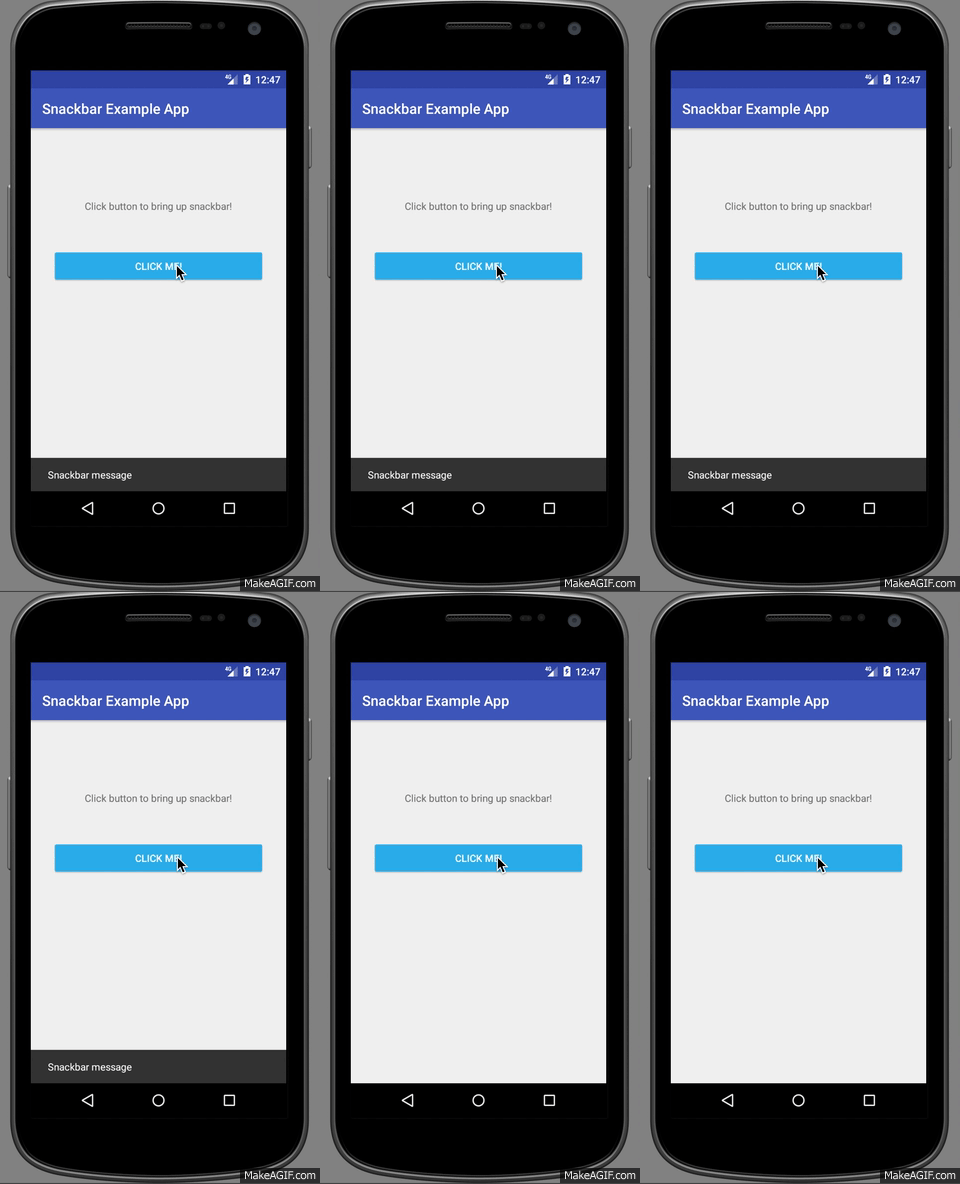
The options for duration are Snackbar.LENGTH_SHORT, LENGTH_LONG and LENGTH_INDEFINITE. LENGTH_INDEFINITE is now included as of Android Support library version 22.2.1. Originally, SHORT and LONG were the only values, as this was meant to be a transient message to the user. A duration of LENGTH_LONG looks like this:
Snackbar Actions
Next, let’s add an action on our Snackbar. This is particularly useful in the LENGTH_INDEFINITE case; otherwise, the user is stuck with part of the screen blocked until they go to a different page. In my current project, we are using a combination of LENGTH_INDEFINITE and a “Dismiss” action for cases where a serious problem has occurred and we don’t want the user to miss a transient message.
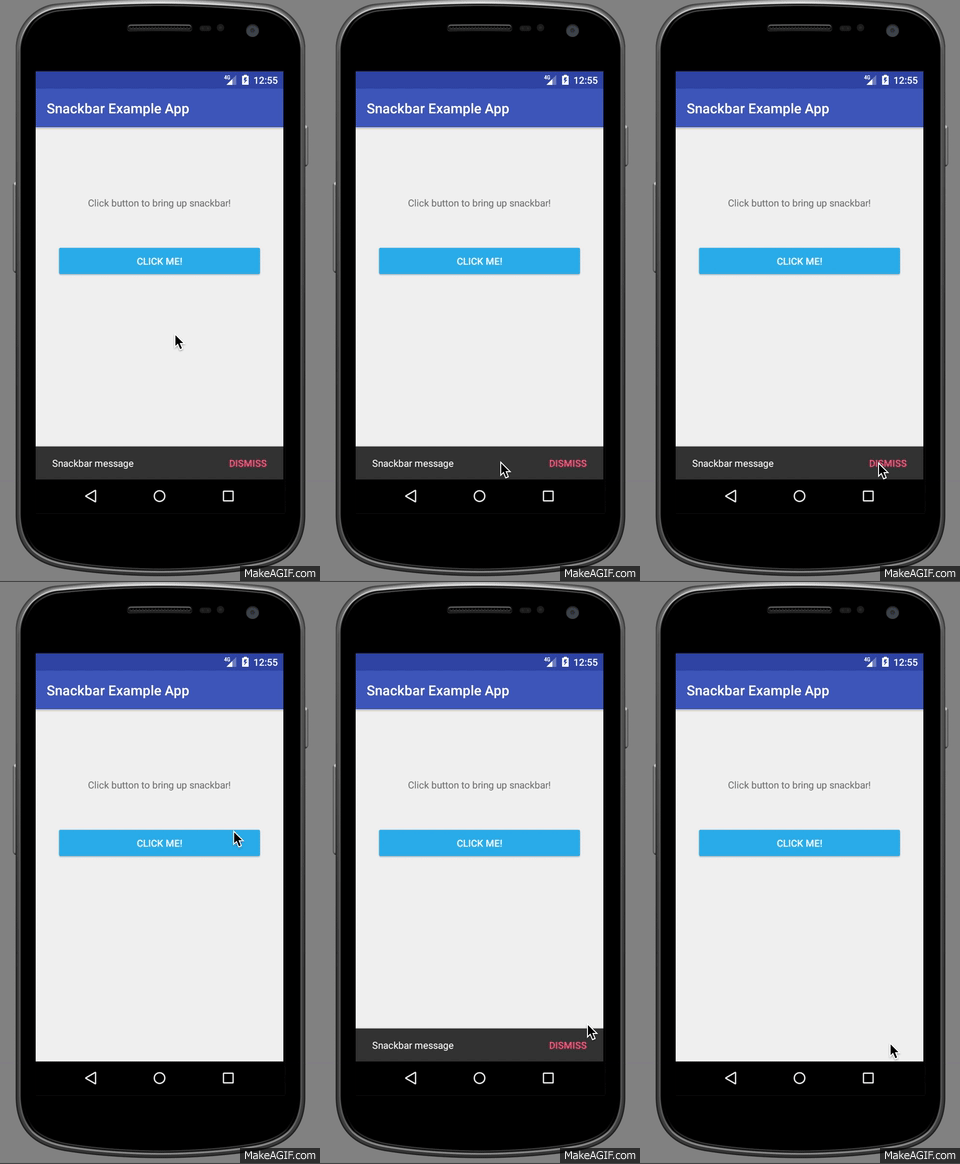
Here, I’ve split up the original line in the showSnackbar method. I create a Snackbar with the view, message, and duration as before. Next, I set an action on it. The first parameter, the string “DISMISS,” will be displayed on the right-hand side of the Snackbar. When I click on “DISMISS,” the code in onClick() will be executed. I can click on the rest of the Snackbar with no effect.
Because the text says “DISMISS,” the onClick() simply dismisses the Snackbar. However, this can be used to (for example) retry or undo an action that just happened, or to navigate the user to a different screen.
Finally, we show() the Snackbar.
public void showSnackbar(View view, String message, int duration)
{
    // Create snackbar
    final Snackbar snackbar = Snackbar.make(view, message, duration);

    // Set an action on it, and a handler
    snackbar.setAction("DISMISS", new View.OnClickListener() {
        @Override
        public void onClick(View v) {
            snackbar.dismiss();
        }
    });

    snackbar.show();
}
This looks like:
Styling the Snackbar
Lastly, let’s style the Snackbar. I’ve changed the font size and color of the “normal” Snackbar text, as well as the font color of the action text (“DISMISS”). You can also change the background color:
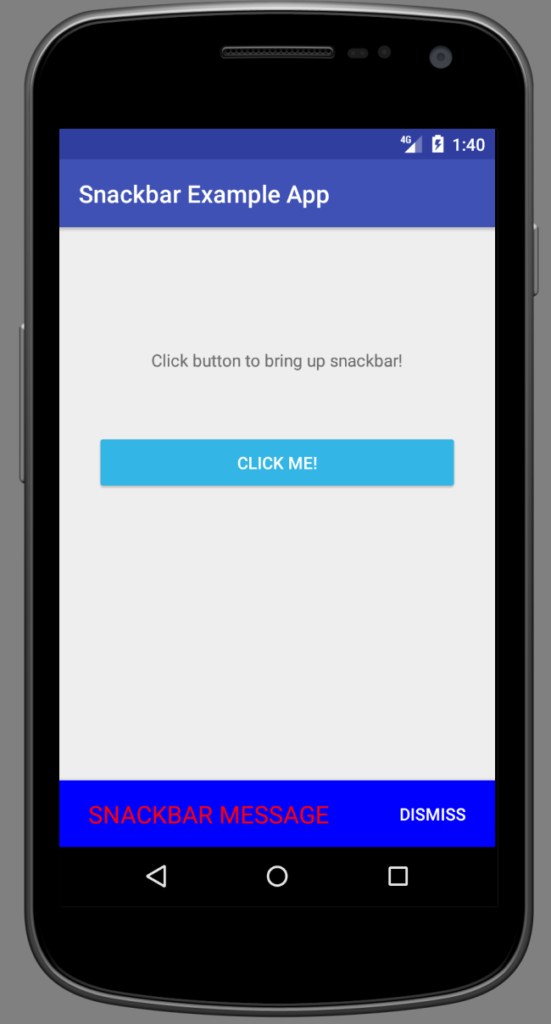
// styling for action text
snackbar.setActionTextColor(Color.WHITE);

// styling for rest of text
View snackbarView = snackbar.getView();
TextView textView = (TextView) snackbarView.findViewById(android.support.design.R.id.snackbar_text);
textView.setTextColor(Color.RED);
textView.setAllCaps(true);
textView.setTextSize(20);

// styling for background of snackbar
View sbView = snackbarView;
sbView.setBackgroundColor(Color.BLUE);
Et voilà! I hope this has been useful as an easy-to-implement way of notifying users with something less annoying than a pop-up modal.


great job.
i tried lot of examples but this is the only example that worked.
thankyou.
Like all other Snackbar tutorials I tried so far yours doesn’t behave right if software keyboard is visible. If keyboard is visible you can’t see the Snackbar because it’s behind the keyboard. :(
I just found out that the example works if you add android:windowSoftInputMode=”adjustResize”
to the activity in the Manifest. Yay! :)
you shouldnt rely on this line findViewById(android.support.design.R.id.snackbar_text) as they could change it whenever they feel like it but the rest is spot on many thanks