Article summary
This post is the third in a series exploring home automation using a Raspberry Pi. Each part covers a different aspect of the build of a garage door controller:
- Basic hardware acquisition and installation into a project box
- Software installation and code for controlling the door
- Software camera configuration and code streaming video to HomeKit
- Installing and configuring door open/closed sensors
Software Installation
For accessing the Raspberry Pi camera, I used raspistill (already included with Raspbian) to take snapshots and avconv (ffmpeg) to stream video of my garage.
To install avconv, we can use apt-get.
~/garage-pi$ sudo apt-get install libav-tools
We have some additional code dependencies from those we used in Part 2. We will be using the shelljs and test NPM packages to take snapshots, and we can use yarn add add shelljs test.
Controller Code
Let’s write some more code in src/main.js to add our camera accessory.
First, we’ll add a new import:
import Camera from './camera';Then, we’ll instantiate our camera (which we’ll define later) and create our new camera accessory:
const cameraSource = new Camera();

const cameraUUID = uuid.generate(`hap-nodejs:accessories:${config.camera.accessory.name}`);
const cameraAccessory = exports.camera = new Accessory(config.camera.accessory.name, cameraUUID);
Lastly, we’ll publish our new camera accessory:
// Camera Accessory

cameraAccessory.configureCameraSource(cameraSource);

cameraAccessory.identify, (paired, callback) => {
  callback();
}
Camera Code
Next, we’ll write write our camera controller in src/camera.js. We’ll be using the Camera code provided by the HAP-NodeJS, with a few modifications:
import { Accessory, Service, Characteristic, uuid, Camera } from 'hap-nodejs';
import { spawn } from 'child_process';
import shell from 'shelljs';
import * as fs from 'fs';
import * as temp from 'temp';
import config from '../config.json';

const debug = require('debug')('controller:camera');

const snapshotFileName = temp.path({ suffix: '.jpg' });

Camera.prototype.handleSnapshotRequest = function(request, callback) {
    let rotation = '';

    if (config.camera.snapshot.rotation) {
      switch(config.camera.snapshot.rotation) {
        case 90:
          rotation = '-rot 90';
          break;
        case 180:
          rotation = '-vf -hf';
          break;
        case 270:
          rotation = '-rot 270';
          break;
      }
    }

    const raspistill = `raspistill ${rotation} -w ${request.width} -h ${request.height} -t 10 -o ${snapshotFileName}`;
    debug(raspistill);

    shell.exec(raspistill, function(code, stdout, stderr) {
        let snapshot;
        if (code === 0) {
          snapshot = fs.readFileSync(snapshotFileName);
        }
        callback(stderr, snapshot);
    });
}

Camera.prototype.handleStreamRequest = function(request) {
  // Invoked when iOS device asks stream to start/stop/reconfigure
  const sessionID = request['sessionID'];
  const requestType = request['type'];
  if (sessionID) {
    let sessionIdentifier = uuid.unparse(sessionID);

    if (requestType == 'start') {
      const sessionInfo = this.pendingSessions[sessionIdentifier];
      if (sessionInfo) {
        let width = config.camera.stream.width;
        let height = config.camera.stream.height;
        const fps = config.camera.stream.fps;
        const bitrate = config.camera.stream.bitrate;

        let targetAddress = sessionInfo['address'];
        let targetVideoPort = sessionInfo['video_port'];
        let videoKey = sessionInfo['video_srtp'];

        let rotation = '';

        if (config.camera.stream.rotation) {
          switch(config.camera.stream.rotation) {
            case 90:
              rotation = ',transpose=1';
              break;
            case 180:
              rotation = ',transpose=2,transpose=2';
              break;
            case 270:
              rotation = ',transpose=2';
              break;
          }
        }

        const streamOptions = [
          '-f', 'video4linux2',
          '-i', '/dev/video0',
          '-s', `${width}:${height}`,
          '-threads', 'auto',
          '-vcodec', 'h264',
          '-an',
          '-pix_fmt', 'yuv420p',
          '-f', 'rawvideo',
          '-tune', 'zerolatency',
          '-vf', `scale=w=${width}:h=${height}${rotation}`,
          '-b:v', `${bitrate}k`,
          '-bufsize', `${2 * bitrate}k`,
          '-payload_type', '99',
          '-ssrc', '1',
          '-f', 'rtp',
          '-srtp_out_suite', 'AES_CM_128_HMAC_SHA1_80',
          '-srtp_out_params', videoKey.toString('base64'),
          `srtp://${targetAddress}:${targetVideoPort}?rtcpport=${targetVideoPort}&localrtcpport=${targetVideoPort}&pkt_size=1378`
        ];

        debug(`start stream: avconv ${streamOptions.join(' ')}`);
        let ffmpeg = spawn('avconv', streamOptions, {env: process.env});
        this.ongoingSessions[sessionIdentifier] = ffmpeg;
      }

      delete this.pendingSessions[sessionIdentifier];
    } else if (requestType == 'stop') {
      const ffmpegProcess = this.ongoingSessions[sessionIdentifier];
      if (ffmpegProcess) {
        debug('stop stream');
        ffmpegProcess.kill('SIGKILL');
      }

      delete this.ongoingSessions[sessionIdentifier];
    }
  }
}

export default Camera;
This code was adapted from Dimiter Geelen’s HomeKitCam.
Accessory Pairing and Usage
Now, we can start up our controller again. Then we can pair our new camera accessory in the iOS Home app using the same steps we followed in Part 2 of this series.
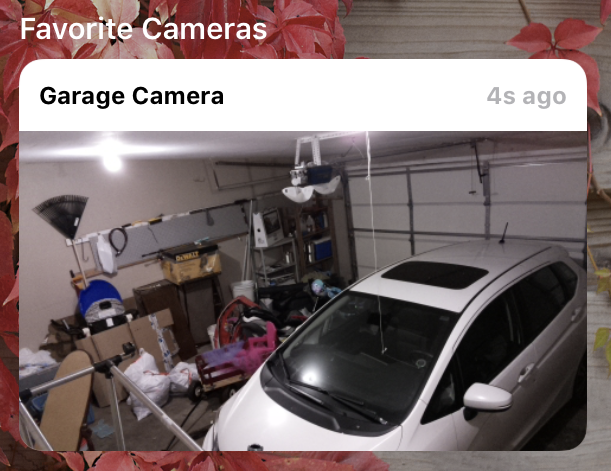
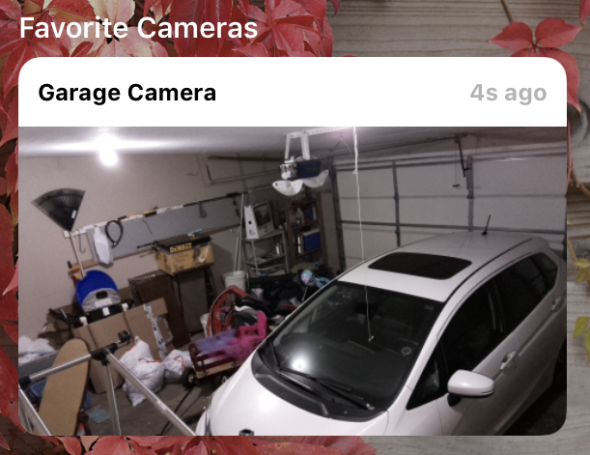
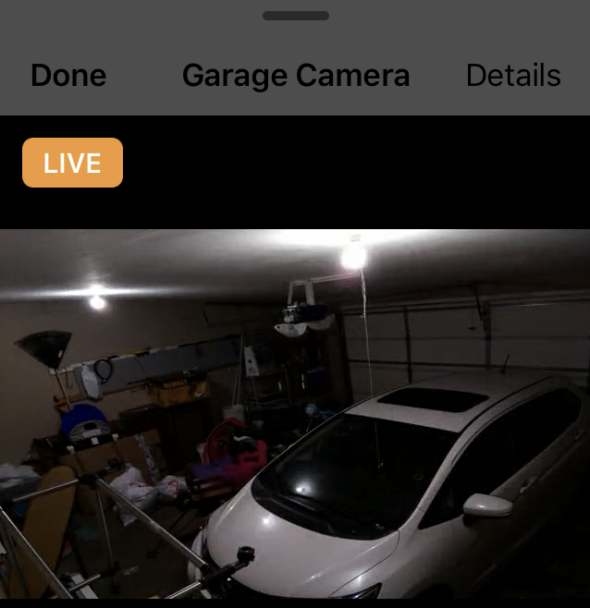
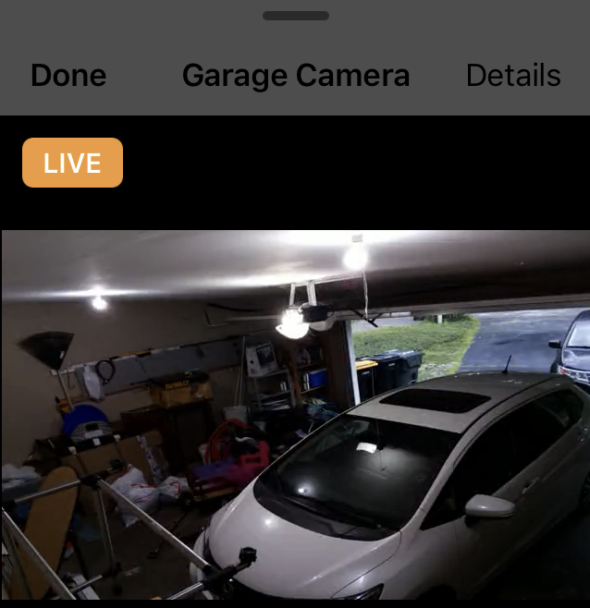
You should now be able to see live snapshots and a video stream showing whether your garage door is open or closed. Note that the video quality is not great, and frame rate is low. Unfortunately, the performance of the Raspberry Pi while encrypting the video stream is not great, but for our use, a low frame rate suits our needs just fine.
We’re making some good progress now. In the next part of this series, I’ll cover installing and configuring a door open/closed sensor.
Which camera did you end up going with for camera functionality?
I think he just is using the Raspberry Pi Camera Module – Jordan do you know if the PI has any libraries other than avconv to access proper cctv cameras both analog and ip?
Thanks
Dave
Does this only work when you’re on your home network or does it also work over cellular?