The NeoPixel is a very cool little device. It combines three LEDs (red, green, and blue) with a specialized microprocessor, all in a package about the same size as a traditional LED. These smart LEDs open up a wide range of new project possibilities because they reduce the amount of circuitry and processor pins that would otherwise be necessary to drive an array of lights.
Recently, I was working on a project where I needed to drive a set of NeoPixels from an Espressif ESP32 micro controller. I couldn’t find an off-the-shelf library for driving them, so I decided to make my own. In this post, I’ll talk about how the NeoPixel works and how I used the ESP32’s Remote Control peripheral to light them up!
What Makes a NeoPixel Special?
Traditional RGB LEDs require three output pins to control, with one pin connected to the anode of each LED. To vary the color, you pulse-width modulate the output to each pin, which controls the power and thus the brightness of each color. That’s not too bad if you have just a single LED, but it can be problematic when the number of LEDs starts to grow.
The NeoPixel is revolutionary because you only need a single processor pin to drive it. Additionally, NeoPixels have a data output pin that allows you to daisy-chain an unlimited number of units together.
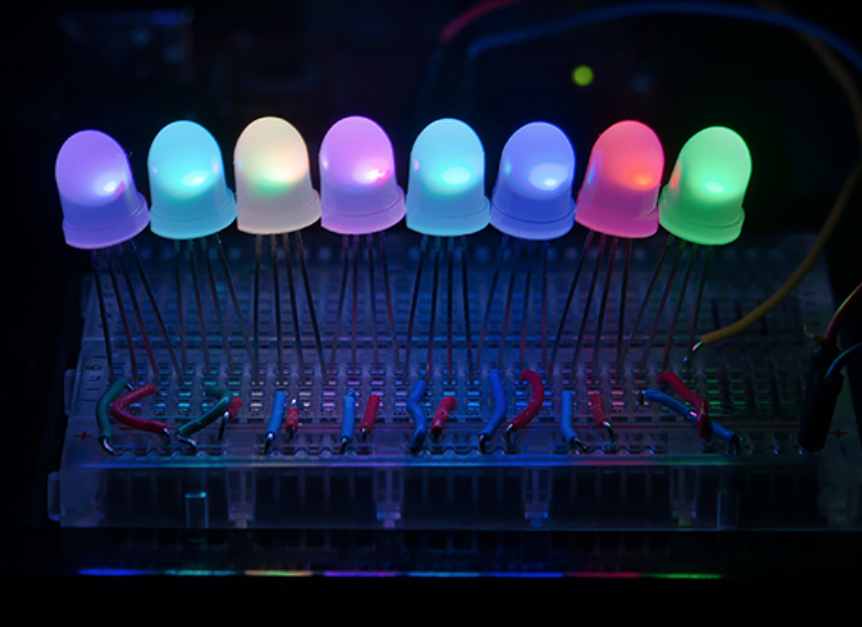
NeoPixels come in a variety of form factors and are available from many online vendors, including Sparkfun and Adafruit.
How Do You Control a NeoPixel?
The micro-controller that’s built into the NeoPixel (WS2812) is specially designed to decode a digital input signal that contains a coded message. This message indicates the color and brightness of the light setting.
The digital signal has very tight time constraints, which means that in order to operate the device properly, you need to produce the signal from a real-time operating system or a hardware peripheral that is designed for controlling output pins with precise timing.
The Remote Control Peripheral
After spending a little time perusing the documentation for the ESP32, I discovered that it has a hardware unit called the Remote Control peripheral. The main purpose of this peripheral is to drive and receive transmissions of data communicated through infrared LED. This could be used for something like creating a custom TV remote. However, because the peripheral offers very precise control over the timed output pulses, it’s also a perfect candidate for driving NeoPixels! You can read more about the details of the Remote Control peripheral here.
Open-Source Project
As I mentioned earlier, the timing constraints for the input signal to the NeoPixel are very tight. That can make it difficult to get the code right to output a signal that produces consistent results. After spending some time inspecting the output with a logic analyzer, comparing the measured pulse widths with the specs listed in the datasheet, and tweaking the configuration parameters, I was able to successfully and reliably control an array of NeoPixels using the Remote Control peripheral.
I extracted the code into a small open-source library called ESP32-NeoPixel-WS2812-RMT. The project README contains all the information you need to begin using it and lighting up your LEDs. Happy coding!
Hi thanks for this but when I try to compile it using the Arduino IDE I get the following errors :
sketch\ws2812test2.ino.cpp.o:(.literal._Z4loopv+0x8): undefined reference to `ws2812_control_init()’
sketch\ws2812test2.ino.cpp.o:(.literal._Z4loopv+0xc): undefined reference to `ws2812_write_leds(led_state)’
sketch\ws2812test2.ino.cpp.o: In function `loop()’:
C:\Users\User\Documents\Arduino\ws2812test2/ws2812test2.ino:14: undefined reference to `ws2812_control_init()’
C:\Users\User\Documents\Arduino\ws2812test2/ws2812test2.ino:21: undefined reference to `ws2812_write_leds(led_state)’
Any ideas?