Before a recent request to create the Atomic Logo in 3D, I had never ventured much into the 3D design realm. A few years back, I’d attempted 3D design using Sketch, and before that, I’d tried Blender/Rhino. This software brought with it a host of challenges, so I was pretty nervous to try to output something reasonable with minimal effort.
After a bit of searching around, I found a web-based tool called vectary.com. No, I didn’t find it through a commercial. Vectary was simply the first product I came across that was simple enough to complete my task. With only a little time invested, I was easily able to take an SVG file and place it in a scene, add a surface, and light the scene. Here’s how I did it.
1. Prepare & Export an SVG
Use Sketch to combine all of the paths of the vector asset to prepare for export. Select the layers to be included with the export. Click Layer > Make Exportable to export the desired layers. To make it easily accessible, save the export to your desktop or downloads folder. You’ll need to access it shortly.
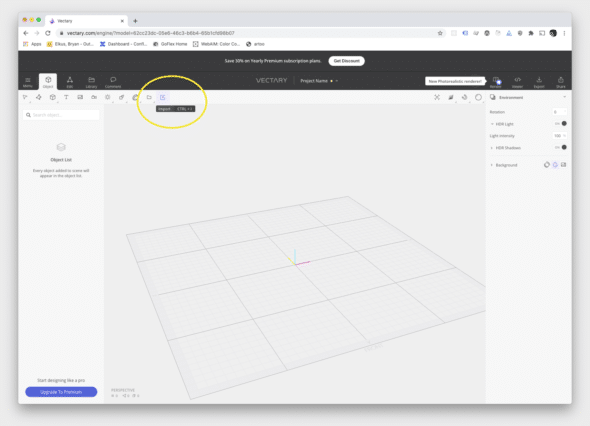
2. Create an Account & Project
Go to vectary.com and create an account. They have helpful tutorials to get you accustomed to the tools and controls. Then create your first project.
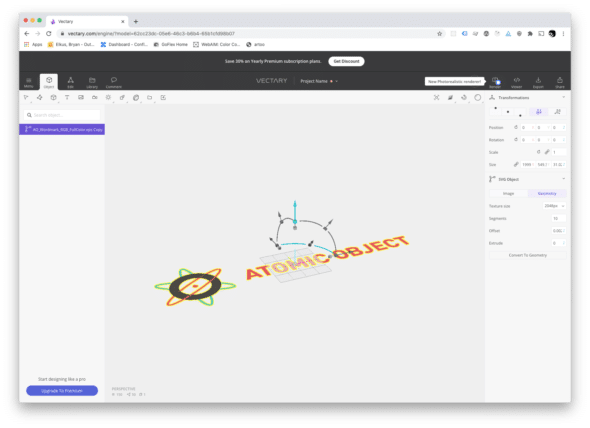
3. Import the SVG
Use the import feature in the Object’s toolbar. This will walk you through selecting and uploading your SVG file.
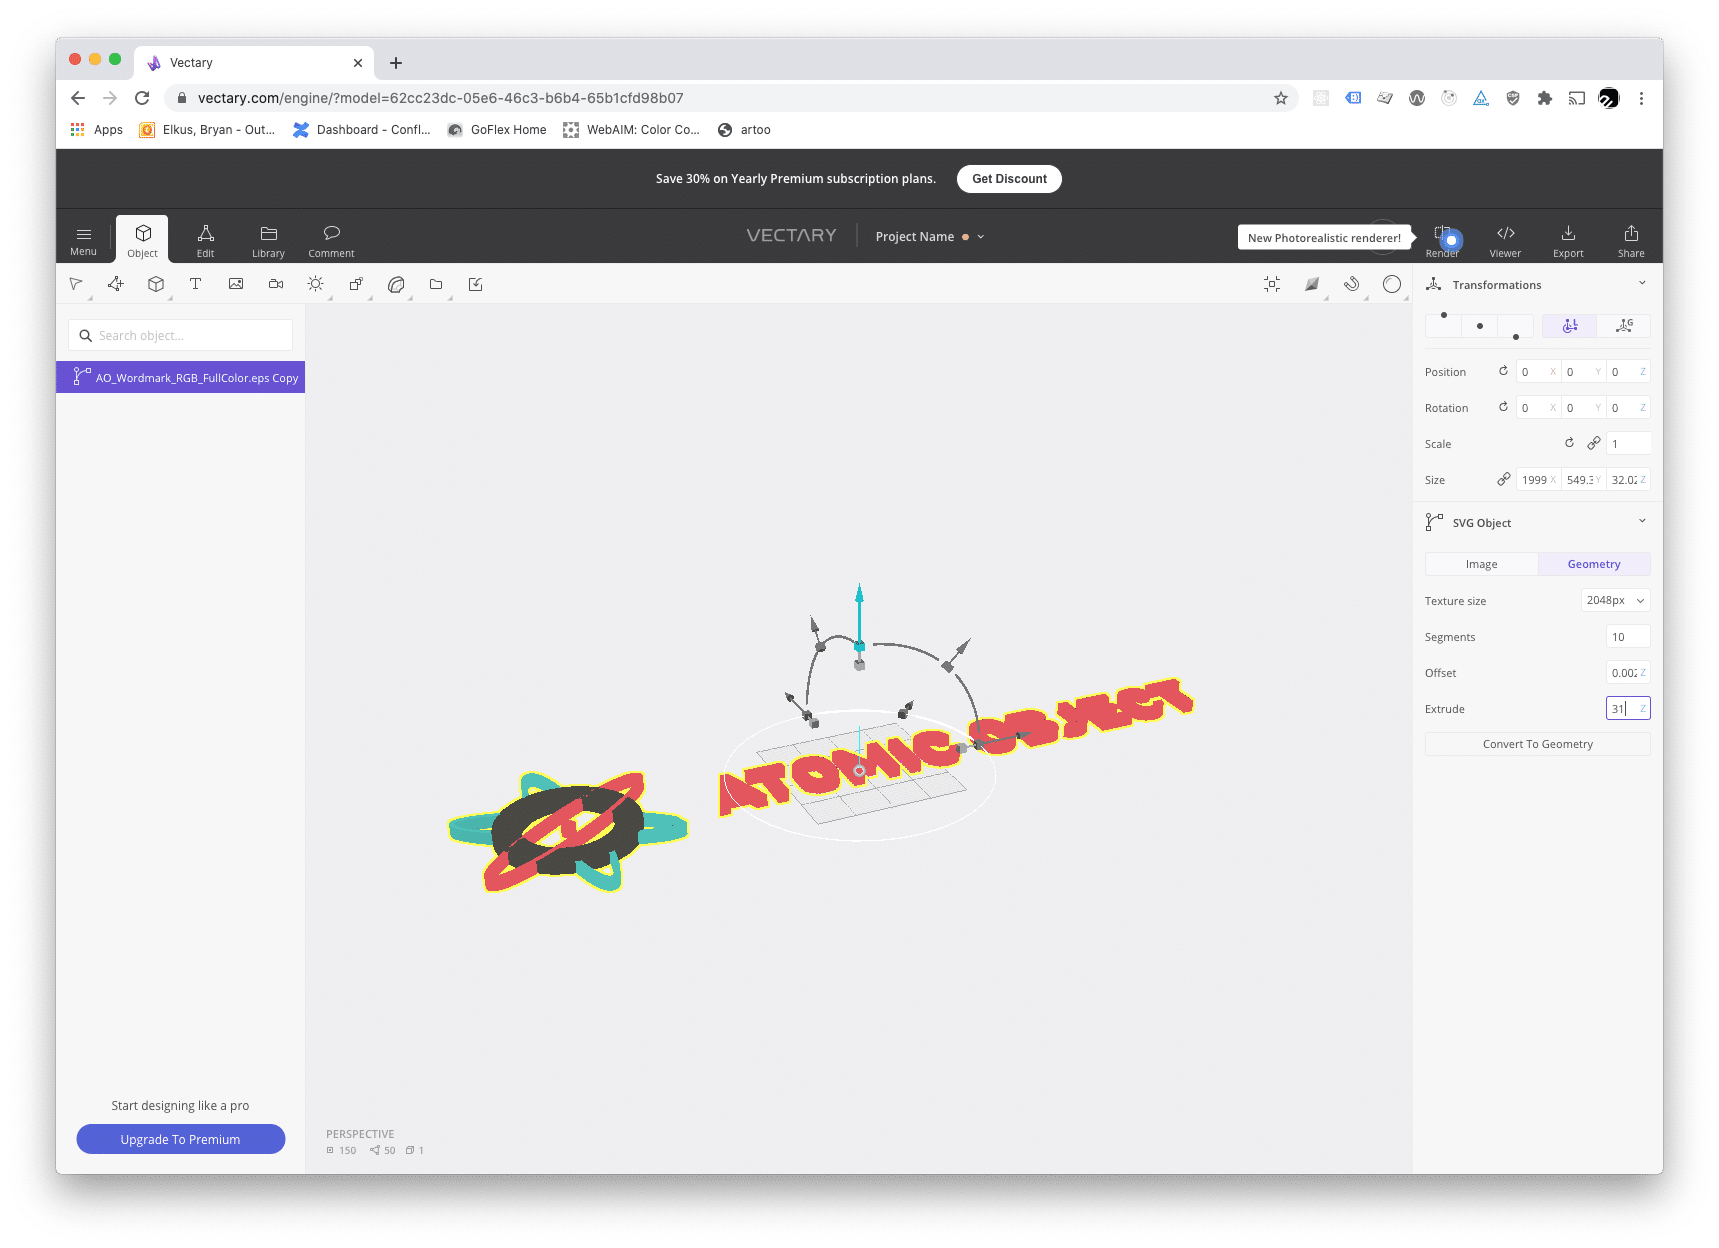
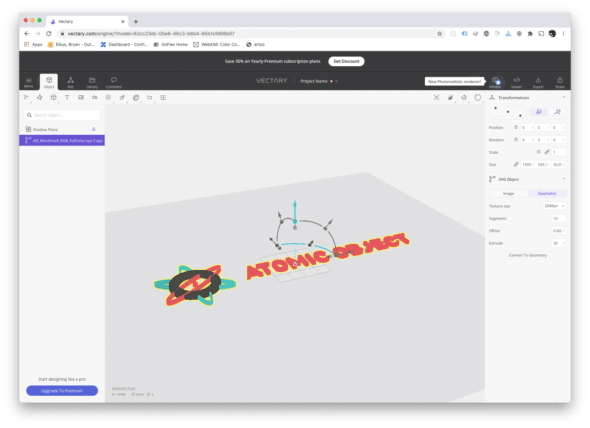
4. Extrude the SVG to Create Depth
This was the trickiest part to figure out. Select the layer of the logo from the left sidebar. In the right sidebar, there is a tab labeled “Image and Geometry.” Tucked away within the Geometry tab is an Extrude option. Use this to add the desired depth to the SVG.
This is where things start coming alive! Now you can add depth to your creation.

5. Add a Plane for the Shadow to Fall Onto
To add depth to the visuals, you need something to capture the light. This is where planes come in. There are a few options to pick from, including square, circle, shadow, and infinite.
Grab your plane and place it under your extruded logo. This can be done from the Objects tab > Primitives (looks like a 3D box) > plane of choice. The plane will show up in your layers list and can be adjusted, if necessary.
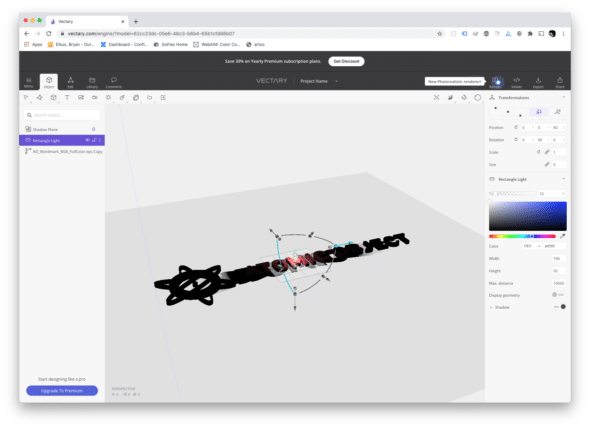
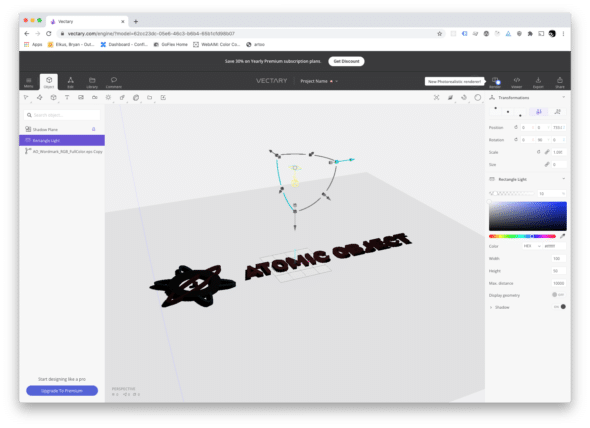
6. Add & Place Lights
This part was a bit tricky at first. Adding light will cast a shadow on the 3D object and plane based on the location, direction, and strength of light.
Add light by clicking the Objects tab > Lights (looks like a sun icon). When you choose a light (like a rectangle light, for example), the visualization changes. The object might go black. This, from what I can tell, is representing where and how the light will fall on an object. When you move the light directly above the logo, you can see a preview of how the shadows will be cast. Note the highlight on the M in the first image and how the shadows play off the left side of the logo.
Vectary uses a nifty little control for objects. It takes a minute to get used to, but it allows you to manipulate an object in space.
After the lights have been added and adjusted to your liking, click back on the logo layer on the left sidebar to see the SVG extruded with the shadows from the light casting down on the surface.
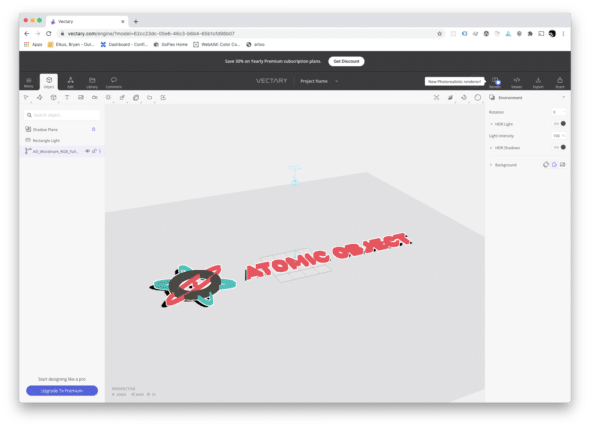
Now it’s time to go be creative! Share your creations in the comments below.