Article summary
Being able to see, interact, and customize using product visualizations can be valuable. This post demonstrates how to build a 3D product visualization and configuration tool using Babylon.js, a powerful, open-source 3D engine based on WebGL and WebGPU.
For the Artists
We’ll start with a 2D logo in SVG format and convert it to a 3D model using Blender. When creating a 3D model file that can be loaded into Babylon.js, there are several options; however, the common format used with WebGL tools today is glTF (GL Transmission Format). The binary version, GLB, is especially well-suited for web applications when compressed.
The workflow:
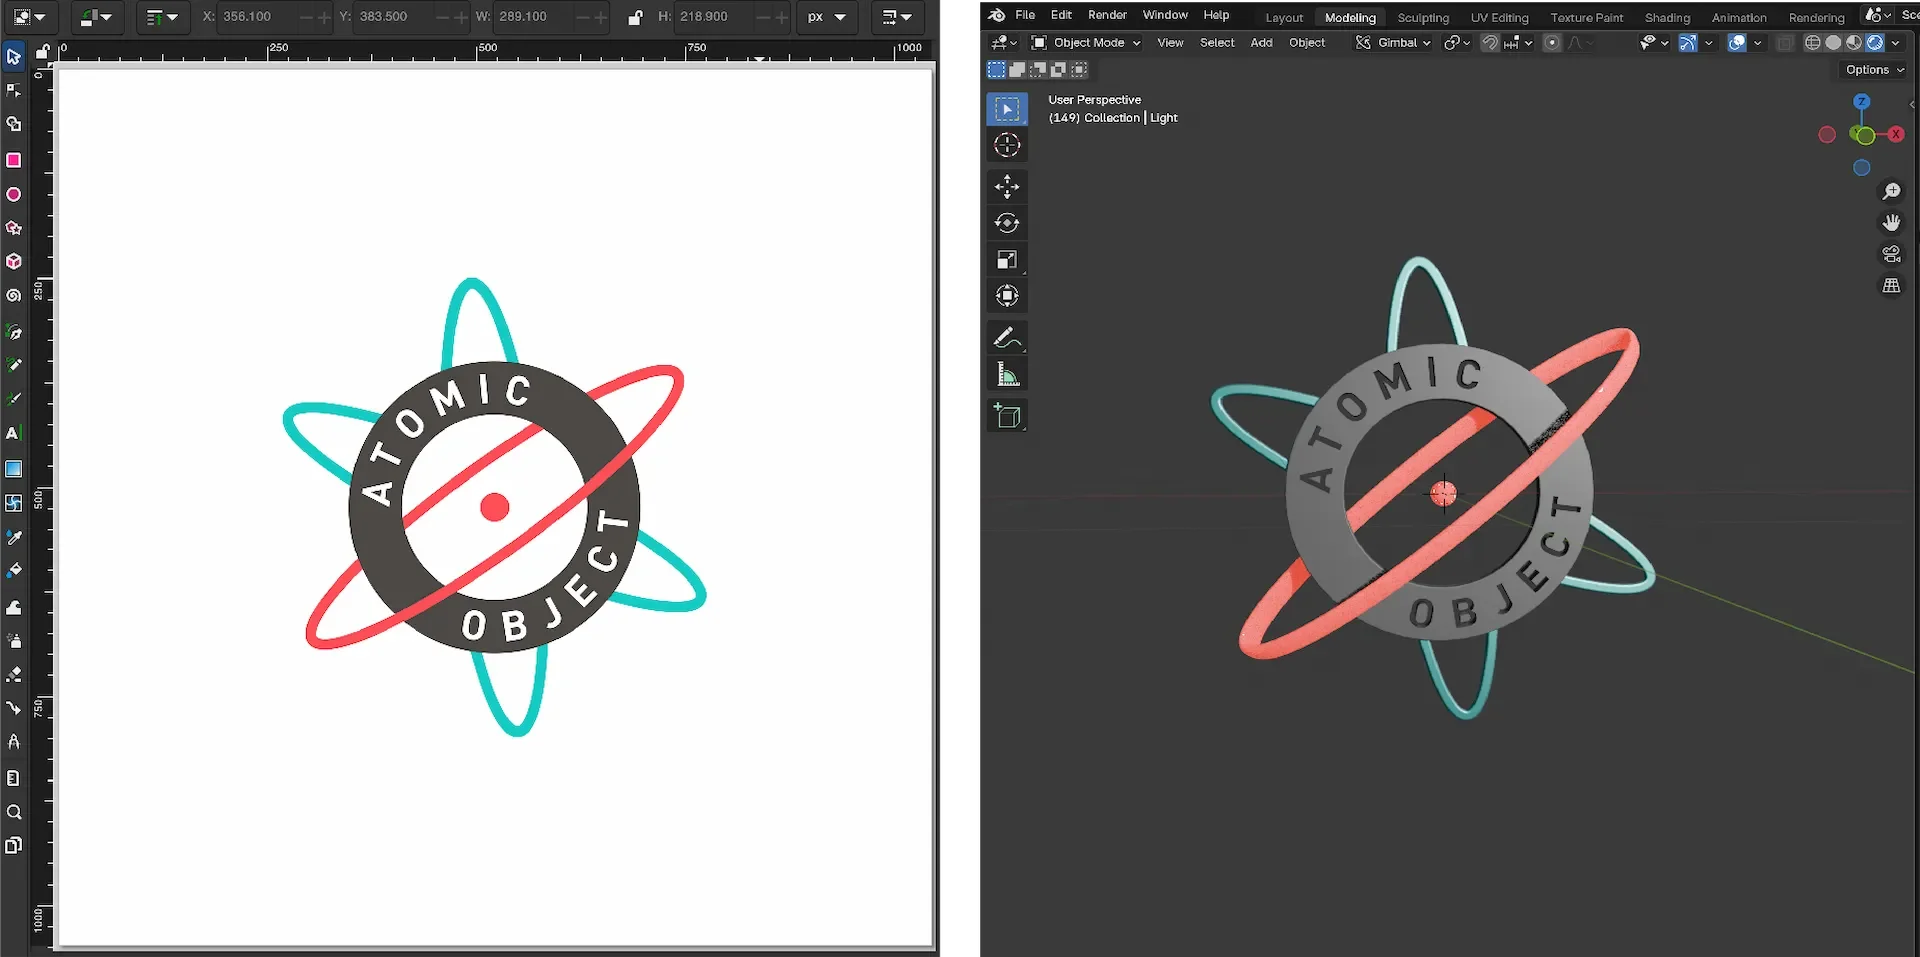
- Import the SVG into Blender as Grease Pencil curves
- Clean up the model, separate into parts, apply materials, extrude for 3D
- Export from Blender to GLB
- (Optional) Optimize with tools like gltfpack for web delivery
For glTF model viewing, the Babylon.js team provides a reusable Web Component named Babylon Viewer that can easily be embedded into any HTML file.
<html lang="en">
  <body>
    <script src="https://cdn.jsdelivr.net/ \
                 npm/@babylonjs/viewer/dist/ \
                 babylon-viewer.esm.min.js"
            type="module">
    </script>
    <div class="container">
      <babylon-viewer
        environment="none"
        source="ao-logo-3d-001.glb"
        exposure="0.7"
        camera-orbit="1.25 1.5 3"
        camera-target="0 -0.1 0"
        camera-auto-orbit
        camera-auto-orbit-speed="1"
      ></babylon-viewer>
    </div>
  </body>
</html>
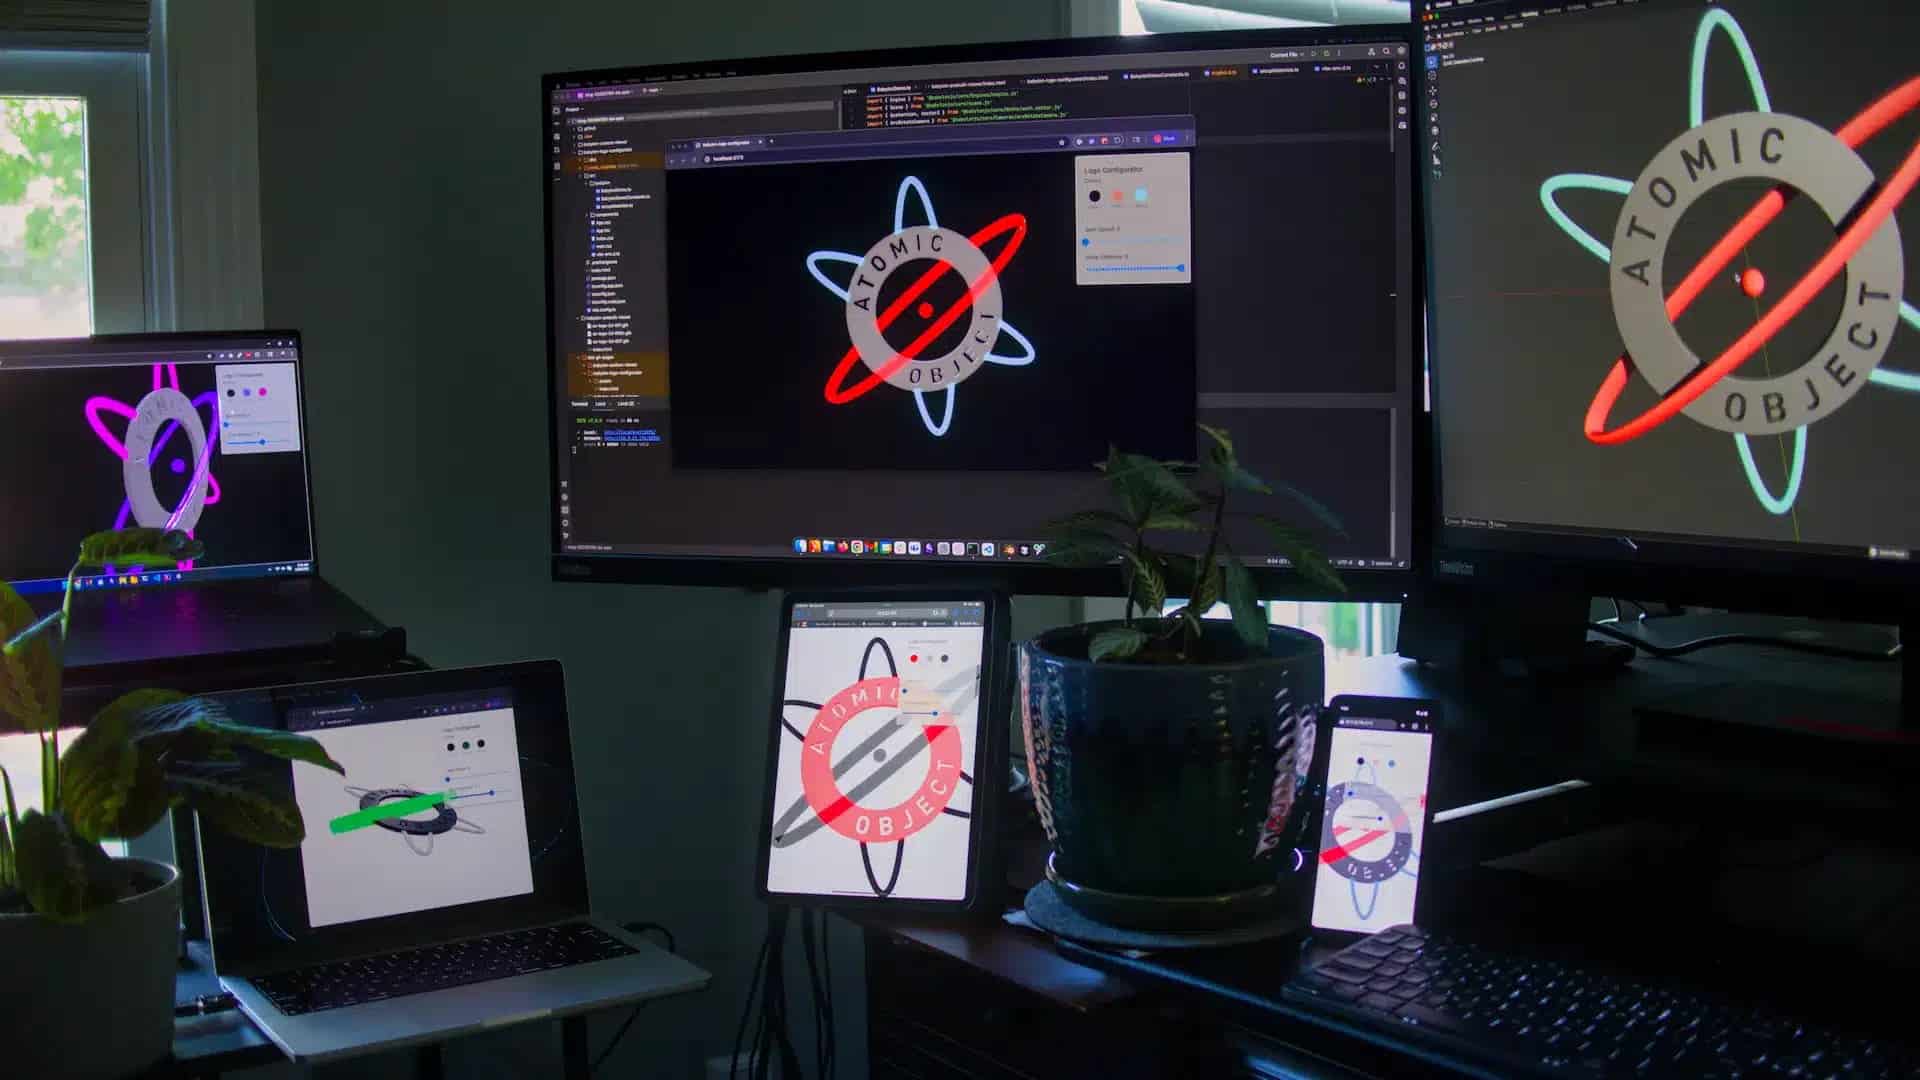
That viewer looks like this:
But we’re going beyond a viewer to build a custom configurator, and so we’ll need to do it the true developer way. And by that, I mean we’ll spend a few seconds looking at the keyboard and then ask the IDE’s AI agent to do it for us. …just-kidding. These AI programming tools are good for lots of things, but coming up with the simplest solution before you know what you are doing usually isn’t one of them.
For the Developers
Getting started with Babylon.js can be easy. With a recent version of Node.js installed, start by scaffolding a Vite project and add the two required Babylon.js dependencies:
npm create vite@latest \
    babylon-custom-viewer -- \
    --template vanilla-ts
cd babylon-custom-viewer
npm install @babylonjs/core @babylonjs/loaders
Place a canvas element on the HTML page and then initialize Babylon.js with code like this:
function initBabylon(canvasEl: HTMLCanvasElement) {

  // Initialize engine
  const engine = new Engine(canvasEl, true, {}, true)
  window.addEventListener('resize', () => {
    engine.resize()
  })

  // Create scene
  const scene = new Scene(engine)
  scene.createDefaultEnvironment({ createGround: false,
                                   createSkybox: false })
  scene.clearColor = new Color4(0, 0, 0, 0)

  // Create camera
  const camera = new ArcRotateCamera('Camera',
                      Tools.ToRadians(90),
                      Tools.ToRadians(90),
                      2,
                      new Vector3(0, 0, 0), scene)
  camera.wheelDeltaPercentage = 0.01
  camera.attachControl(true)

  // Let there be light
  new HemisphericLight('light', new Vector3(0, 1, 0), scene)

  // Load the glTF model
  let logoMesh: Mesh | null = null
  LoadAssetContainerAsync(glbModelUrl, scene)
  .then((container) => {
    container.addAllToScene()
    if (container.meshes.length > 0) {
      logoMesh = container.meshes[0] as Mesh
    }
  })

  // Start the render loop
  let lastTime = performance.now()
  engine.runRenderLoop(() => {
    const now = performance.now()
    const deltaTime = (now - lastTime) / 1000 // seconds
    lastTime = now

    // Rotate the model.
    // Babylon uses quaternions for gltf model rotations
    if (logoMesh) {
      const rotationSpeed = 1 // radians per second
      const deltaQuat = Quaternion.RotationAxis(
                            Vector3.Up(),
                            rotationSpeed * deltaTime)
      logoMesh.rotationQuaternion = logoMesh.rotationQuaternion
        ? logoMesh.rotationQuaternion.multiply(deltaQuat)
        : deltaQuat
    }

    scene.render()
  })
}
With that small amount of code, we’ve replicated the prebuilt model viewer, but now with full access to the entire Babylon.js API. Anyone who has ever done 3D graphics programming will appreciate the minimal amount of coding needed to get to this point.
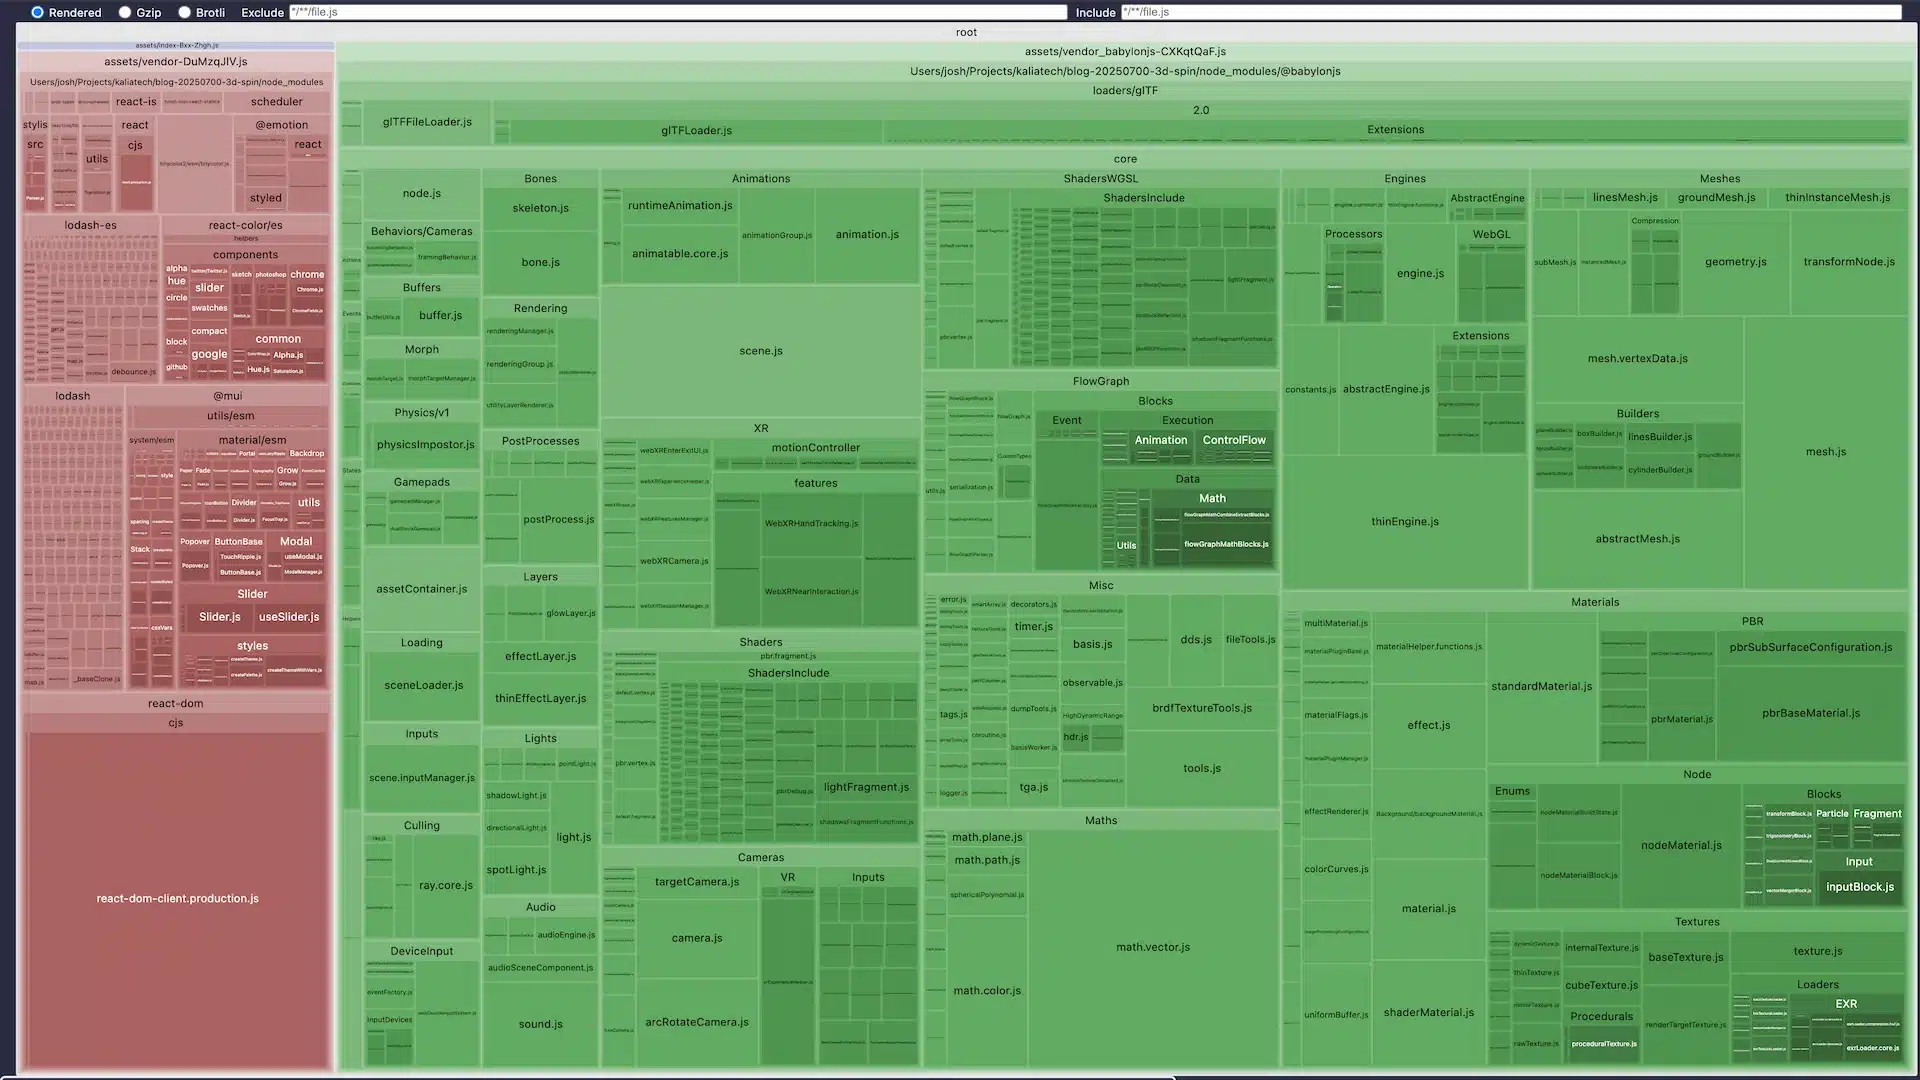
Bundle Sizes
The custom viewer example above weighs in at ~2.5MB (630k gzipped). There’s a lot of functionality embedded in that bundle, but it’s still hefty for a simple viewer. For scenarios where byte counts are more important, the use of Three.js can often result in smaller bundles, especially when less advanced functionality is needed.
The Babylon.js team has done extraordinary work to support multiple, backwards compatible variations of the library, including support for modern ESM variations that support tree shaking to some extent. How to use the correct variation efficiently is not always obvious though, especially when using modern bundlers which will bundle whatever you give them. That is why it’s important to install:
@babylonjs/core, instead ofbabylonjs
And use import paths like:
import { Tools } from '@babylonjs/core/Misc/tools.js'instead ofimport { Tools } from '@babylonjs/core'
These small and easily missed nuances can increase bundle size by multiple megabytes. Regardless of Babylon.js, developers should consider regularly analyzing their bundles using tools like npx vite-bundle-analyzer.
Going Beyond Model Viewers
Babylon.js offers significantly more features than needed for an interactive model viewer. It can be used for accelerated 2D graphics, or serve as the core element of a complex online game engine. In the context of product visualizations, other use cases might include:
- VR experiences using Babylon’s support for WebXR
- AR experiences bringing models into the real world
- STL file export for 3D print customizations and previews
![]()
For Everyone
Building on the earlier code in this post, here is a product configuration tool for everyone’s favorite logo:
Product visualization and configuration tools are especially useful when working with products that are complex, highly customizable, or visually rich. Whether you’re working with digital assets, physical goods, or on-demand manufacturing (or even all three like Hero Forge), tools like Babylon.js and Three.js make it possible to deliver these interactive experiences directly in the web browser, on desktop or mobile, without requiring app installation.
If you’re a developer with questions or feedback, feel free to drop a comment below. And if you’re looking for a partner to help build your own product configurator, well, I know a great custom software development company that can help.