Figma’s prototyping tools and smart animation options are great. But over the weekend, I was playing a game on my phone and noticed a really slick screen wipe to transition from one screen to a short loading screen to the next screen. And I decided I wanted to recreate it in Figma — except, it only supports a simple dissolve animation. I wanted something with a bit more personality, and my solution involved video and blend mode.
Figma supports video.
An awesome thing about Figma is that it now supports videos — and there are even some smart controls, too, when videos play during a prototype. So I knew I wanted to use a video clip to handle the transition. I booted up After Effects and used some pre-rendered clips I had in a plugin from RTFX Generator. I originally set up the comp to have a transparent background, so that it showed my Figma prototype underneath. However, I discovered a problem. You cannot render an .mp4 file with an alpha mask. So I tried the quicktime (.mov) format which does support alpha. But then I learned that Figma doesn’t support .mov files. I was bummed.
However, I was determined to make this work, and found that I could convert a quicktime movie to webm, This was promising, because webm supports alpha, and Figma supports webm as a video format!
However, after many trials and errors, I finally looked it up. This was another devastating setback (because I had a Spin Post due, and I was out of ideas, ha!). I almost gave up.
But…
Videos have blend mode.
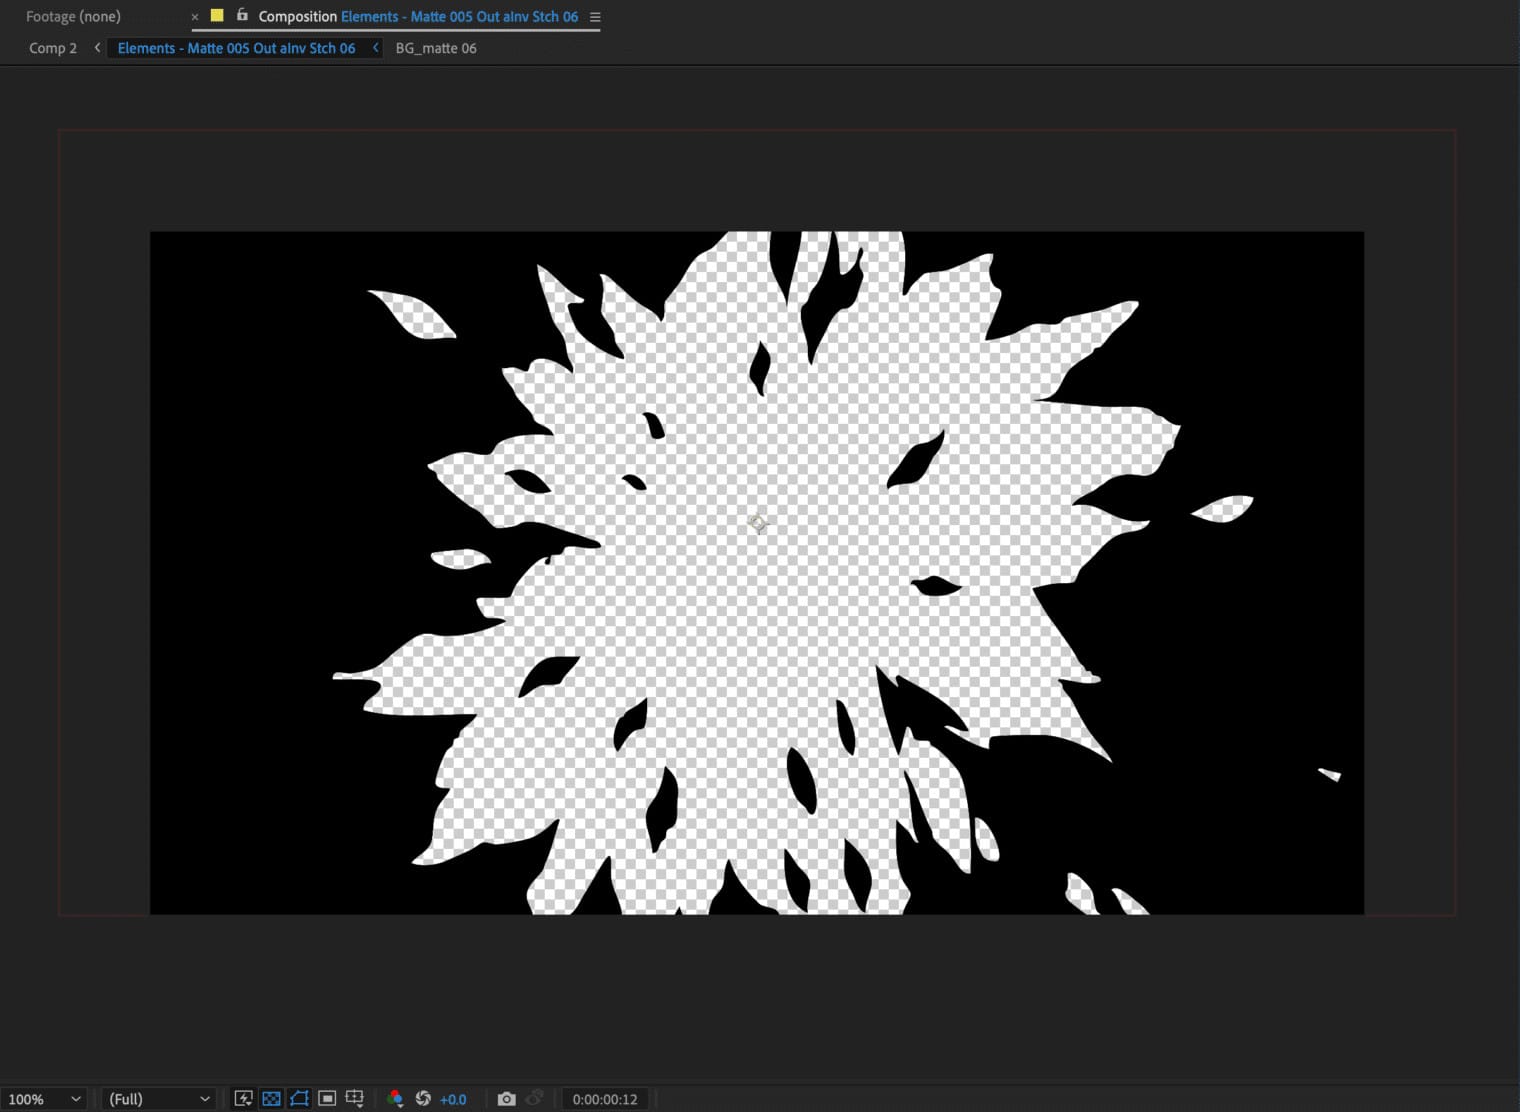
This meant that I could use Multiply or Screen on the video itself. Which meant that I had to give my comp in After Effects a background of black, and make the animation white. It becomes slightly more limiting in what we can transition to, but it worked for what I was trying to do.

I decided that I would make the blend mode “Multiply.” That means that, wherever the video has black, my underlying prototype would be black. But where the video was white, my prototype would show through! I created two different versions of the video, one where it wipes “out” and one where it wipes “in.”
Putting it All Together
Okay, so now the fun part! I’ve included the Figma File so you can see exactly how I structured it. You can reconfigure the triggers however you want. I used a combination of a click/tap event to start it, and then a series of delays, matching the length of the animations.

Some quick notes if you are building this from scratch:
- The video assets should be set to Autoplay, but deselect looping.

- Make sure you select the option to reset the video state on the interaction when going to the screen with the video overlay. Otherwise, the video will have already played before getting to this screen, and it won’t appear correctly.

- Lastly, set the animation to instant. We don’t need any fancy smart animation or dissolves for this… we just built a custom wipe animation ourselves!
When to Use This
Okay, I have one final point to make. At Atomic, we build a lot of business-style software and web applications. This is not for that. However, we also work on games and mobile apps. This is for that.
I hope you found this useful. Drop a comment here or on the community file if you have any questions, or if you know an even better way to accomplish this. Happy playing!

