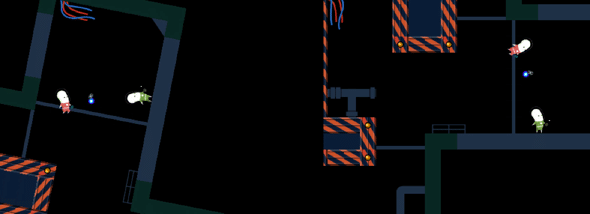
Acceptance testing is hard. It requires thinking through your entire problem and nailing down the expected outputs for a list of inputs. When working on games, acceptance testing becomes even more difficult.
There are certain aspects that cannot be tested: “Is it fun?” “Is it too hard?” Other aspects are just difficult to setup and too brittle to maintain. You don’t want your tests to break on small tweaks, like player walking speed or jump height, but you want to enforce that the core game mechanics are working: “Can I shoot another player?” “Can I jump up on that ledge?” This is the area where tests can be incredibly useful.

If you’ve read my previous post on acceptance testing games, you’re already test-driving the features in your game. But don’t forget that acceptance tests are a powerful tool for fixing and debugging code.
I was recently reminded of this while working with Dave Crosby on a game, codename: Foxy. While play-testing, I kept getting the feeling that the shooting vector was somehow off. When I told Dave, his response was, “Let’s write a test.” Foxy testing uses a few new helpers that leverage ish and actors’ attributes hash to give a nice clean syntax to build “yeah that’s about right” level of testing.
We wrote a high level in a Foxy specific DSL with things like: update, wait, jump, and shoot. Then we check what’s in the game and where. All of this is done from a rigging layer that lets us stub out the outer most layers and test the entire game. We stub out keyboard input, game ticks, and even resource loading for things like fonts, images, and tile-sets. It’s very easy to add debugging output or to debug with pry at any of the steps along the way.
The test reads like:
- setup test fixture map
- jump
- wait for the player to rotate
- shoot
- see if the bullet goes where it should
The human eye can very easily tell that something is “a little off”. This test is the equivalent stepping through moments of time in the game, zooming in, and measuring with a protractor and ruler. My hobby projects still don’t get the full diligence that I use on client / production code, but they continue to improve and provide incredible value. I’ve found this to be the right amount of testing. Now if I subtly break shooting, I’ll know!
Here’s the rspec test we came up with (The full code is available here.)
    before do
      # load fixture map, etc …
    end

    it 'shoots at the correct angle when floating/spinning' do
      # Jump and begin tumbling counter-clockwise, pausing at -15 degrees:
      jump 1000
      ticks = 0 # prevent infinite loop
      while player.rotation > -15 && ticks < 250
        update 20
        ticks += 1
      end
      player.rotation.should <= -15

      # Now fire
      shoot

      bullet = game.actor(:bullet)
      bullet.should be # bullet exists

      # See the bullet trajectory matches player's rotation:
      radians_to_degrees(bullet.vel.angle).should == -15.ish

      # sanity-check vector alignment: should be a straight line from player's center, through the gun tip, to the bullet.
      # (Ie, the vector angles need to be the same)
      player_vector           = body_vector(player)
      original_gun_tip_vector = body_vector(player.gun_tip)
      bullet_vector           = body_vector(bullet)
      player_to_bullet        = bullet_vector - player_vector
      player_to_gun_tip       = original_gun_tip_vector - player_vector
      gun_tip_to_bullet       = bullet_vector - original_gun_tip_vector

      player_to_gun_tip.angle.should == player_to_bullet.angle.ish

      # See the bullet velocity stays correct over time:
      update 100, step: 20
      radians_to_degrees(bullet.vel.angle).should == -15.ish
      bullet.x.should > bullet_vector.x # bullet should have moved right
      bullet.y.should < bullet_vector.y # bullet should have moved up

      # See that a vector from the original gun tip to the new bullet matches the angle of the original gun_tip_to_bullet
      new_bullet_vector = body_vector(bullet)
      original_gun_tip_to_new_bullet_vector = new_bullet_vector - original_gun_tip_vector
      original_gun_tip_to_new_bullet_vector.angle.should == gun_tip_to_bullet.angle.ish
    end
