Thanks for following along as I adapt agile software practices into “normal” life! In case you’re new here, I described why I’m on this journey in “Agile Practices for Normal Life – An Introduction.” After that, I started with some of my favorite design thinking project kickoff activities. You can read all about that here. Today, we’re going to talk about building a non-software-related backlog.
Building a Story Map
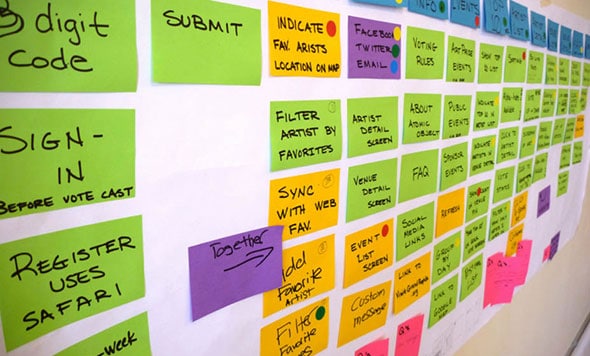
Before I jump into creating stories in a backlog, I like to lay out a more high-level map of what the team needs to accomplish. My favorite method for this is story mapping.
Typically, teams do this by talking through the story of how a particular type of user might complete a task. This helps determine the various features (and stories) the team needs to build for the user to achieve their goals.
I’m a big fan of story mapping at the start of a project for a few reasons.
- It helps build a shared understanding of what needs to be built.
- It helps teams stay focused on user goals and interactions, instead of getting bogged down worrying about implementation details and how we might build things.
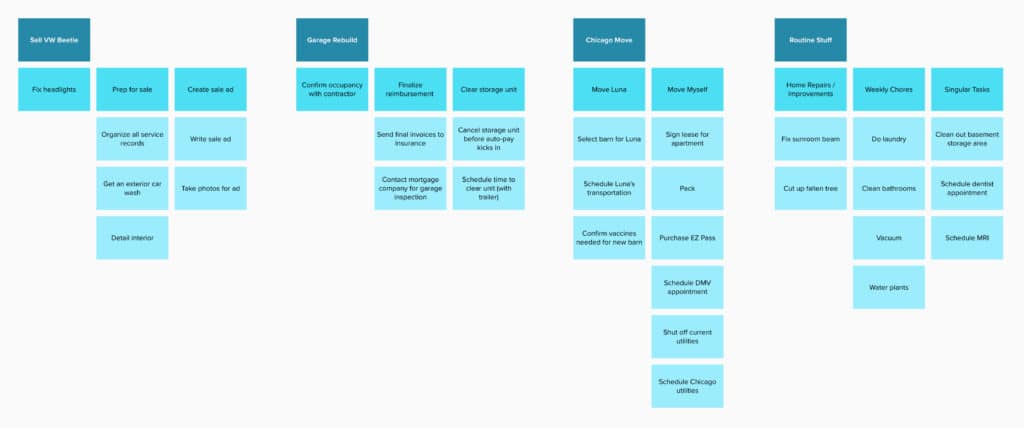
For Agile Practices for Normal Life, writing out a story for my “normal life” todos seemed like a bit of a stretch. Instead, I utilized the same structure of a story map to generate a larger (and categorized) list of todos.

Picking a Backlog Tool
After I completed my story map, I was ready to start getting tasks into a backlog. However, first, I needed to choose a backlog management tool.
There are oodles of backlog tools on the market — Jira, Pivotal Tracker, Azure DevOps — just to name a few. At Atomic, we don’t have one we always use. Like most things, it varies depending on the project. Sometimes we adapt to what our customer’s ecosystem already includes. Sometimes we try out a new tool. And then, sometimes, we stick with the simple old faithful, Pivotal Tracker. For this project, I’ll be doing just that.
Pivotal Tracker is not a fancy backlog tool. It doesn’t offer the extreme level of flexibility that many others do. However, it is simple and easy to use. It’s a true no-nonsense approach to backlog management. For this project, it will be just right.
Translating the Story Map into a Backlog
I love starting with a story map because it makes the initial backlog creation very straightforward.
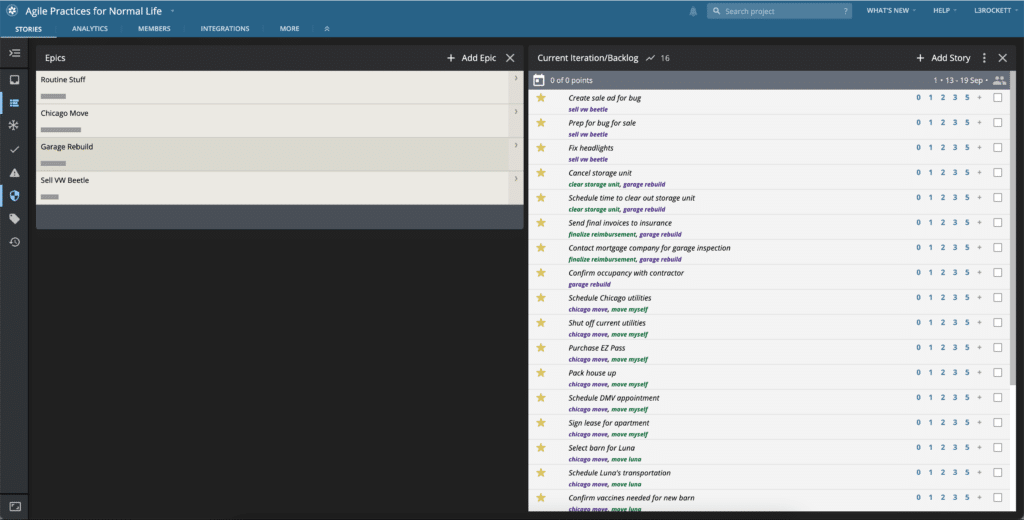
The first thing I like to do is create a few “epics” in the backlog, based on the highest level sticky notes in my story map. For this project, that means the dark blue stickies will become my epics.
Next, I work through the story map, left to right, adding stories for each sticky note. I might occasionally decide to break one sticky note up into multiple stories or combine a few stickies into one story with subtasks.
At this point, I don’t worry about priority order or estimating effort. I simply get all the stories into the backlog.

Up Next
After getting an initial chunk of stories into the backlog, I’ll spend some time defining the stories, estimating them, and prioritizing their order.

