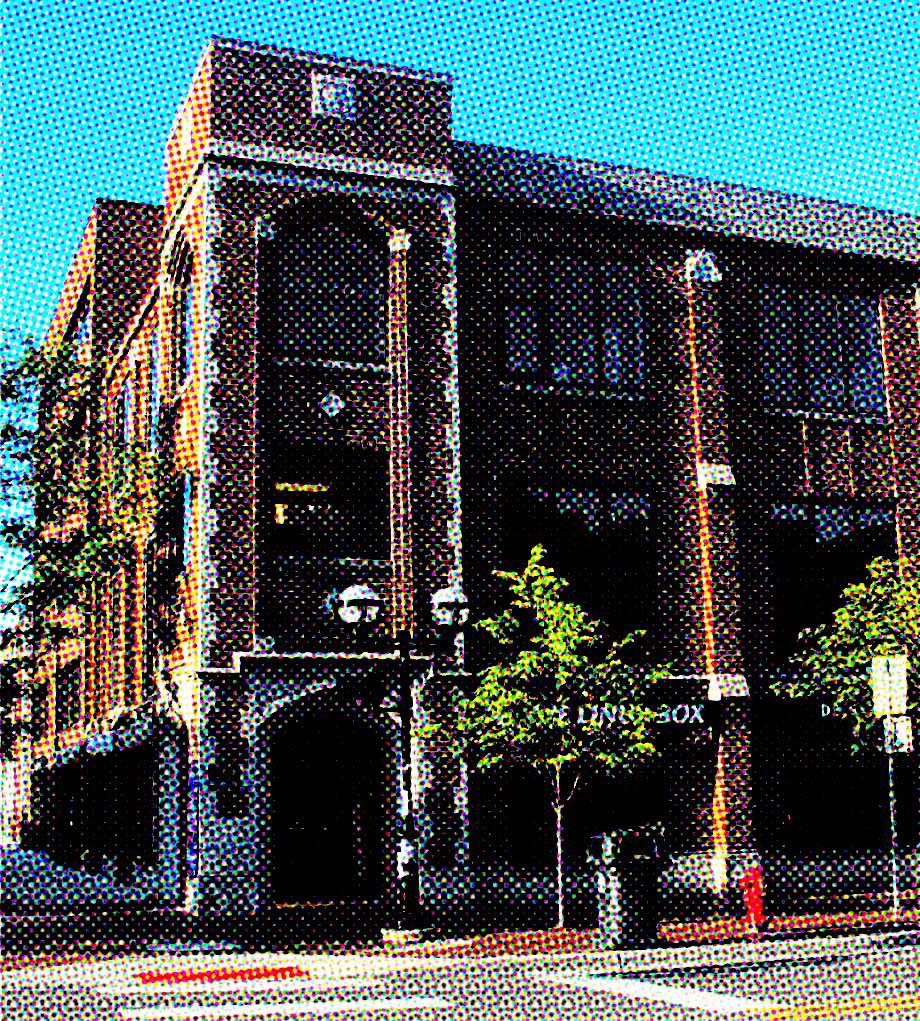
Article summary
I have always found image processing interesting and fun. However, despite having a decent amount of experience with it, I had never worked much with the tools for iOS. I decided to play around with them a bit, and to my delight, most of the iOS image processing libraries are incredibly simple to use. This topic has a lot of surface area, so I won’t be able to do it justice in a single post. However, this post should be enough to allow you to get started with image processing in iOS.
A Simple Filter
Let’s start with the pillar of image processing–image filters.
Image filters are responsible for taking an image, manipulating it, and producing a different output image. Fancy filters might be able to take in multiple images as input, but for the most part, it’s one image in, one image out.
The iOS image processing functionality lives inside of the Core Image framework. It turns out that Core Image comes with over 150 different image filters out of the box. You can query a list of all of them via:
let filterNames = CIFilter.filterNames(inCategories: nil)Most filter functionality is centered around the CIFilter Core Image class. CIFilter has static methods such as filterNames (above). However, to apply an image filter, you instantiate a CIFilter instance and pass in a filter type. Filter types are defined by Strings constants, which is very un-Swift-like as it allows for run time errors.
Let’s look at an example that creates a blur filter and applies it to an image:
func simpleBlurFilterExample(inputImage: UIImage) -> UIImage {
    // convert UIImage to CIImage
    let inputCIImage = CIImage(image: inputImage)!

    // Create Blur CIFilter, and set the input image
    let blurFilter = CIFilter(name: "CIGaussianBlur")!
    blurFilter.setValue(inputCIImage, forKey: kCIInputImageKey)
    blurFilter.setValue(8, forKey: kCIInputRadiusKey)

    // Get the filtered output image and return it
    let outputImage = blurFilter.outputImage!
    return UIImage(ciImage: outputImage)
}
This is what applying the above filter looks like:


For some strange reason, there are a few different approaches for instantiating filters and applying them to images. The above example is just one approach. It’s a bit ugly and has forced unwrapped optionals, but it is easy to understand and walk through. Both the input image and any filter parameters can be set via the setValue function, where you pass in a value and a parameter type constant (defined here). Some filters have several parameters; some have none. Usually you can omit them and a default parameter value is used.
Below are some other interesting filters that are provided out of the box with Core Image.
CICMYKHalftone filter
The CICMYKHalftone filter adds a nice halftone effect, simulating what printed media might look like.
let filter = CIFilter(name: "CICMYKHalftone")!
filter.setValue(inputCIImage, forKey: kCIInputImageKey)
filter.setValue(25, forKey: kCIInputWidthKey)

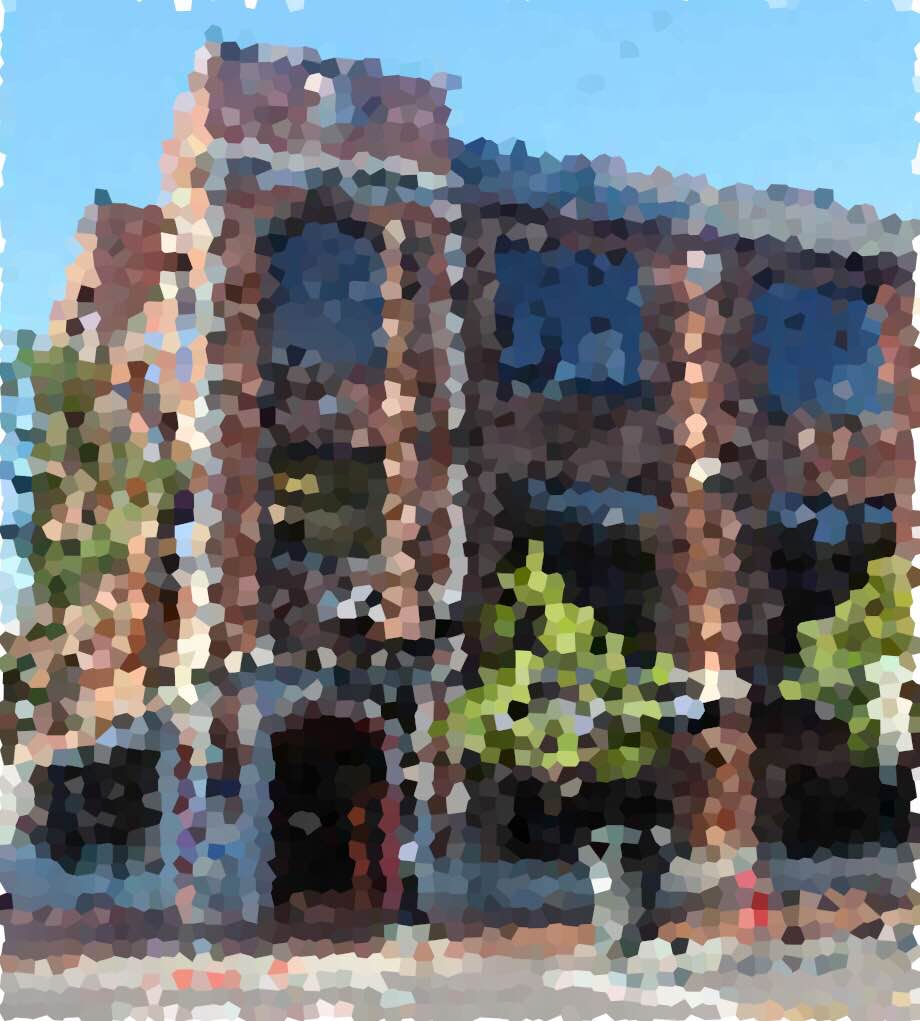
CICrystallize filter
The CICrystallize filter quantizes the image into uniform colored polygons.
let filter = CIFilter(name: "CICrystallize")!
filter.setValue(inputCIImage, forKey: kCIInputImageKey)
filter.setValue(55, forKey: kCIInputRadiusKey)

In addition to these, there are many other filters provided by Core Image out of the box. For a more complete reference, refer to the docs.
Combining Filters
One way to produce effects that aren’t captured by one of the provided filters is to combine filters. You might imagine applying a set of filters in sequence, feeding the result of one as the input to the next. Core Image has special support for this and allows you to combine filters in such a way that the amount of processing required is minimized (e.g., it doesn’t necessarily have to compute a full output image for each filter applied).
Suppose you want to apply a CICrystallize filter, and then a CICMYKHalftone filter. You could achieve that via:
let outputImage = inputCIImage
    .applyingFilter(
        "CICrystallize",
        withInputParameters: [
            kCIInputRadiusKey: 50
        ])
    .applyingFilter(
       "CICMYKHalftone",
        withInputParameters: [
           kCIInputWidthKey: 35
       ])
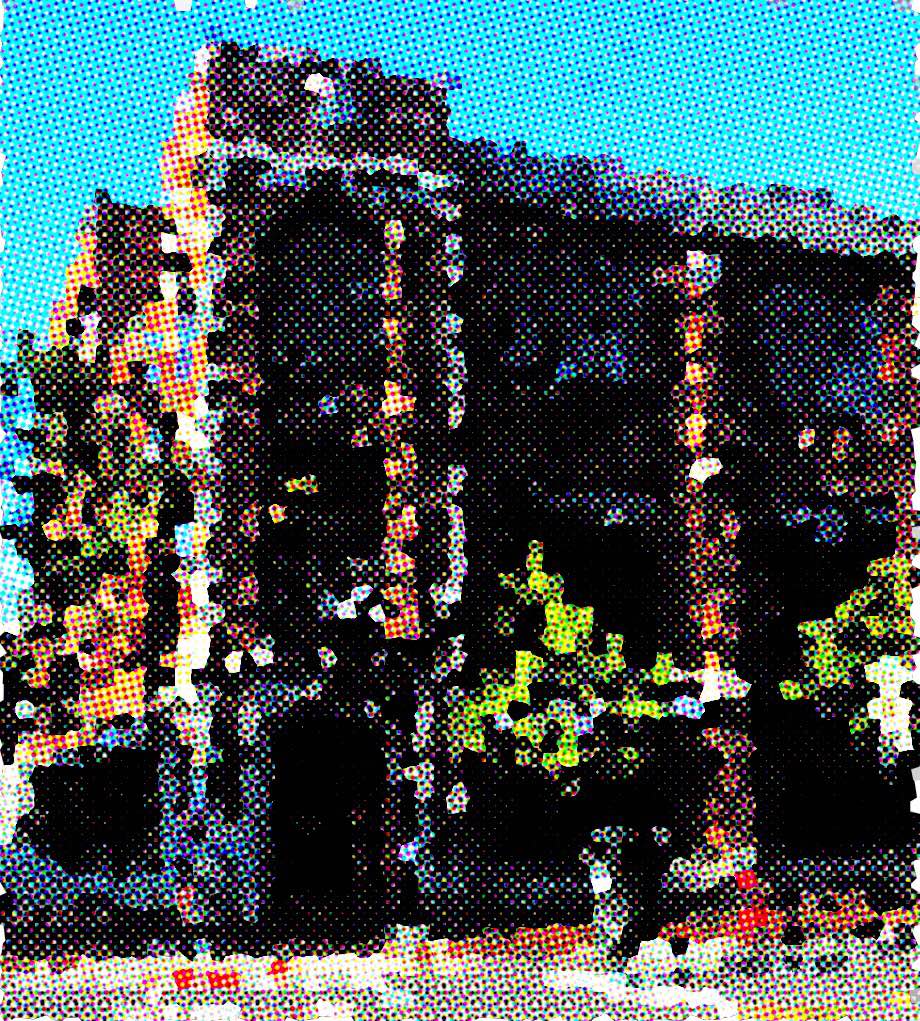
The above filter produces an image that looks like this:


Notice how this time, we instantiated and applied the filters differently than we did in the first example. Instead of creating a CIFilter instance, we called applyingFilter directly on the input CIImage instance. This is another way you may want to write your filtering code. I think this approach is nicer, but it isn’t obvious that a CIFilter instance is being created, so I opted to use the other approach in the earlier examples.
Custom Filters
If the provided Core Image filters (or some combination of them) doesn’t produce the effect you’re looking for, you can write your own custom filter. This functionality was new in iOS 8, and it’s pretty slick. This topic can get very complex quickly, so I’ll just touch on the basics. I may write a more detailed post on writing custom filters in the future.
In order to write a custom CIFilter, you need to write a custom CIKernel. The kernel tells the filter how to transform each pixel of the input image. There are three different types of kernels that you can write: color kernels, warp kernels, and general kernels. I’ll briefly cover color kernels in this post, as they are the easiest to understand.
To write a custom color kernel, you create an instance of CIColorKernel and provide it with the custom kernel code. It’s a bit strange because the kernel code must be written in GLSL, an OpenGL shading language. You provide your GLSL code as a string to the CIColorKernel constructor. This is, again, kind of terrible because it will blow up at runtime if your GLSL code has any errors.
Let’s look at an example. Suppose we wanted to write a custom kernel that removed the red color channel and divided the blue channel by two. First, we would need to subclass CIFilter, and override the outputImage property to return our custom processed image. That would look like this:
class CustomFilter: CIFilter {
    var inputImage: CIImage?

    override public var outputImage: CIImage! {
        get {
            if let inputImage = self.inputImage {
                let args = [inputImage as AnyObject]
                return createCustomKernel().apply(withExtent: inputImage.extent, arguments: args)
            } else {
                return nil
            }
        }
    }
}
Notice the call to create our custom kernel: createCustomKernel. This function needs to return our custom CIColorKernel kernel with our custom GLSL kernel code. Here is what our implementation might look like:
func createCustomKernel() -> CIColorKernel {
    let kernelString =
        "kernel vec4 chromaKey( __sample s) { \n" +
            "  vec4 newPixel = s.rgba;" +
            "  newPixel[0] = 0.0;" +
            "  newPixel[2] = newPixel[2] / 2.0;" +
            "  return newPixel;\n" +
    "}"
    return CIColorKernel(string: kernelString)!
}
Notice the GLSL function defined as a raw String. This function takes in a single pixel, represented by the __sample variable, and it must transform the input pixel into its output value. In our example, we wanted to remove the red color channel and divide the blue channel by two. That is what the above GLSL code is doing. This function will be executed for each pixel of the input image.
Invoking our custom filter looks like this:
let inputCIImage = // get CIImage from somewhere

let filter = CustomFilter()
filter.setValue(inputCIImage, forKey: kCIInputImageKey)

// Get the filtered output image and return it
let outputImage = filter.outputImage!
The resultant output image looks like this:


Further Reading
This post just scratched the surface of what’s possible using Core Image. If you’re interested in learning about it further, I recommend picking up this eBook. The material in it is excellent.


Thank you for your Core Image Tutorial !
It is a very easy to understand for Core Image Basics.
However, I got a crash in your “custom filter” code.
filter.setValue(inputCIImage, forKey: kCIInputImageKey)
Why did I get a crash?
Did some “Core Image Kernel Language” change?
Great tutorial. I’m testing out the tutorial in Playgrounds on Xcode 9. I had a crash (sigabrt) on
let filter = CustomFilter()