If you have been using UITableViews for a long time, you may not have noticed that they support Auto Layout (even in headers and footers!). Unfortunately, getting Auto Layout to work with a fundamental view that has been around since long before it existed can be frustrating.
In fact, if you don’t need to worry about supporting iOS versions prior to 9, I would recommend looking into UIStackView. It’s not a replacement for UITableView, but it may be more appropriate if you’re mostly using the table view for layout. Even if you have no choice but to use UITableView, I’ve found it is usually possible to get it working with Auto Layout by following a few key steps.
1. Configure the UITableView for Auto Layout.
This requires some coordination between the various parts, so be careful to set up all of them. It’s especially easy to mess up if you’re refactoring an existing table view to use Auto Layout. First, tell the table view that you want automatically sized cells, headers, and/or footers:
tableView.rowHeight = UITableViewAutomaticDimension;
tableView.estimatedRowHeight = 44;

tableView.sectionHeaderHeight = UITableViewAutomaticDimension;
tableView.estimatedSectionHeaderHeight = 30;

tableView.sectionFooterHeight = UITableViewAutomaticDimension;
tableView.estimatedSectionFooterHeight = 30;
In addition, you must must also give an estimate for the height of each element. This doesn’t have to be super accurate. It’s mostly used for calculating the scroll bar position. Generally, it should be set to the average expected height of your rows (or section headers/footers).
2. Do not implement any standard sizing methods in your table view delegate.
If your delegate responds to any height-related selectors, such as tableView:heightForRowAtIndexPath:, then all bets are off. Merely implementing these methods will cause the table view to disregard the values you have set up above. Since you’re using Auto Layout to determine the heights, there is no reason to implement these methods anyway.
You might notice that UITableViewDelegate also provides the method tableView:estimatedHeightForRowAtIndexPath:. You should be fine implementing this, if you really really need it (perhaps if your rows vary in height quite a lot).
3. Set up constraints so that the content determines the size.
You’re probably used to setting up constraints to position things within a given space. But when configuring constraints in a table cell, header, or footer, this notion is reversed. Instead, your constraints must now provide the sizing information for the enclosing view.
When setting up constraints for cells, add views to the contentView of the UITableViewCell as usual. If you’re setting up a header or footer, use a UITableViewHeaderFooterView, adding your own views to its contentView. In either case, be sure that there is a constraint attached to all four sides of the contentView. This effectively causes your content to push out the sides of the enclosing view.
4. Use Auto Layout for all parts of the table view.
All of my attempts to use Auto Layout for some parts of a table (e.g. headers) but not others (e.g. rows) have resulted in a mess. Either my content was the right size but drawn in the wrong place, or else it was the wrong size but in the right place. I’ve found it’s best to just use Auto Layout throughout.
5. Give the layout system a hint about your content’s size.

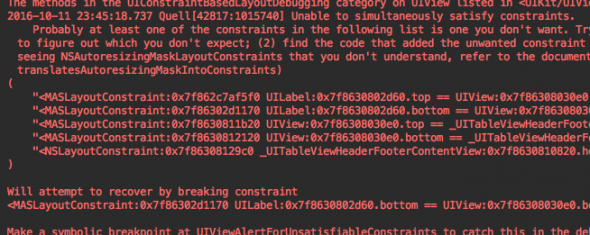
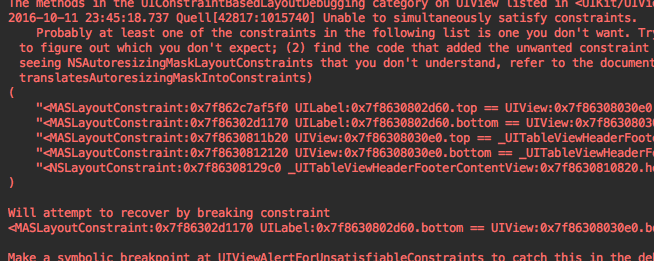
Even if you’ve set up your constraints properly and things appear correct at runtime, you may still see warnings like the following:
Unable to simultaneously satisfy constraints. Will attempt to recover by breaking constraint.
Sometimes this will be due to some conflicting constraints that you’ve created. But most of the time, it seems to be caused by auto layout trying to reconcile constraints with the older frame-based layout. If you’re creating views in code and relying on constraints to establish their size, it may help to give the layout system a hint as to the initial sizing, like so:
CGSize minimumSize = [myContentView systemLayoutSizeFittingSize:UILayoutFittingCompressedSize];
UITableViewHeaderFooterView *headerView = [[UITableViewHeaderFooterView alloc] initWithFrame:CGRectMake(0, 0, intrinsicSize.width, intrinsicSize.height)];
I see these warnings most frequently when my constraints establish fixed-size margins that the layout system can’t resolve because everything still has a size of zero while the view is being set up. The above fix probably won’t result in the final size you end up seeing (especially if you have long UILabels, or labels that wrap), but it should be enough to silence the constraint warnings.
Conclusion
Auto layout is an improvement over springs and struts, but it’s too bad UITableView must retain the baggage of supporting both systems. With a little bit of understanding, it is possible to get it to work the way you want it to.

