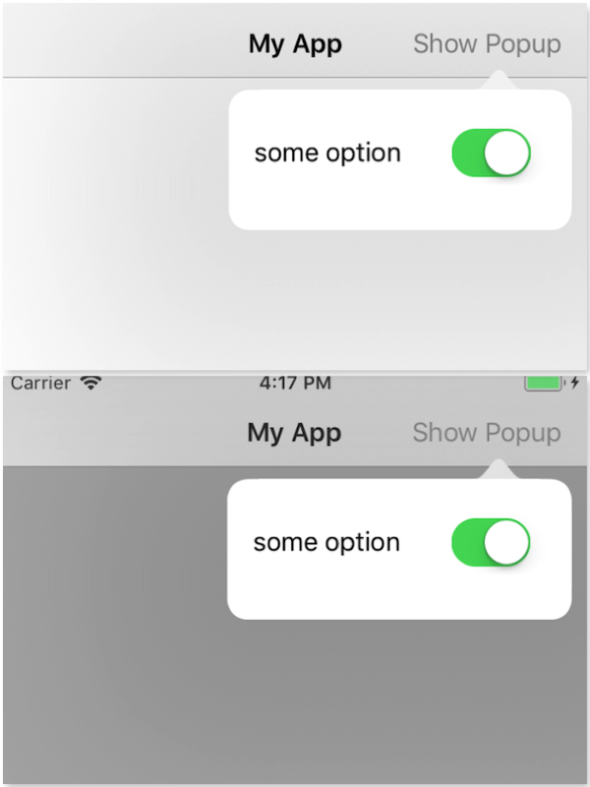
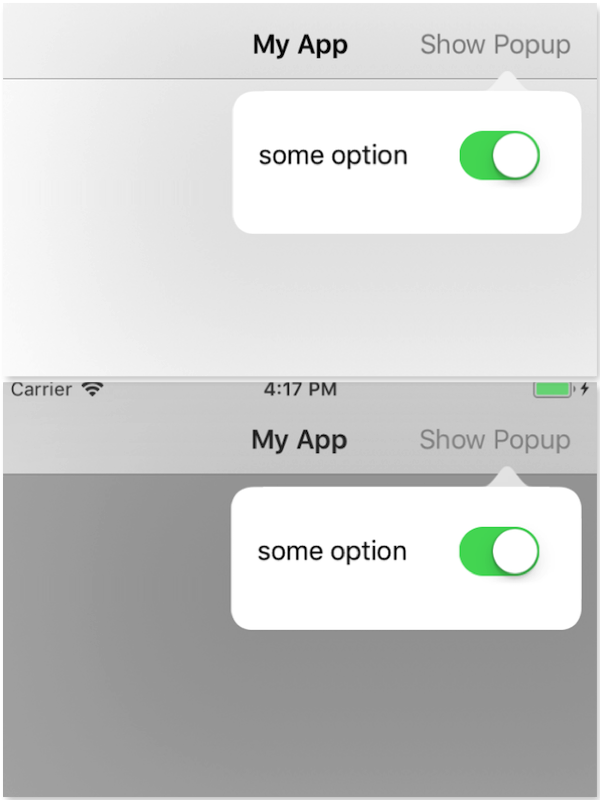
The design for a recent project called for the contents of the popover view to be emphasized prominently. Specifically, the design wanted all the views behind the popover to be dimmed.
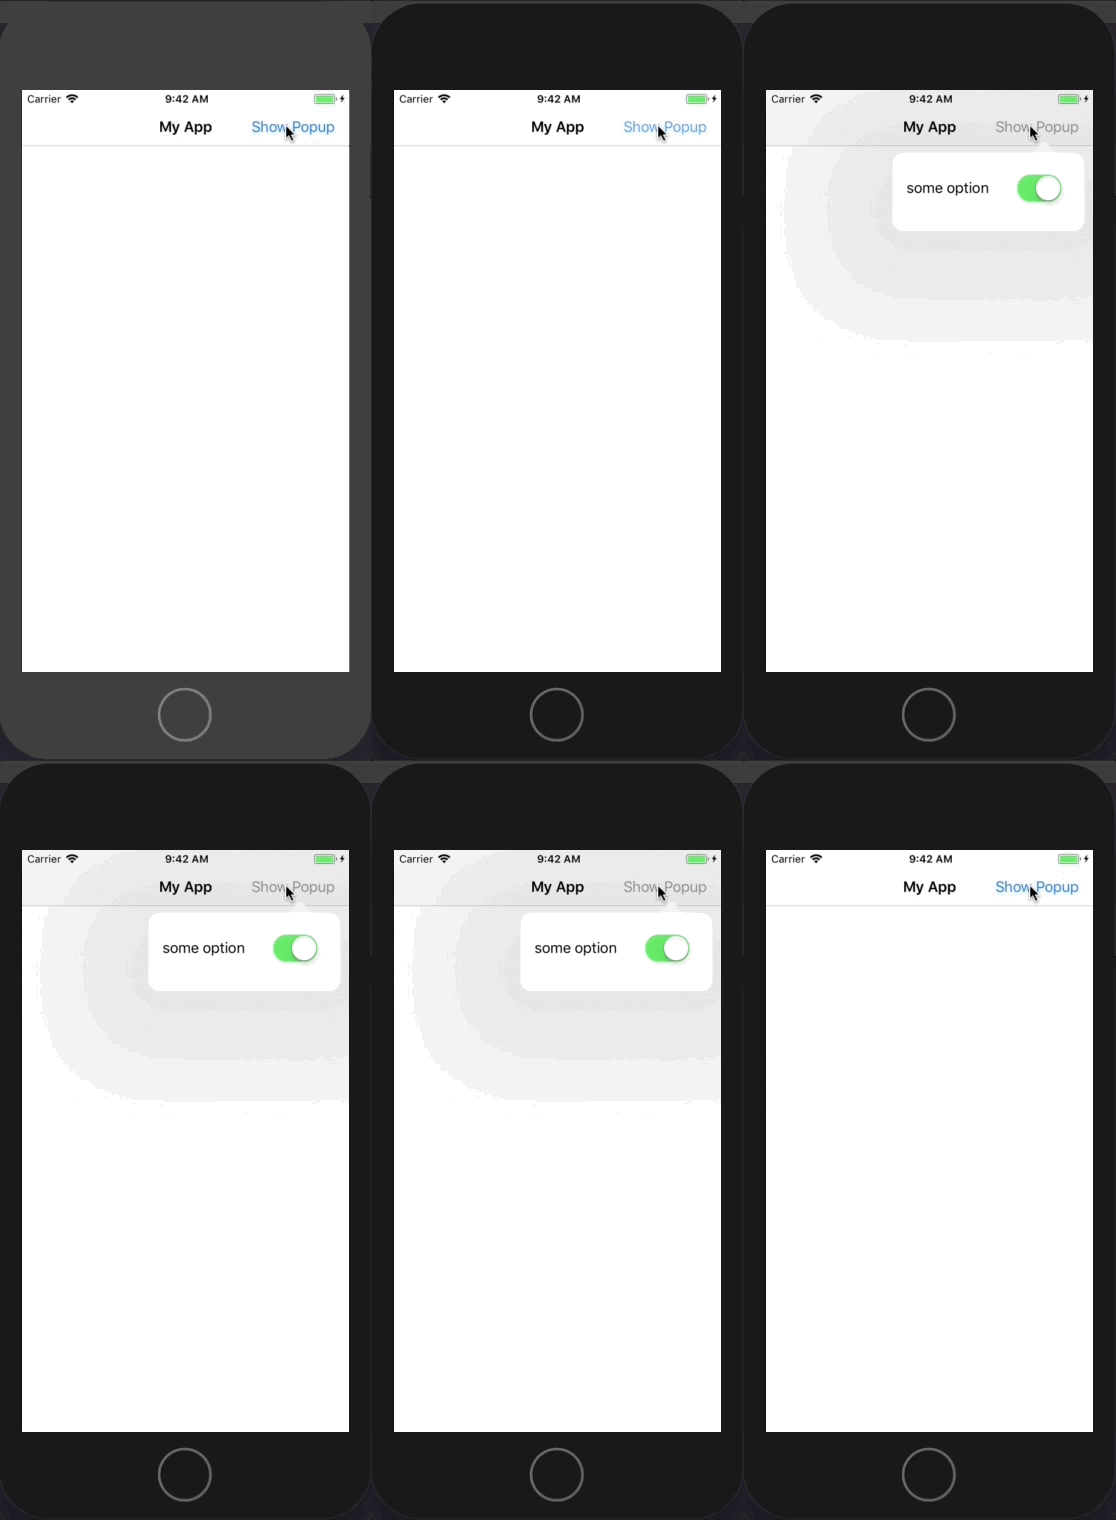
By default, iOS will put a radial gradient around the popup to draw attention to it, but I needed something more. In this blog post, I’ll show you how you can dim not only the view behind the popover, but also the status and navigation bar.
1. Set Up the Popover View
I am not going to go into detail on how you can configure a popover on iOS because I want to stay on topic. If you need a quick picture guide on how to configure a popover using storyboards, I suggest this Stack Overflow post for a nice visual guide on how to set it up.
2. UIPopoverPresentationControllerDelegate Delegate
Now that you have your popup view displaying normally, you’ll need to know when the popover is displayed and dismissed in order to change the views behind it. UIPopoverPresentationControllerDelegate protocol has two functions that will serve this purpose.
The first task is to set our view controller as the delegate. Specify that your view controller will implement the protocol, and add the prepareForPopoverPresentation and the popoverPresentationControllerDidDismissPopover functions to your code.
class ViewController: UIViewController, UIPopoverPresentationControllerDelegate {
    func popoverPresentationControllerDidDismissPopover(_ popoverPresentationController: UIPopoverPresentationController) {

    }

    func prepareForPopoverPresentation(_ popoverPresentationController: UIPopoverPresentationController) {

    }
}
The next task is to set the delegate reference, so the popover will call our functions. If you haven’t already done so, override the prepare for segue function in the view controller that will show the popover.
The destination of the segue is the view controller of our popover. Set the popoverPresentationController‘s delegate property to ourselves.
override func prepare(for segue: UIStoryboardSegue, sender: Any?) {
    if segue.identifier == "popoverSegue" {
        let popoverViewController = segue.destination
        popoverViewController.popoverPresentationController!.delegate = self
    }
}
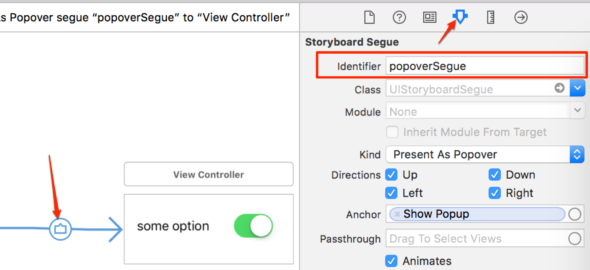
In the code above, I used the identifier “popoverSegue.” This matches the identifier that I used in the storyboard for the segue below.
3. Set the Alpha of the Background Views
I created a convenience function that will take in an alpha value and set the alpha of the status bar, navigation bar, and the view behind the popover. You can play around with setting your own alpha values and whether to dim the navigation bar and the status bar depending on the look you want.
func setAlphaOfBackgroundViews(alpha: CGFloat) {
    let statusBarWindow = UIApplication.shared.value(forKey: "statusBarWindow") as? UIWindow
    UIView.animate(withDuration: 0.2) {
        statusBarWindow?.alpha = alpha;
        self.view.alpha = alpha;
        self.navigationController?.navigationBar.alpha = alpha;
    }
}
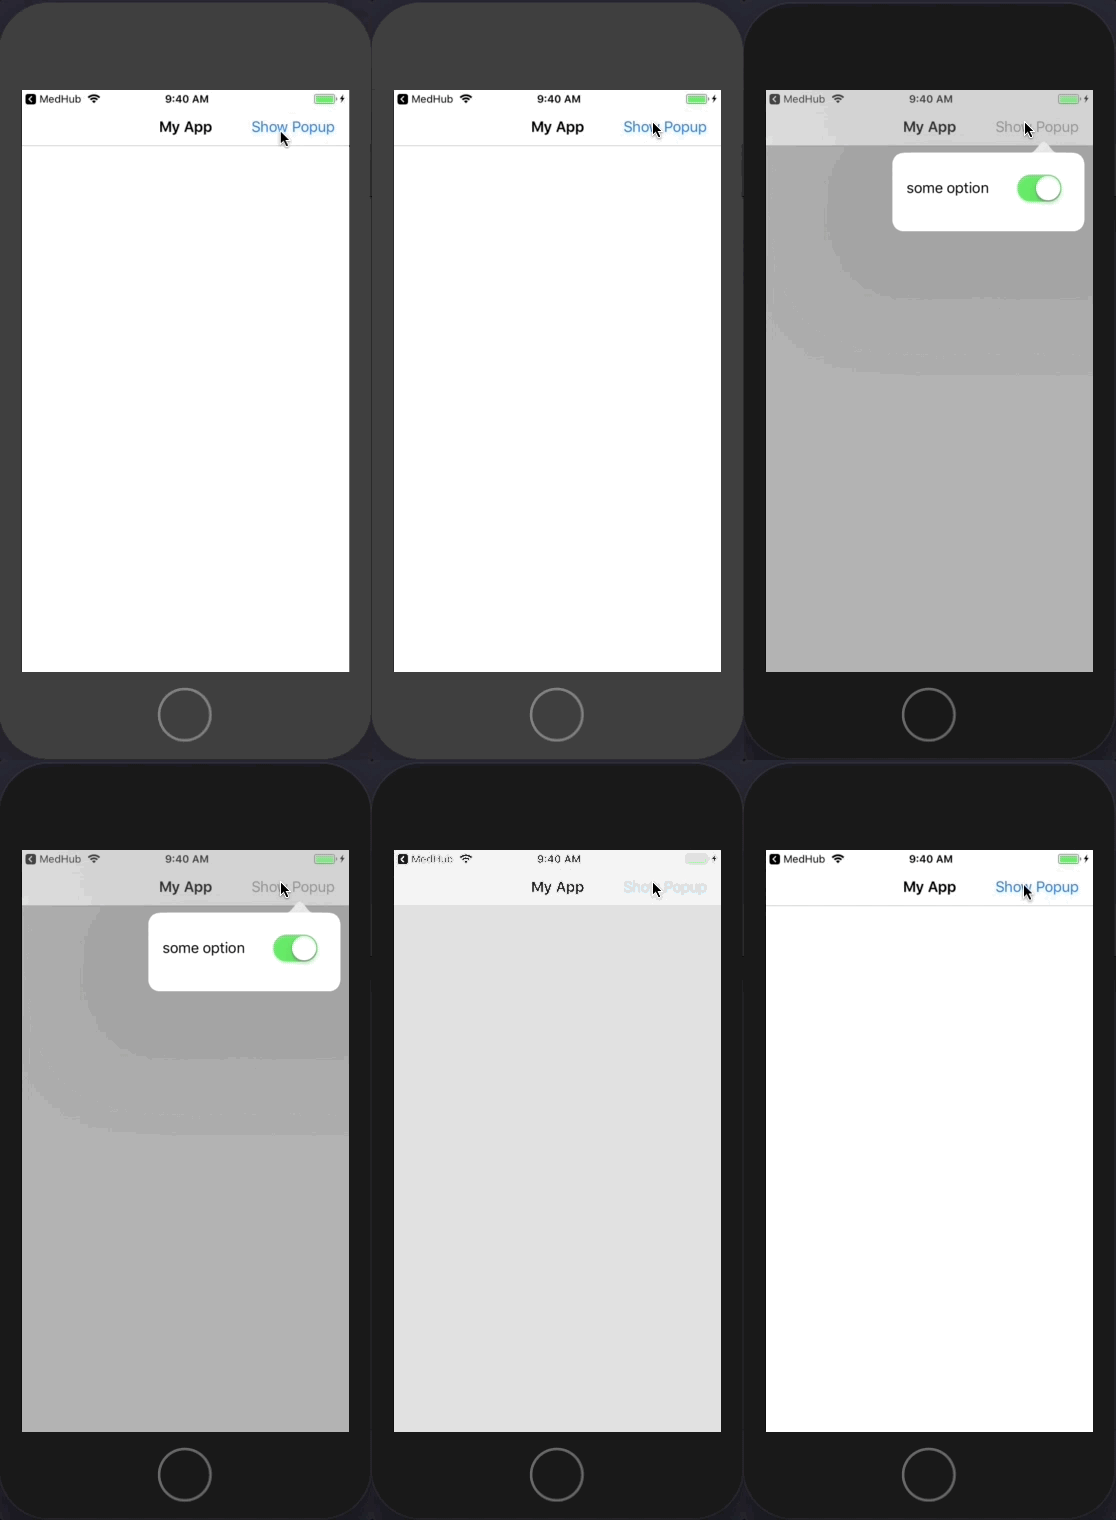
Now, let’s put everything together. Inside the prepareForPopoverPresentation function, set the alpha of the background views to a value less than one. This will dim the background views when the popover is displayed.
To get the background views back to normal, inside the popoverPresentationControllerDidDismissPopover function, set the alpha values back to one.
class ViewController: UIViewController, UIPopoverPresentationControllerDelegate {
    override func prepare(for segue: UIStoryboardSegue, sender: Any?) {
        if segue.identifier == "popoverSegue" {
            let popoverViewController = segue.destination
            popoverViewController.popoverPresentationController!.delegate = self
        }
    }

    func popoverPresentationControllerDidDismissPopover(_ popoverPresentationController: UIPopoverPresentationController) {
        setAlphaOfBackgroundViews(alpha: 1)
    }

    func prepareForPopoverPresentation(_ popoverPresentationController: UIPopoverPresentationController) {
        setAlphaOfBackgroundViews(alpha: 0.7)
    }

    func setAlphaOfBackgroundViews(alpha: CGFloat) {
        let statusBarWindow = UIApplication.shared.value(forKey: "statusBarWindow") as? UIWindow
        UIView.animate(withDuration: 0.2) {
            statusBarWindow?.alpha = alpha;
            self.view.alpha = alpha;
            self.navigationController?.navigationBar.alpha = alpha;
        }
    }
}
Showing a Popover on an iPhone that’s not Full-Screen
When you show a UIViewController as a popover, it will show as a full-screen modal view on an iPhone and as a popover on an iPad. Generally, that is the behavior you want and is recommended in Apple’s Human Interface Guidelines.
However, if you want it to show it as a popover on iPhone, add this function to the view controller that shows the popover. This tells the system that we do not want to adapt the presentation style of the popover.
func adaptivePresentationStyle(for controller: UIPresentationController) -> UIModalPresentationStyle {
    // Tells iOS that we do NOT want to adapt the presentation style for iPhone
    return .none
}

thanks, it helped me.
Is there any way we can remove that animation time on dismiss popover?