Here, I’ll walk you through an example and provides sample files to demonstrate STL file export automation in Fusion 360. This example is useful if you are creating a library of STL files representing different sizes of a common parametric model.
You can read this post to get the gist of this topic and then download the resources to try it for yourself. You can download a free trial of Fusion 360 if you don’t already have it.
Download these resources if you want to run the example:
STLExampleWidget.f3d
STLAutomation.py
The inspiration for this post came from my friend Joe Roggenbuck at Cobra Framebuilding. Joe manufactures precision bicycle frame-building tools. Some of his tools use 3D-printed components that help with many things including spacing tubes in fixtures. Some of these 3D-printed components come in many different sizes based on a common design.
Instead of manually updating and exporting many different sizes of a common parametric model, we decided to dig into Fusion 360’s scripting features to automate an otherwise repetitive task. We saw how automation could also be valuable for quickly updating the STL library if design changes were made to the component in the future.
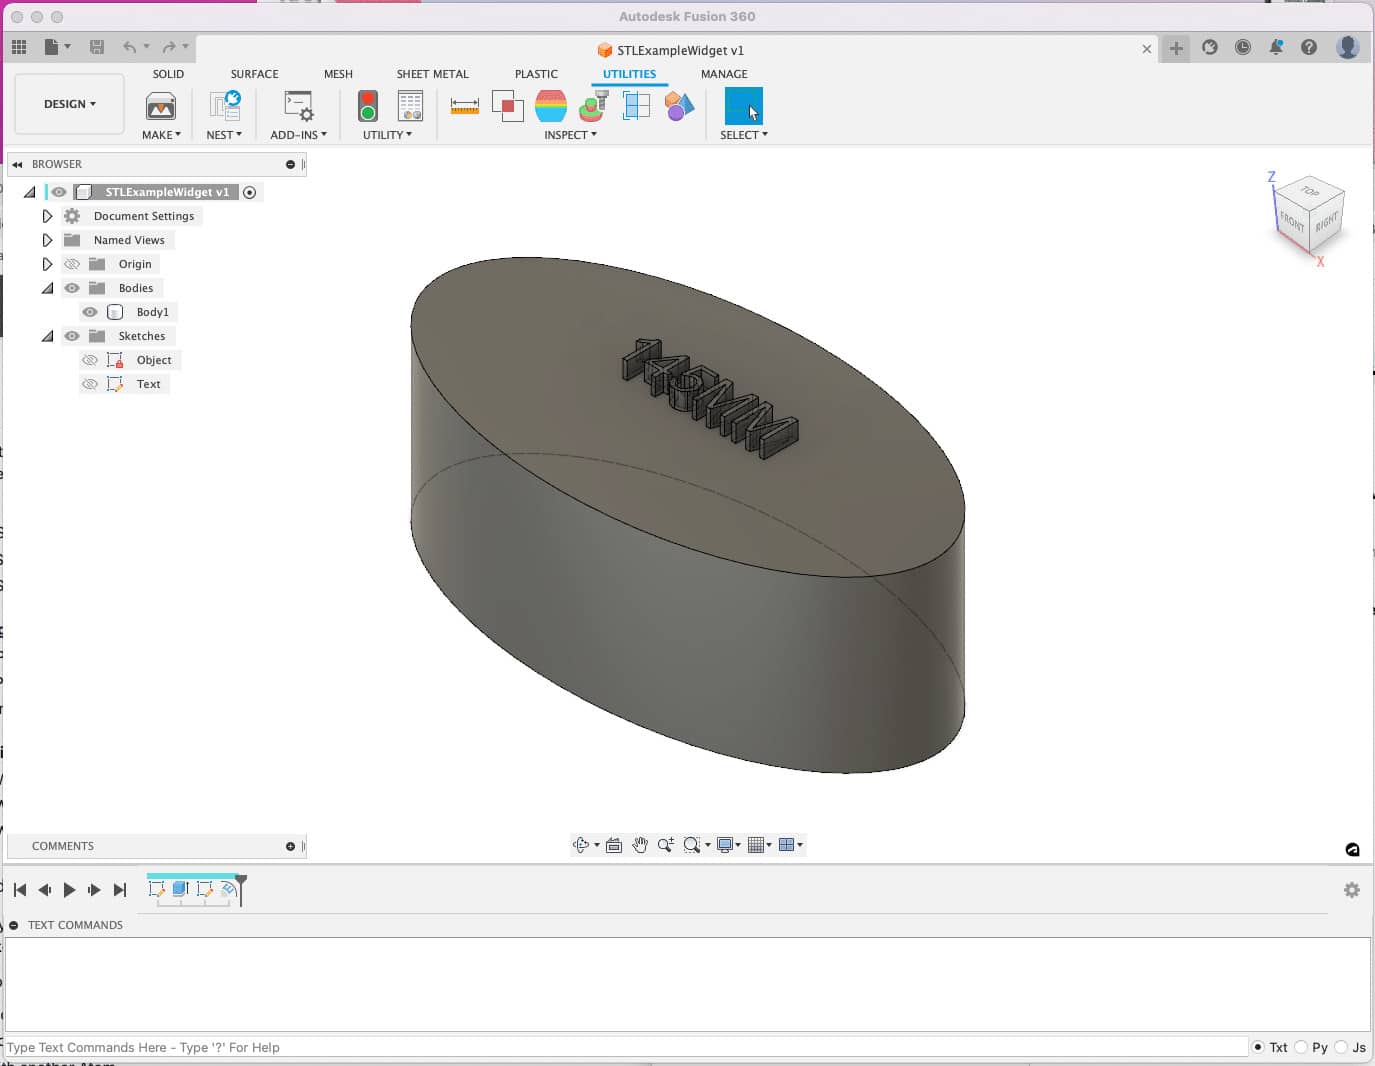
Step 1 – Load the example widget in Fusion 360.
Download the STLExampleWidget file and upload it in Fusion 360 by going to File -> Upload and selecting the example file.
Click “Open document” from the confirmation dialog box or find and open it from the Data Panel.
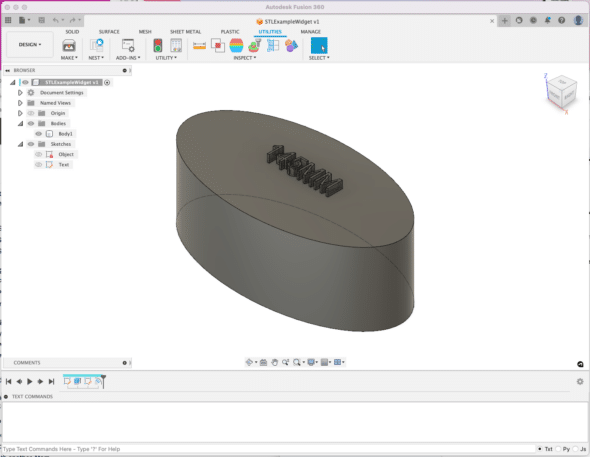
You should see the example widget below with the embossed text and majorAxis User Parameter at 145mm.
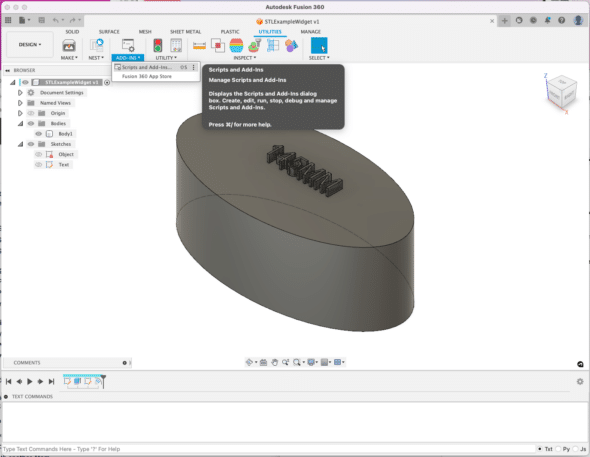
Step 2 – Create a script to automate resizing the body, updating the text, and exporting the STL files.
Go to the UTILITIES section in the top menu and click on the ADD-INS dropdown and Script and Add-Ins… option.
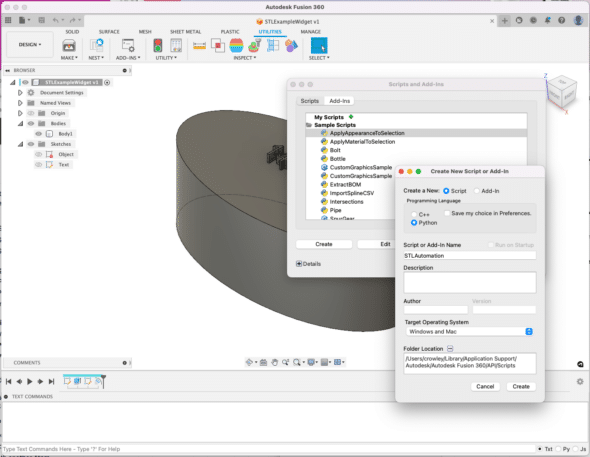
If you haven’t created a script before, you won’t see any scripts under My Scripts in the Scripts and Add-Ins dialog window.
Click Create and another dialog box will appear so you can add details about the script. I made sure the script was a Python script and I named the script STLAutomation. You don’t need to add the “.py” file extension to the script name.
The folder location shows where the script will be stored. I used the default location.
Click the Create button when you are done selecting the script type and naming the script.
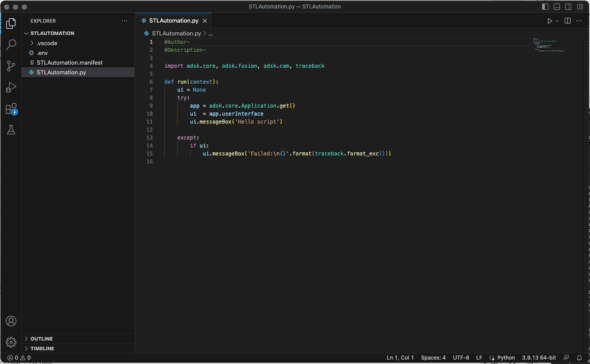
On my Mac, VS Code is the default editor for Python files. After clicking Create in the Fusion 360 Create New Script or Add-In dialog box, VS Code loaded the STLAutomation.py file with the default script code stubbed out.
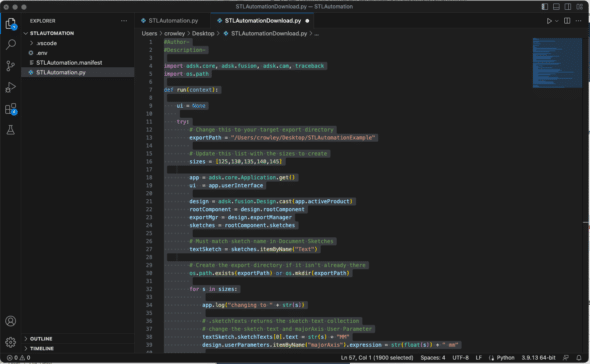
Now you can open the attached file STLAutomationDownload.py to copy and paste the code into the STLAutomation.py file. Be sure to completely overwrite all of the stubbed code in STLAutomation.py with the code from STLAutomationDownload.py.
Be sure to update the exportPath variable at the top of the script to the location you want to write STL files to.
Step 3 – Run the Script.
Now you can return to Fusion 360 and run the script you just created. Go back to the UTILITIES menu at the top of the window and navigate to the Scripts and Add-Ins dialog box again.
Select the STLAutomation script listed under My Scripts and then click the run button.
You should see the body change size and the text updating as the script makes the UI redraw. Log messages are output at the bottom of the window if you have the TEXT COMMANDS area expanded (see the lower left of the main Fusion 360 window).
The five example STL files should be exported to the location you set the exportPath variable to. You can check out the files in an application like Cura.
Step 4 – Use the Code.
Now that you’ve got the example running, you can use snippets of the code in the STLAutomationDownload.py file to meet your needs.
Note that that example code uses hard-coded strings that match a Sketch name and User Parameter name in the example widget. You can update the example code snippets to match Components or Design User Parameters in your model.
Autodesk provides a great reference manual for Fusion 360’s API. I’ve found the Fusion 360 Object Model to be helpful as well.