Asking clients to explain how nuanced and complex systems work can be a daunting task. Add to that the fact that each participant may have a unique approach to explaining a process, and you might just be left with a confusing workflow that’s missing key information.
“How to Make Toast” can help prepare your group for a larger activity like journey mapping or systems diagramming. It offers everyone the chance to agree on what is and isn’t helpful when it comes to describing a process.
This is part of our series on Design Thinking Methods and Activities. You’ll find a full list of posts in this series at the end of the page.
| Primary Goal | To facilitate good sense-making and to prepare a group for systems thinking activities |
| When to Use | Prior to mapping workflows, systems diagrams, ecosystems, etc. |
| Time Required | 15-30 minutes depending on group size |
| Number of Participants | 2-10+ |
| Who Should Participate? | Any participants of the meeting who will participate in the follow-up activities |
| Supplies | Sharpies and/or colored markers, 11 x 17 (preferred) or 8.5 x 11 sheets of paper, masking tape (optional) |
Overview
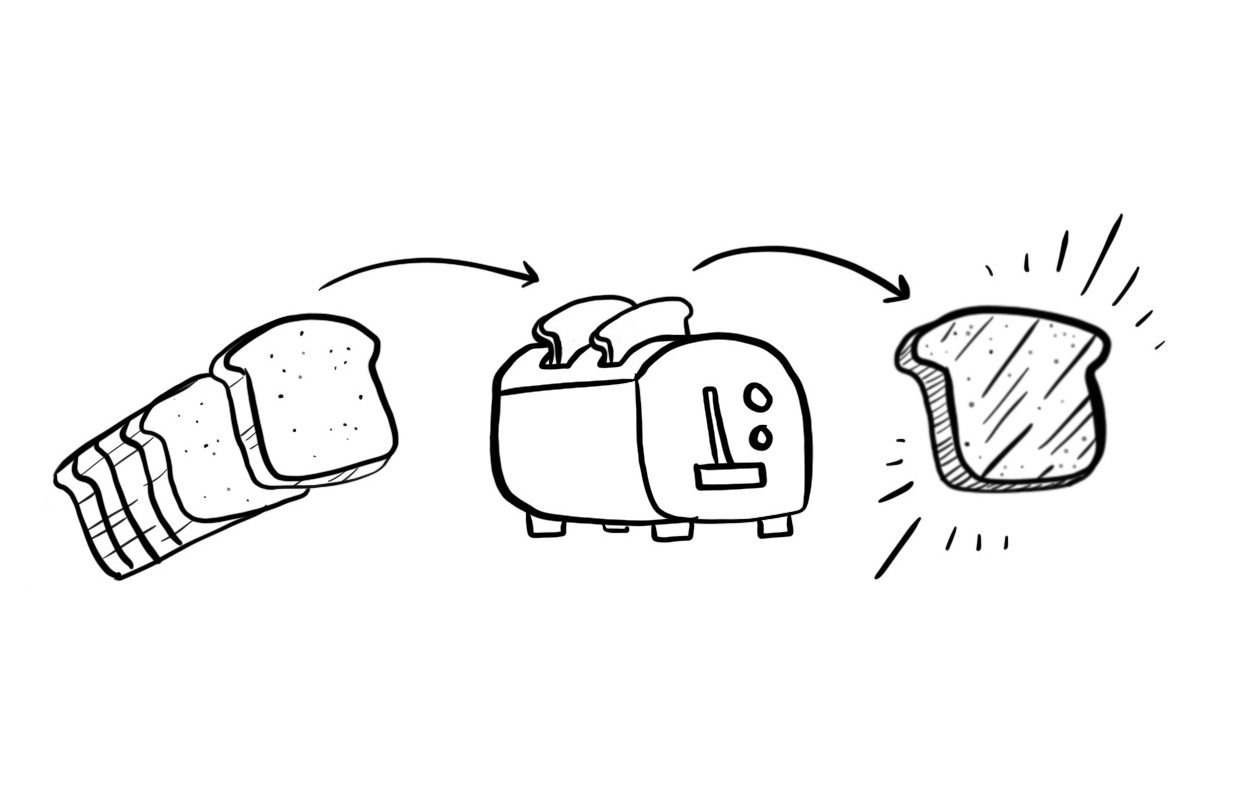
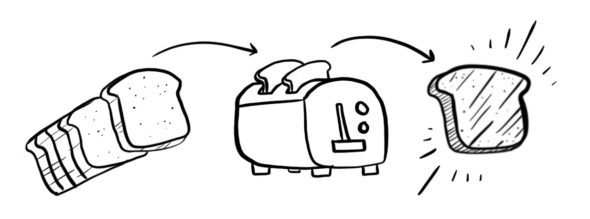
“How to Make Toast” is simple—each participant is asked to create instructions/diagrams for how to make toast (an activity that almost all people know how to do). The variety in drawings will be surprising, are often laughter-inducing, and help uncover unintended bias.
For example, a chef might emphasize the importance of quality ingredients, an engineer might draw a detailed diagram of the toaster, and a pyrophobic might over-emphasize the importance of not burning the toast. These drawings will also help you understand who may or may not be an ally in systems thinking when you move onto a larger, more complex activity.
This quirky, smart activity was created by Tom Wujec for his Wicked Problem Solving™ toolkit. Check it out for further resources and to peep his ever-popular TED Talk.
Now…who’s ready to make some toast?
1. Prep for the Activity
For this activity, it’s best to use 11 x 17 (tabloid) size paper, but 8.5 x 11 paper will work, too. The benefit of larger paper is the extra drawing space that makes it easier to view drawings when participants present their work.
Also gather a variety of drawing tools such as colored markers and Sharpies in a variety of tip sizes. The more drawing utensils you provide, the better participants will be able to unleash their inner creativity.
For a paper-free experience, if you have the right space, you could facilitate the entire exercise on long whiteboards with whiteboard markers.
2. Begin Drawing
Pass out paper and markers to each participant. Then ask them to draw instructions for making toast. Keep the instructions as vague as that. Then set and start a timer for 3-5 minutes. Use the shorter length of time for larger groups so that you can jump into presentations faster.
3. Review Each Drawing
One-by-one, ask participants to post their drawings on the wall and explain their drawn steps to the group.
Take note of things that are or aren’t included in the drawings. For example, are people featured, or is the focus all on the materials (bread, toaster, butter, knife, etc.)? Are the drawings very detailed or extremely vague? All of these attributes are clues as to how explaining a larger, more complex activity might go. They will hint to the areas where you’ll need to tease out more information or bring the focus back to a user’s experience.
Activity bonus mode
If you have the time, there’s a way to add even further to the experience of the activity. First, supply real toast-making ingredients and tools like bread, butter, a toaster, knife, etc. However, keep them out of sight until after the drawings are complete so they won’t influence people’s drawings. Then, as each person explains a drawing, follow their directions to the letter. Don’t move or begin a step without following the directions they laid out.
This extra step helps to further emphasize to the group how giving (or leaving out) exact and specific instructions can make or break an accurate portrayal of a system. It also makes for a guaranteed hilarious time.
4. Begin Mapping Your Project’s System
Now that everyone has dipped their toes into thinking through a toasty system, it’s time to begin mapping the system or process of your project. These larger, more time-consuming activities have been outlined in other Spin posts.
Here are a few to check out:
- The Case for Starting Your Project with an Ecosystem Map
- Drawing Your Business Ecosystem
- Managing Product Dev. with a Digital Story Map
Good luck on your toast-making adventures. Pop me a comment below outlining your favorite systems-thinking activities.
Atomic’s Design Thinking Toolkit
- What Is Design Thinking?
- Your Design Thinking Supply List
- Activity 1 – The Love/Breakup Letter
- Activity 2 – Story Mapping
- Activity 3 – P.O.E.M.S.
- Activity 4 – Start Your Day
- Activity 5 – Remember the Future
- Activity 6 – Card Sorting
- Activity 7 – Competitors/Complementors Map
- Activity 8 – Difficulty & Importance Matrix
- Activity 9 – Rose, Bud, Thorn
- Activity 10 – Affinity Mapping
- Activity 11 – Speed Boat
- Activity 12 – Visualize The Vote
- Activity 13 – Hopes & Fears
- Activity 14 – I Like, I Wish, What If
- Activity 15 – How to Make Toast
- Activity 16 – How Might We…?
- Activity 17 – Alter Egos
- Activity 18 – What’s On Your Radar?
- Activity 19 – The Perfect Morning
- Activity 20 – 2×3
- Activity 21 – How Can I Help…?
- Activity 22 – Cover Story
- Activity 23 – Crazy 8s
- Activity 24 – Abstraction Ladder
- Activity 25 – Empathy Map
- Activity 26 – Worse Possible Idea
This is an updated version of a post originally published in November 2018.