Welcome to our series on Design Thinking methods and activities. You’ll find a full list of posts in this series at the end of the page.

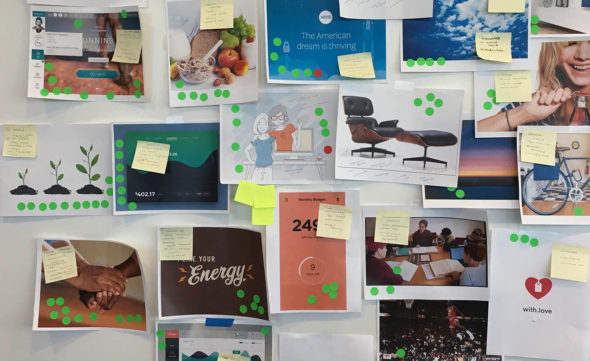
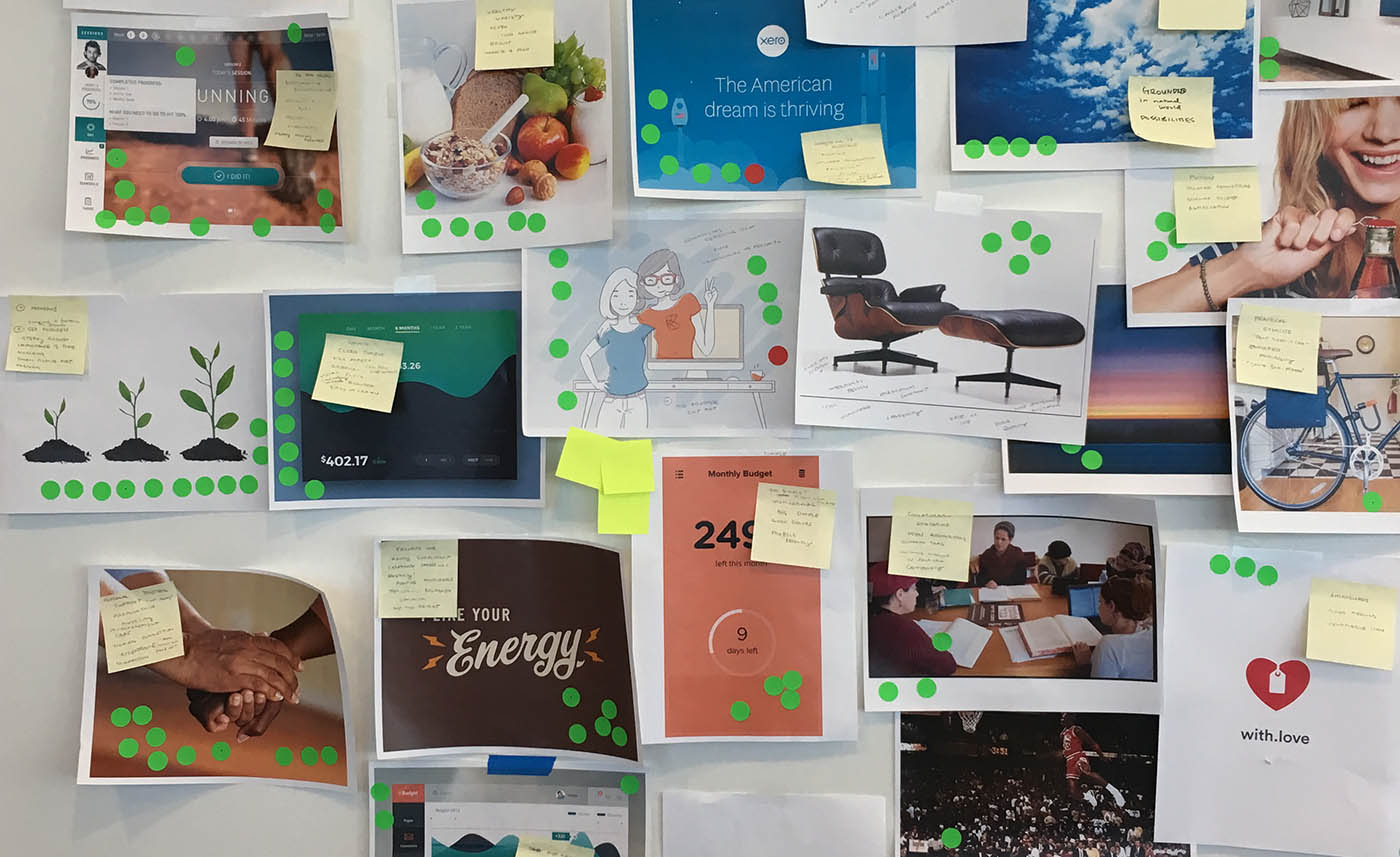
Grab your dots! It’s time to Visualize the Vote.
| Primary Goal | To identify the strongest ideas and patterns of interest |
| When to Use | When you want to gain consensus |
| Time Required | On average, 30-60 minutes |
| Number of Participants | 1 facilitator and 3-10+ participants |
| Who Should Participate? | From anyone to core team members to stakeholders and/or large groups |
| Supplies | Dot stickers |
Purpose
Ever been stuck in a meeting where you can’t gain consensus? Or maybe there’s that one dominating team member with a strong opinion who’s so intimidating that others who are more quiet or reserved are reluctant to share their own? Visualizing the Vote (also called Dot Voting or Heat Mapping) can help, and here’s the best part: It’s insanely simple.
The purpose of the activity is to:
- Identify the strongest ideas and patterns of interest
- Build consensus
- Listen to all participant perspectives
- Diminish pet projects
This exercise will help you keep things moving along while also igniting interesting conversations. And because the process is democratic, with all participants casting the same number of votes of equal weight (regardless of role or tenure), you’ll be able to knock down favoritism and ensure everyone’s voice is heard.
In this post, I’ll tackle the basics of the activity and dive into a variety of use cases and activities you can incorporate it with.
When Is Dot Voting a Good Approach?
Here are a few examples.
To decide between options
- Marketing messaging or slogans
- Logo concepts
- Wireframe options
- Any type of design concept (app prototypes, product designs, advertisements, images, magazine layouts, etc.)
- Color palettes
- Your next vacation spot (😉)
To drive consensus and move forward
- Select an idea
- Choose among features
- Select a conference topic
- Select a date or meeting location
- Decide what’s for lunch!
To collect information in quiz-like fashion
- Use dot voting as an audience feedback tool at an event
- Create a personality quiz (ex. “How would you describe yourself…? Choices: Maker, Inventor, Scientist, Artist, etc.)
- Ask demographic or use case information for market or academic research. (Ex. Set up a dot voting quiz in a public area with pre-made questions like, “Would you use this product?” “What’s your highest level of education?” or “How many children do you have?”)

Activity Prep
This one’s pretty simple:
- Print out a set of images that represent the items you’re voting on.
- Grab some basic dot stickers.
And that’s it! You’re ready to go.
Here are a few options for dot colors. You can:
- Give all participants the same colors
- Give all participants the same colors, but mark specific stakeholders with a small dot or highlighter to indicate their vote. This can be particularly important if you’ve designated one person as the final design maker. I recommend that if you take this approach, you mark the stakeholder dot somewhat inconspicuously so that all voters continue to feel as though their votes are somewhat anonymous. This helps uphold the sense that all votes are equal, which indeed, they should be. Apply this method only when a tie-breaker vote is crucial.
- Give each participant a different color so that you can keep track of who voted where after the meeting has disbanded.
Again, please note that if you do color-code or mark the dots, it should be discreet. Activity participants should feel empowered to vote using their best judgment, and not because they feel pressure from another participant.
Vote!
Voting can take place during various parts of an activity or project. There are only a few guidelines:
- Each participant has a limited number of votes. Typically, we’ll give participants anywhere from 5-10 dots each. I recommend giving bigger groups fewer votes and smaller groups more votes for the sake of time and to inspire richer conversations.
- There is a set time to vote. If you have a large quantity of items to vote on, allow more time–30 minutes, perhaps. If there are only a small amount of items to vote on, five minutes should do it.
- Voting takes place in silence so that no one can unduly influence a vote.
- Participants can vote on the same item more than once. For example, if the vote is between apples, oranges, and pears, and the participant has three votes to cast, they can vote for apples twice and pears once or use all three votes on oranges.
- You may need to vote in rounds to narrow down options, especially if there are a large number of items to review.
Listen
Once all the votes are cast, it’s time to discuss why they were cast in such a way. This is the most important part of the activity, and listening is key. Each participant should have time to discuss the rationale behind their vote or lack of support for individual options.
As a facilitator, it’s your job to ensure that everyone’s voice is heard and that the discussion is kept on track. That said, don’t be afraid to poke at tricky topics. For example, if you notice that no one voted on a once-popular or much rallied-for idea, ask participants why no votes were cast. Revote and re-discuss as necessary and as often as needed until you feel the group has found common ground and all voices have been heard.
Be prepared that these conversations can become tense, especially if no one has voted on a stakeholder’s pet project. However, this activity will provide the opportunity to discuss why that much-beloved idea might not be the best solution.
Integrate Voting with Other Activities
Here are a few scenarios where you can use Visualize the Vote to gain consensus.
- Pair with Rose, Bud, Thorn to narrow down which area to focus efforts on next.
- Utilize during a wireframe or design review to build strong consensus around a concept or workflow.
- Use green and red dots to vote on concepts that are (green) or are not (red) aligned with a brand, value system, goal, etc.
Have fun experimenting with the different ways you can utilize dot voting, and let me know how it’s helped you to strengthen your design practice. Until next time, happy voting!
Atomic’s Design Thinking Toolkit
- What Is Design Thinking?
- Your Design Thinking Supply List
- Activity 1 – The Love/Breakup Letter
- Activity 2 – Story Mapping
- Activity 3 – P.O.E.M.S.
- Activity 4 – Start Your Day
- Activity 5 – Remember the Future
- Activity 6 – Card Sorting
- Activity 7 – Competitors/Complementors Map
- Activity 8 – Difficulty & Importance Matrix
- Activity 9 – Rose, Bud, Thorn
- Activity 10 – Affinity Mapping
- Activity 11 – Speed Boat
- Activity 12 – Visualize The Vote
- Activity 13 – Hopes & Fears
- Activity 14 – I Like, I Wish, What If
- Activity 15 – How to Make Toast
- Activity 16 – How Might We…?
- Activity 17 – Alter Egos
- Activity 18 – What’s On Your Radar?
- Activity 19 – The Perfect Morning
- Activity 20 – 2×3
- Activity 21 – How Can I Help…?
- Activity 22 – Cover Story
- Activity 23 – Crazy 8s
- Activity 24 – Abstraction Ladder
- Activity 25 – Empathy Map
- Activity 26 – Worse Possible Idea
- Activity 27 – Pre-Project Survey
- Activity 28 – The Powers of Ten
- Activity 29 – SCAMPER
- Activity 30 – Design Studio
- Activity 31 – Forced Connections
This is an updated version of a post originally published in June 2018.

